By Tim Babiasz, May 16th, 2017 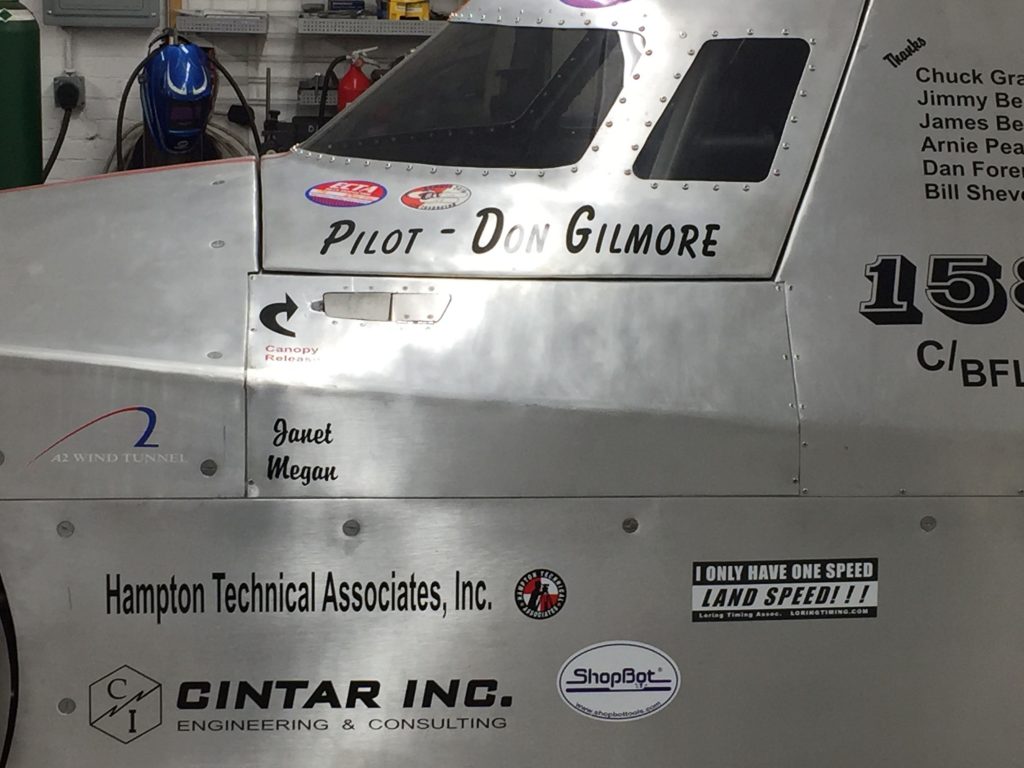
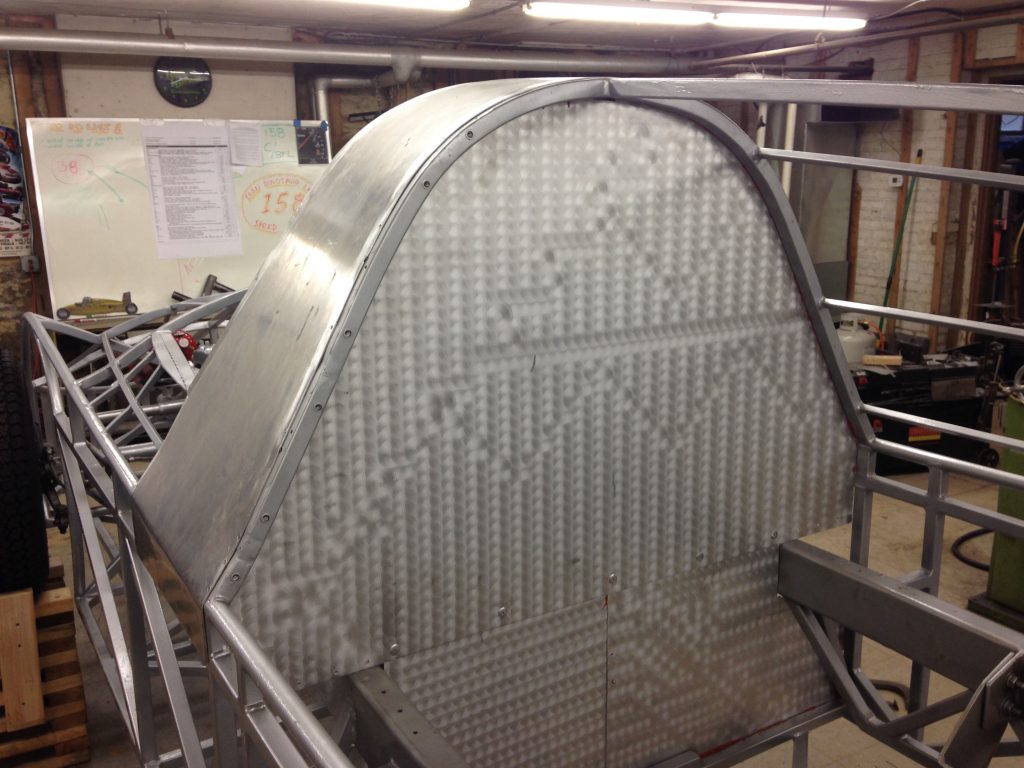
Don Gilmore certainly has no problem keeping busy. He’s an engineer by day, but builds race cars, creates glass art sculptures, and even enjoys amateur paleontology in his spare time. While these disciplines couldn’t appear more different, Don has found a way to merge them all together. His team, Iron Dinosaur Racing, got its name from the appearance of their car’s welded frame in its early stages, resembling the ribcage of a fossilized skeleton. The team has also been able to adapt to changes that have come their way, using the ShopBot to cut just about every type of material imaginable on the way to creating a car that holds all of the East Coast speed records for its class. The team is next headed to the Bonneville Salt Flats in August 2017 to make an attempt on the existing record there of 349.873 MPH.
 The Iron Dinosaur push starting at the Ohio Mile. “More Than Just for Wood”
According to the Iron Dinosaur team, the ShopBot was such a vital tool in the creation of the racer, that it was only after Gilmore started listing the work items that he utilized the tool for that he realized it had become almost a member of the team itself. In addition to a number of prototype runs, the team made extensive use of their ability to cut and machine aluminum; they milled the engine’s 3.5′ x 4′ ft. firewall and aluminum dash (including instrument openings), and surfaced both to give it a nice appearance. They also cut torsion bar stabilizer links from ¾” x 2” 6061 aluminum, an important part of the car’s suspension system.
 The Iron Dinosaur’s engine turned firewall surface cut on the team’s ShopBot. The Iron Dinosaur on Display
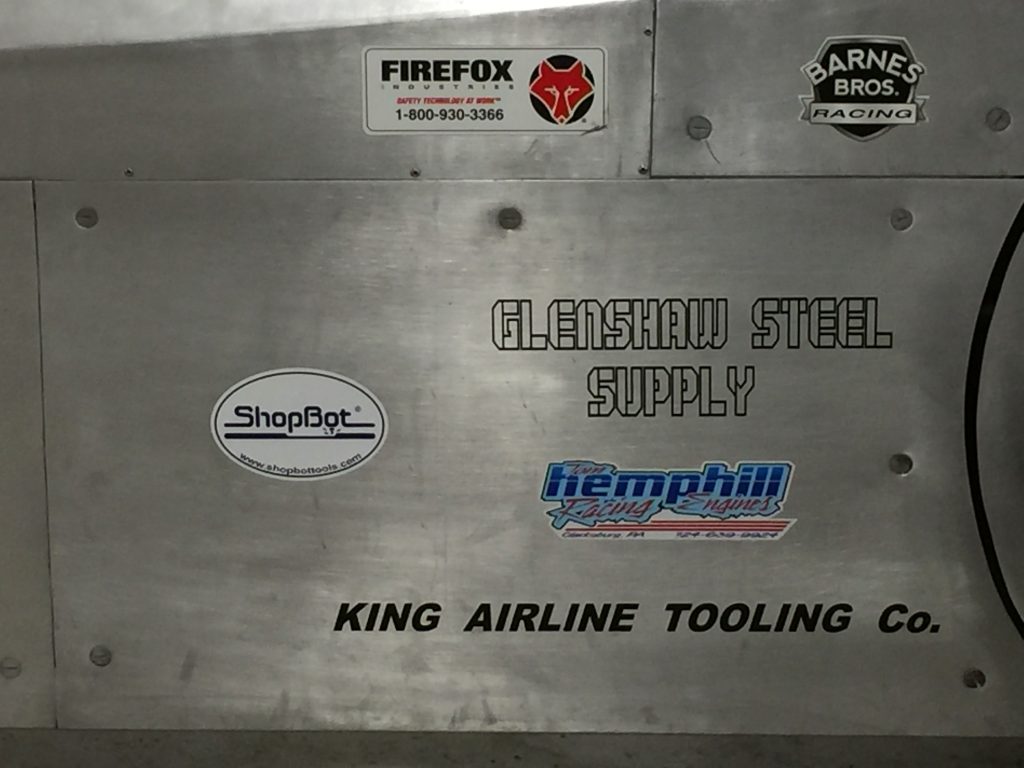 Stickers on the cockpit highlight all the partners that helped build the car. The team displayed their car at the Piston Power Show in Cleveland on March 17, 18 & 19. It was wildly popular, pulling in first place in its class. One of the more interesting factors of Don’s experience was that many people he talked to at the event were either ShopBot owners or had used Aspire at some point. A number of the ShopBot owners had used them in other capacities, and were very interested in how the team used a CNC tool in the manufacture of a car.
The Iron Dinosaur in Western NC
If you’re in the Western NC/Eastern TN area, or are looking to make the trip to see the land speed racer, you can catch the car on display and meet the team at the Wheels Through Time Museum in Maggie Valley, NC from July 7-9, 9am-5pm.
Don’s Glass Art
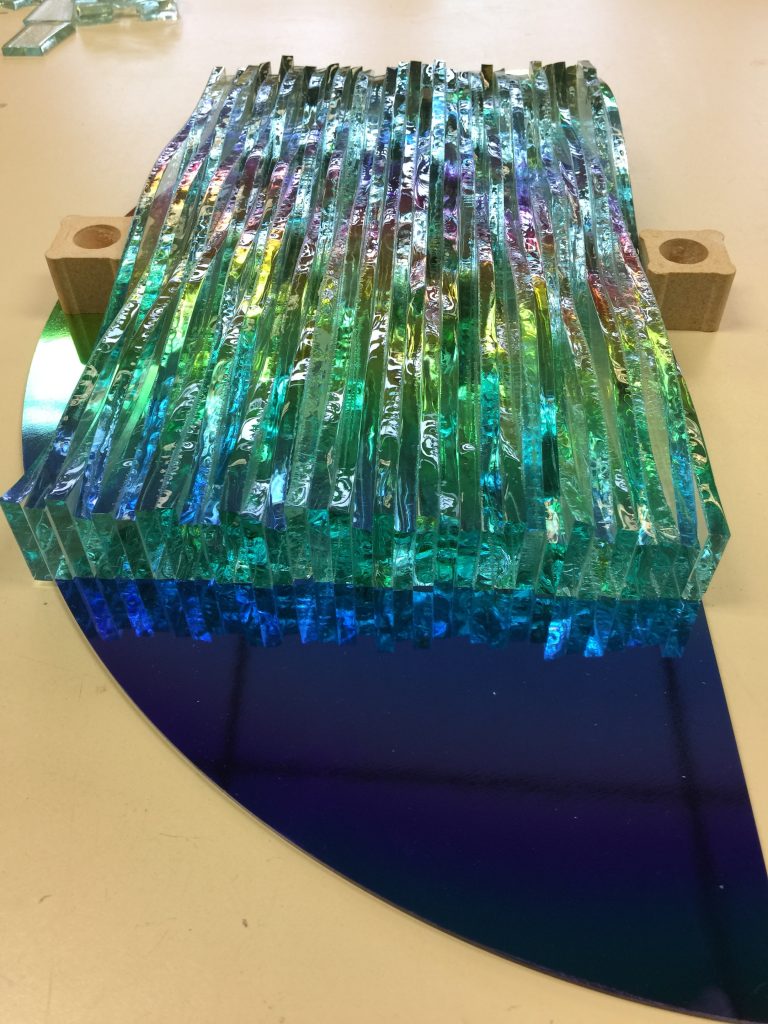
In addition to working on the Iron Dinosaur car, Don has developed an interest in creating art out of glass. In trying to build the perfect windshield for his racer, Don has experience working with all shapes and types of glass materials, gaining an understanding of its properties along the way. He’s currently working on a piece based on a ¼” float wave cut mounted on a sheet of dichroic. He plans on fusing the float together and slightly softening the edges to complement the refraction of light, allowing for an even more striking prismatic result.
By Tim Babiasz, May 8th, 2017 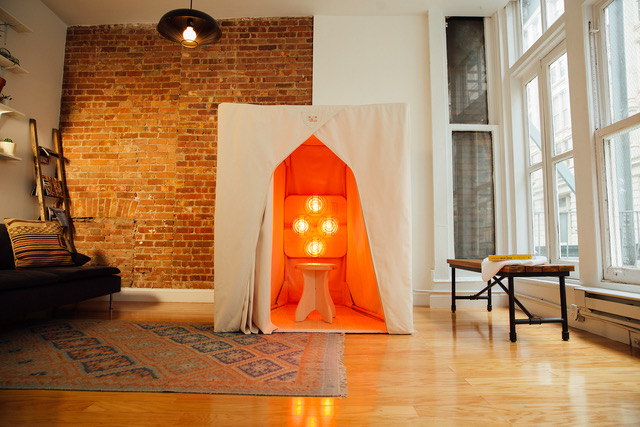 The Pocket Sauna® is just one of many products that SaunaSpace is bringing into the average American home. Brian Richards is the founder and CEO of SaunaSpace, a company that manufactures health-oriented sauna solutions designed to fit into any lifestyle and budget. Their saunas provide what Brian refers to as “an ancestral healing method for the modern home without costly installation or planning,” which allows any consumer to enjoy reduced stress hormones, decreased blood pressure, and improved cardiovascular health. Having a ShopBot PRSalpha helped Brian bring the healing nature of saunas into the typical home with a range of convenient and manageable sauna installations, making real products out of lofty ideas.
 A CNC tool helps SaunaSpace add repeatable precision to production. When Richards was first getting started, he applied for a substantial business loan so he could get his idea off the ground. But when he came across a ShopBot in another local Columbia, MO business, he was able to increase the loan amount under the pretense that an automated CNC tool would minimize future debt potential. With the purchase of a 96-60 PRSalpha, SaunaSpace immediately gained the ability to design & prototype everything in-house, boosting production capability and flexibility. Since then, the production has become incredibly lean and efficient, with the ShopBot running essentially all day long: it spends 4-5 hours a day cutting parts for production, a few hours for prototyping, and any remaining time is dedicated to experimentation or cutting parts needed for business. In Brian’s words, the PRSalpha is “a production infrastructure in itself” for SaunaSpace, a concept that fits in with ShopBot’s stance on the future of manufacturing.
Prototyping Makes Perfect on the PRSalpha
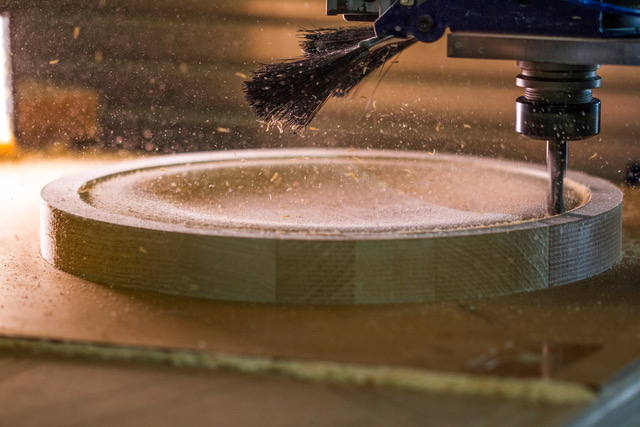
All of SaunaSpace’s prototypes are made in pine, which is a more affordable and flexible alternative compared to the final products’ basswood, which is optimal for saunas due to its low toxicity and pliability. Working with pine makes experimentation possible without wasting materials, and is much softer and more available than basswood. By cutting prototypes in a softer wood, it guarantees that the method will work in a harder material. This prototyping workflow is one of just many developed by the SaunaSpace crew on their ShopBot, which shows just how important experimentation can be to delivering a reliable and affordable product.
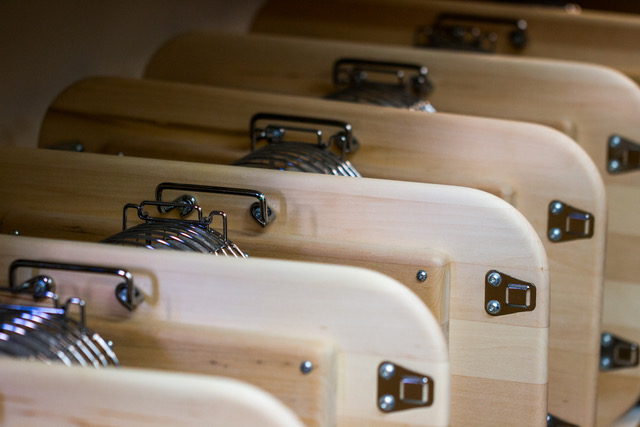
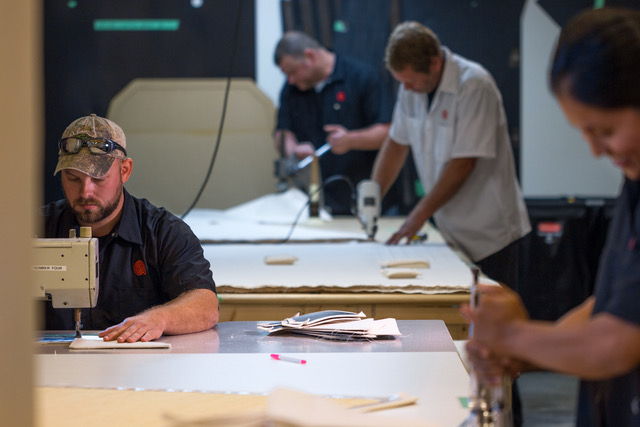
 Brian Richards holds a stand-up with his team, which has helped keep business lean and profitable. Another feature of the PRSalpha that has helped in prototyping is its precision, especially among repeated tasks. The wiring tray and light panels of all SaunaSpace products require precise cuts with different bits, and constantly making adjustments with the tool would take time and resources away form other important aspects of production. The team utilizes the tool changer and two-sided machining techniques to minimize time and effort that goes into an intricate and integral part of every sauna.
The Future of SaunaSpace Production
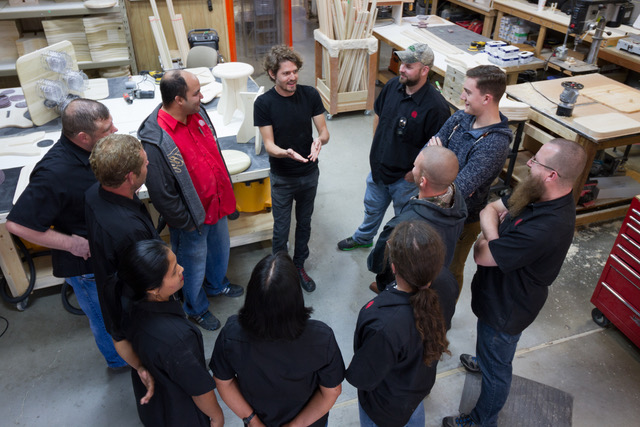
 Having a ShopBot doesn’t replace anybody. At SaunaSpace, everyone is a master at their craft. At SaunaSpace, change and adjustment is always encouraged; in fact, it’s at the very core of what has allowed the company to grow. The team is always looking to build upon its experiences to date, and doesn’t shy away from any innovation that can help improve production.
“[Customers] bring things up and we’re always keeping our ears to the ground,” notes Brian. “Having the PRSalpha in our space makes trying new things possible.”
But listening to customer feedback isn’t the only method for driving change. In fact, most of the new product ideas come from simply trying out new things. The company has been looking at the plotter pen as a way to sketch out ideas before prototyping, and are even getting ready to purchase their second PRSalpha, which will not only double production output, but allow the team to experiment while simultaneously still making a great product.
By Jeanne Taylor, April 17th, 2017  The tastiness of making mistakes.
In the 52 years that the New York State Technology and Engineering Educators Association (NYSTEEA) has been meeting, there have been a lot of changes in the design software and equipment available to teachers and students. Schools have been adding digital fabrication equipment, including CNC, into their classroom and pursuing a hands-on teaching model.
ShopBot Tools attended this year’s 2-day BSTEM event in Malta, NY, which included sessions on everything from elementary robotics to model railroading as a STEAM activity. During the mornings and breaks throughout the day, educators had a chance to see a Handibot in action, as well as understand the workflow that aligns closely with what they are teaching day-to-day in the classroom.
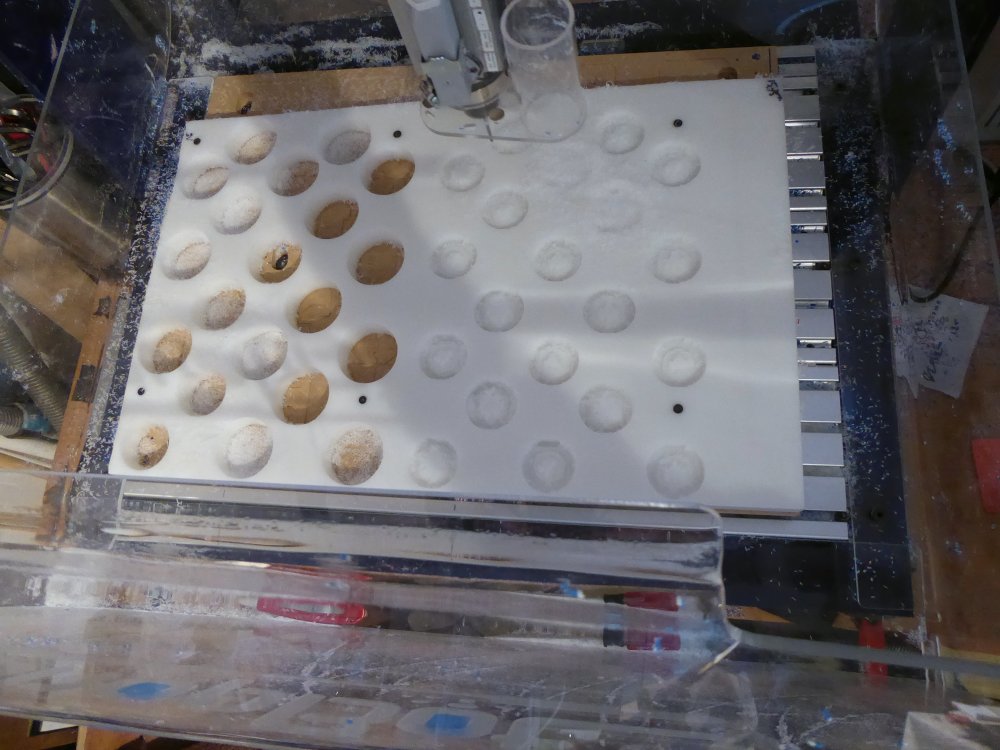
ShopBot Tools sponsored the Awards Dinner, held at the Automobile Museum in Saratoga Springs. In a brainstorming session a few weeks before the event, Sallye Coyle and I decided to create a gift for each attendee. Sallye has been playing with using ShopBots to create molds and models for casting materials such as aluminum and glass. Why not demonstrate ShopBot’s capability to machine in 3D by creating small molds to cast chocolate for an end-of-meal treat? We had no idea what we were getting into.
 The ingredients for our experiment required different types of chocolate and mold release sprays.
The first step was to prototype the mold (negative space) that we would pour the melted chocolate into. Since we intended for people to eat the chocolate, we started with food-grade HDPE, the solid material that plastic cutting boards are made out of. It machined beautifully, and the melted chocolate flowed into the mold without any problems. However, after it solidified again, both kinds of chocolate we tried were too brittle to release easily from the rigid mold, even with a mold release agent. Hardship prevailed: we had to eat all the chocolate that broke as it was removed from the prototype molds.
The next step was to create a model (positive space) that resembled the actual shape the chocolate would take. Then, a two-part food-grade silicon material was poured around the model so it would become the mold. The silicon remains flexible after it sets, so a brittle material can be popped out. In the first tries, we tested two types of mold release: PAM and coconut oil. The finished product came right out of the mold with both, but the top of the chocolate was discolored with unappealing white streaks. When no mold release was applied, the chocolate still came out of the mold easily and retained its rich, dark color.
 Silicon molds were successful in producing chocolate shapes, but the mold release left discoloration.
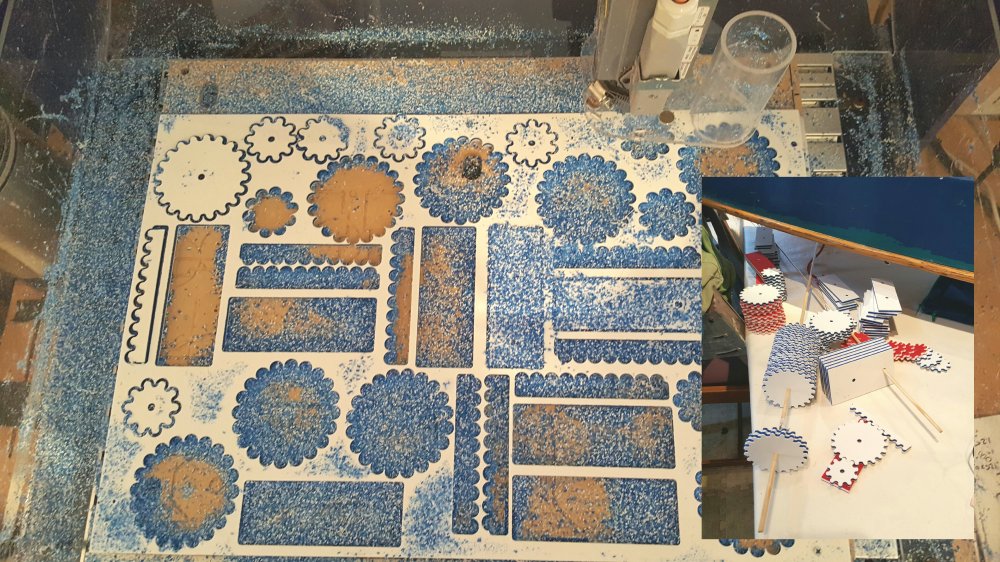
We now had a functional mold, but our prototyping showed us another problem with going into small scale production: the two-part silicon mold material was just too expensive and the process itself too time-consuming for us to make 150 molds. While a flexible material such as gelatin came out of the rigid molds, it just was not as appealing as chocolate. So, we came up with other options for the giveaway that included ShopBot-cut rack and pinion gears, which also explained how the tools are made.
The project didn’t turn out the way we had initially hoped. However, the prototyping process was a great example of many things that engineering teachers are trying to convey to their students: design thinking, learning from failure, iteration, record keeping, and decision making. Cost effectiveness is another important consideration that needs to be put into the equation.
Sallye used Aspire, a 3D design and machining software, to design her molds and models. Aspire is the “big sister” to VCarve Pro, the 2D CAD and 2D/3D CAM software that comes bundled with every ShopBot and Handibot. She machined the prototypes and did small scale production of the molds, models, and gifts on a ShopBot Desktop.
The day after the dinner, several teachers came up to thank ShopBot and reveal how the evening’s talk had inspired them. One teacher said that, in 27 years of coming to the NYSTEEA conference, no one had ever talked about food. He had a grant to create a garden to engage kids who would not otherwise be drawn into science and engineering. Others learned that 3D models can be realized in more ways than with 3D printers, and that it is important to have a suite of digital fabrication tools available, including a ShopBot or Handibot CNC. Having the right tools in the classroom/lab allows students to follow through on their ideas from CAD design to mock-up to tangible item, and to learn from their mistakes and revise. In fact, it is the mistakes that can lead to some of the greatest successes.
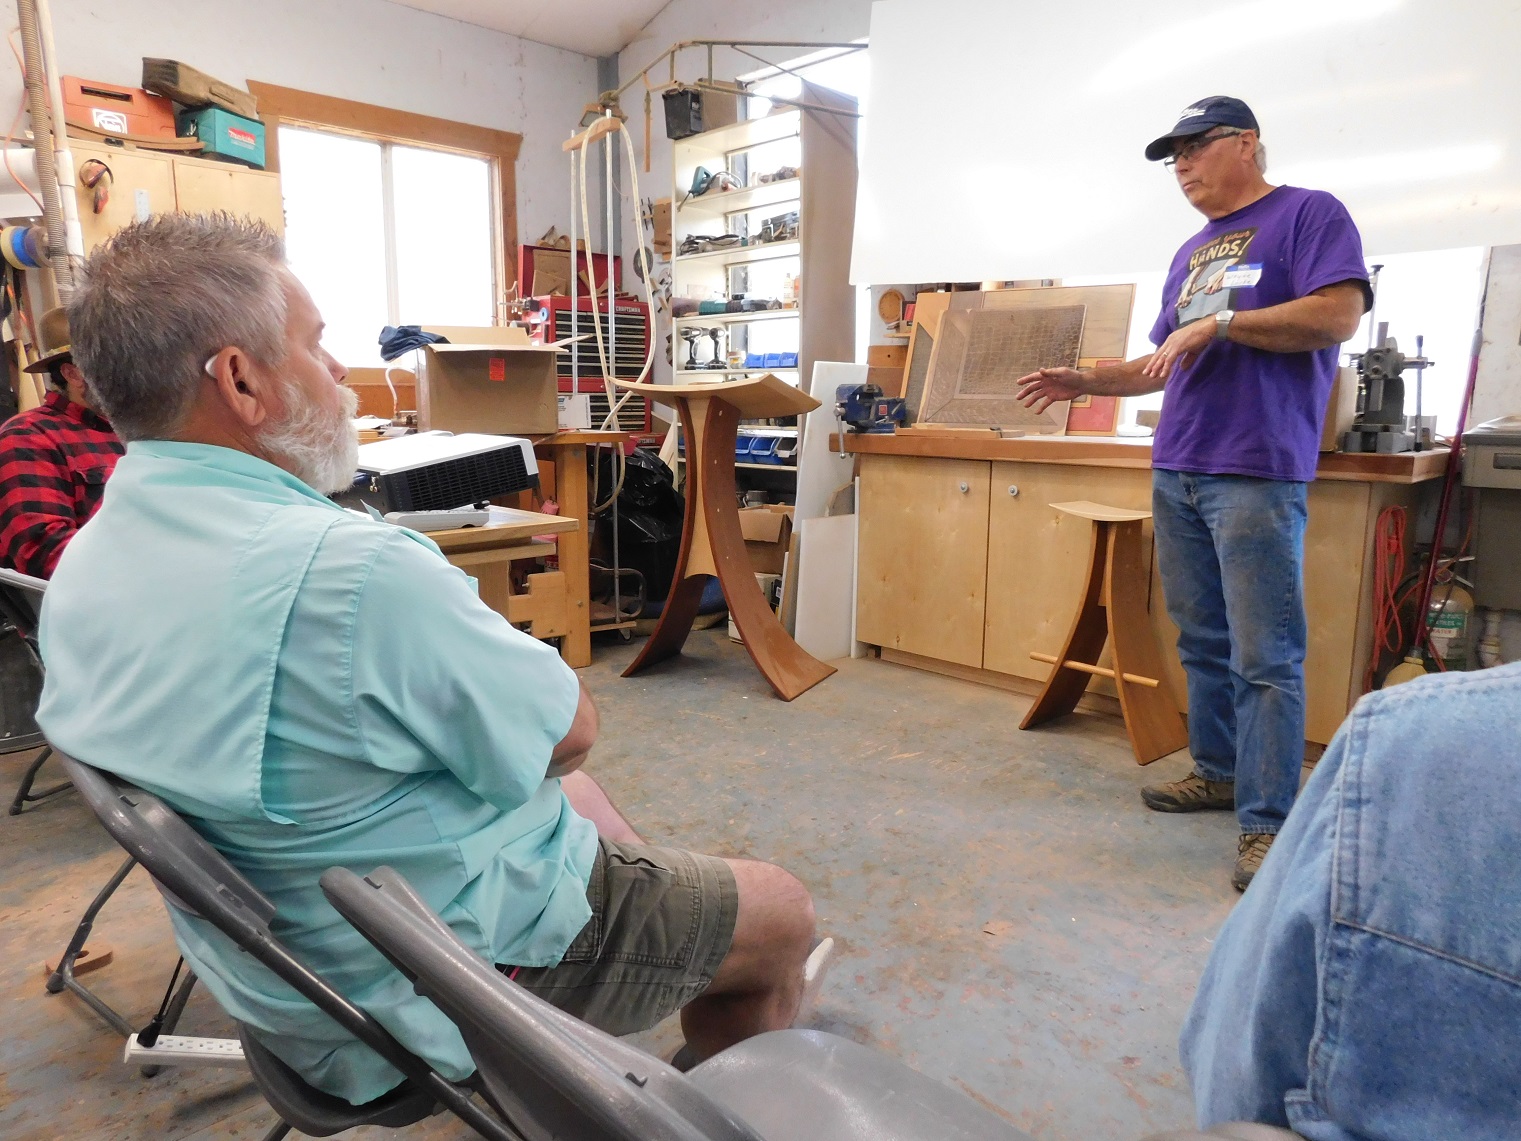
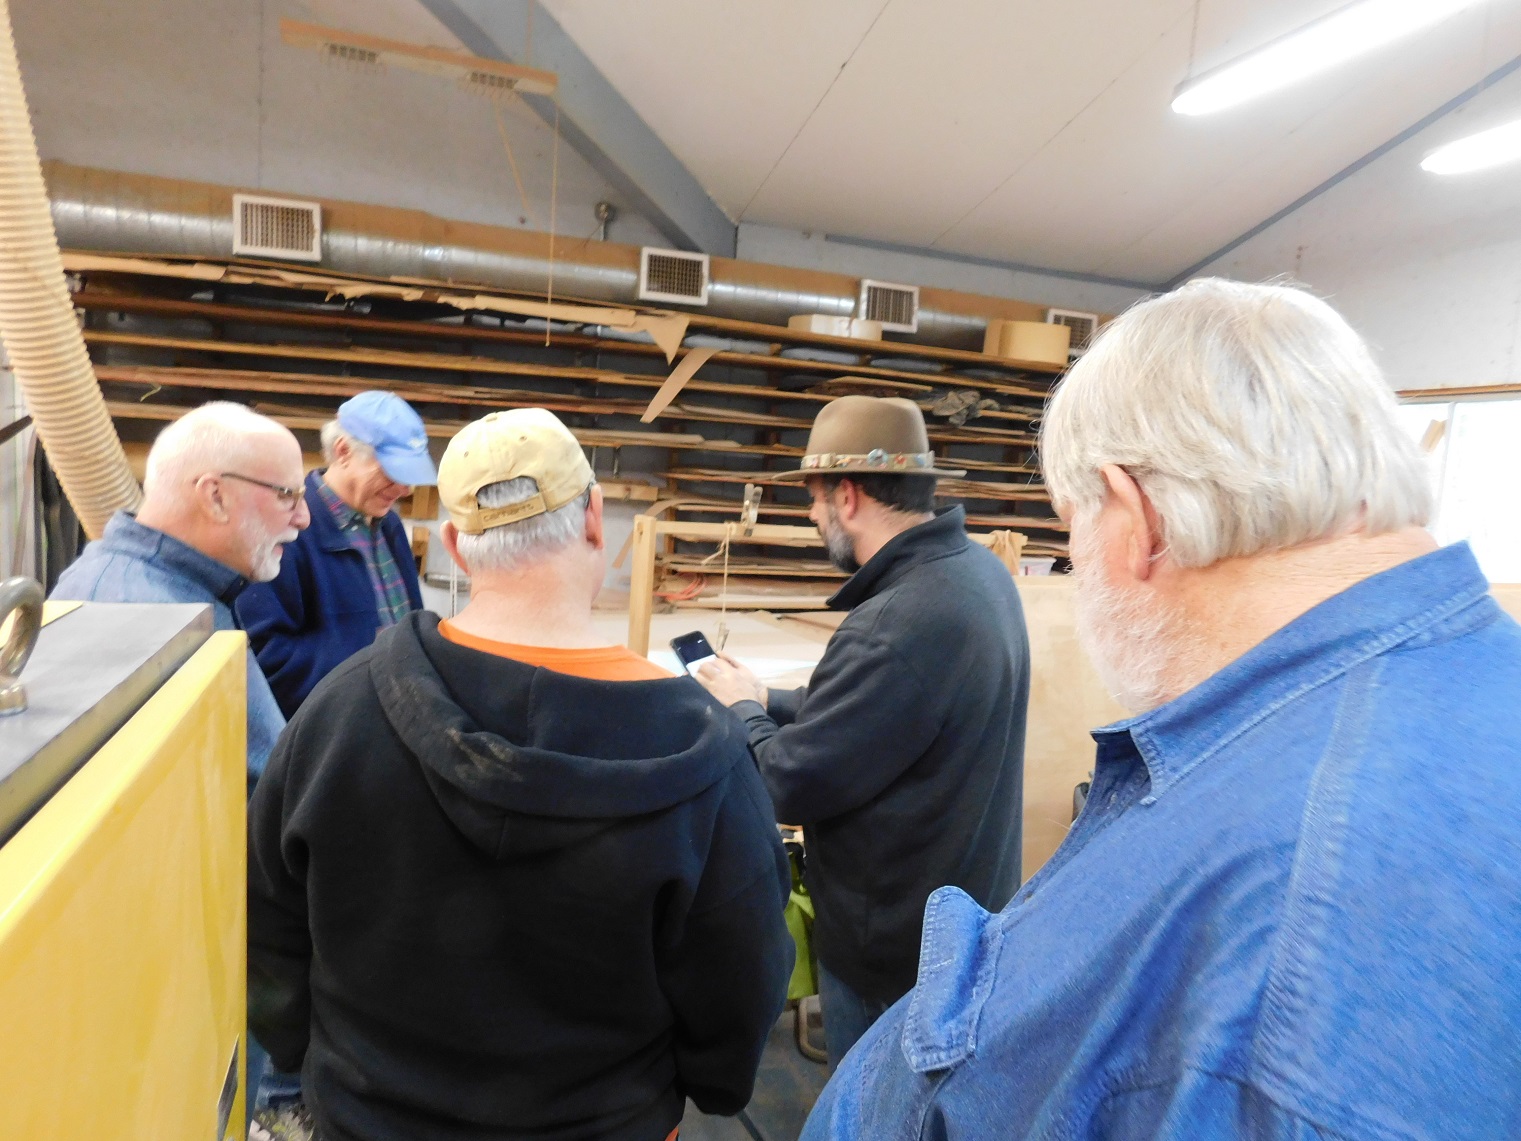
One of the fortunate coincidences for my trip to Austin was that Wayne Locke’s CNC User Group was the weekend before SxSWEdu and SxSWCreate. Wayne’s gatherings are, by far, the longest running gatherings of ShopBotters and others that are interested in all things CNC-related. This year, as always, it was held in his shop behind his house outside of Austin.
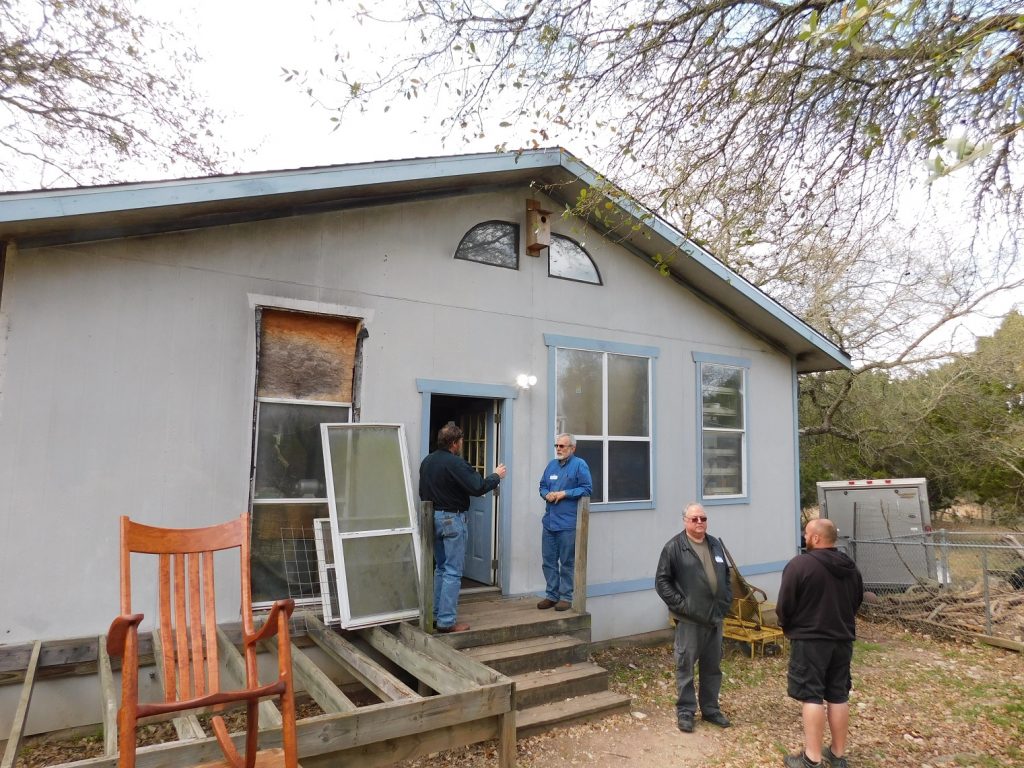
 Our host
Wayne is a woodworker and furniture builder that specializes in church furnishings. Like many woodworkers he works by himself, which means he falls into one of two categories…very organized or total chaos. Fortunately Wayne falls into the first one!
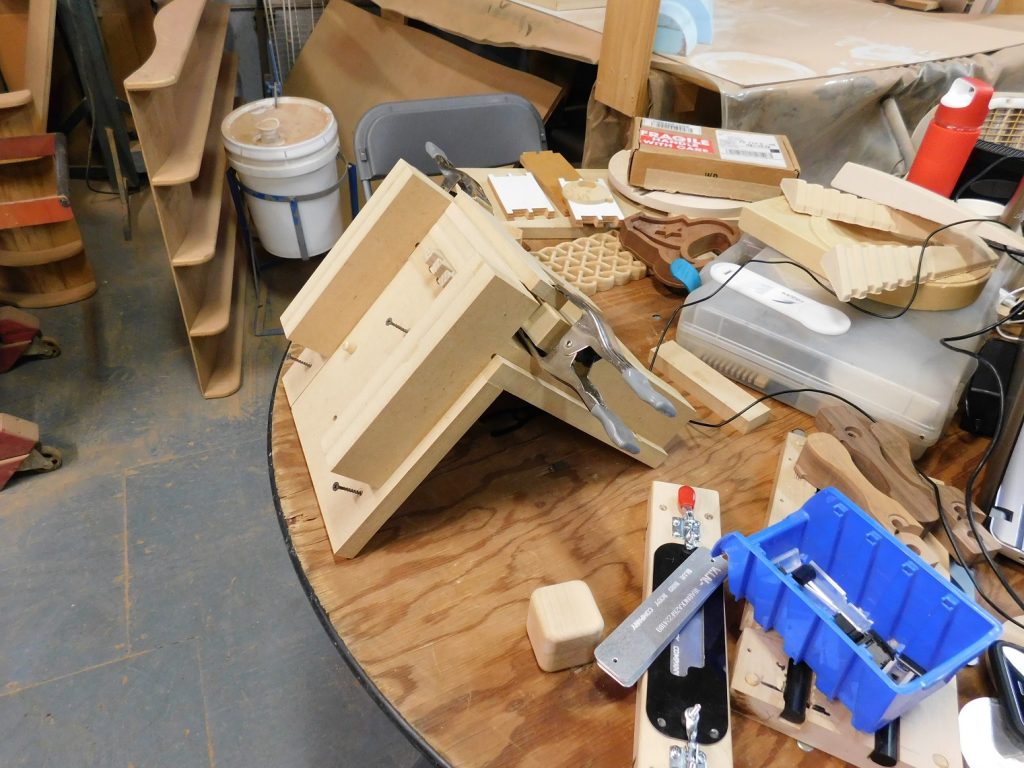
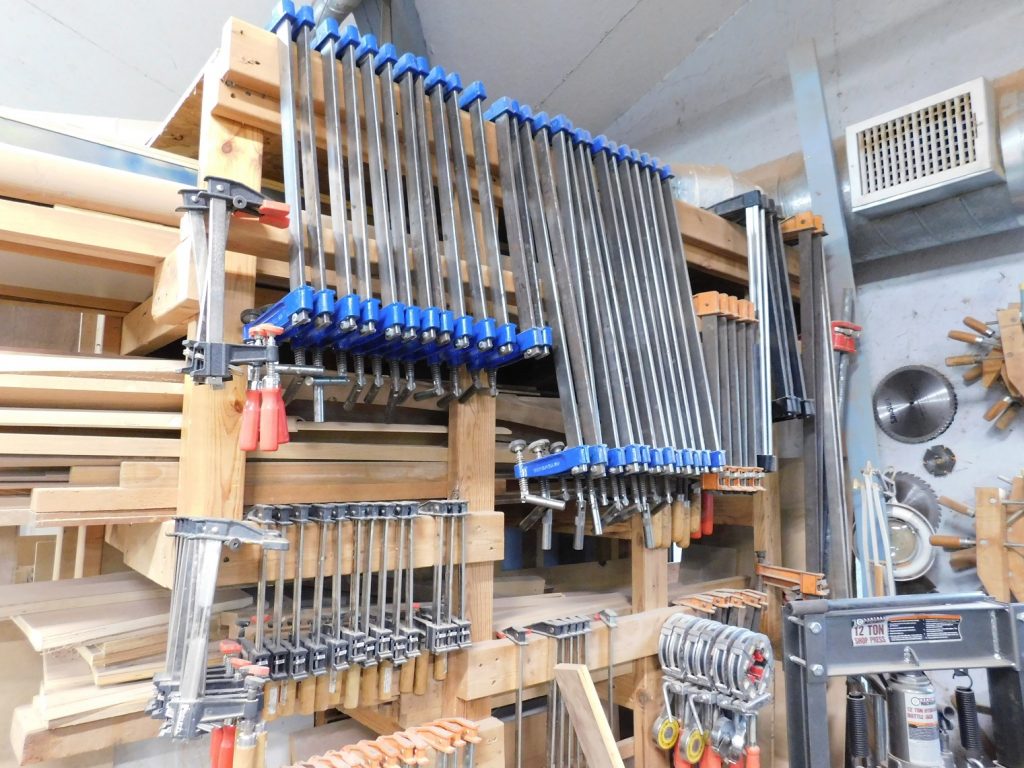 You can never have too many clamps!
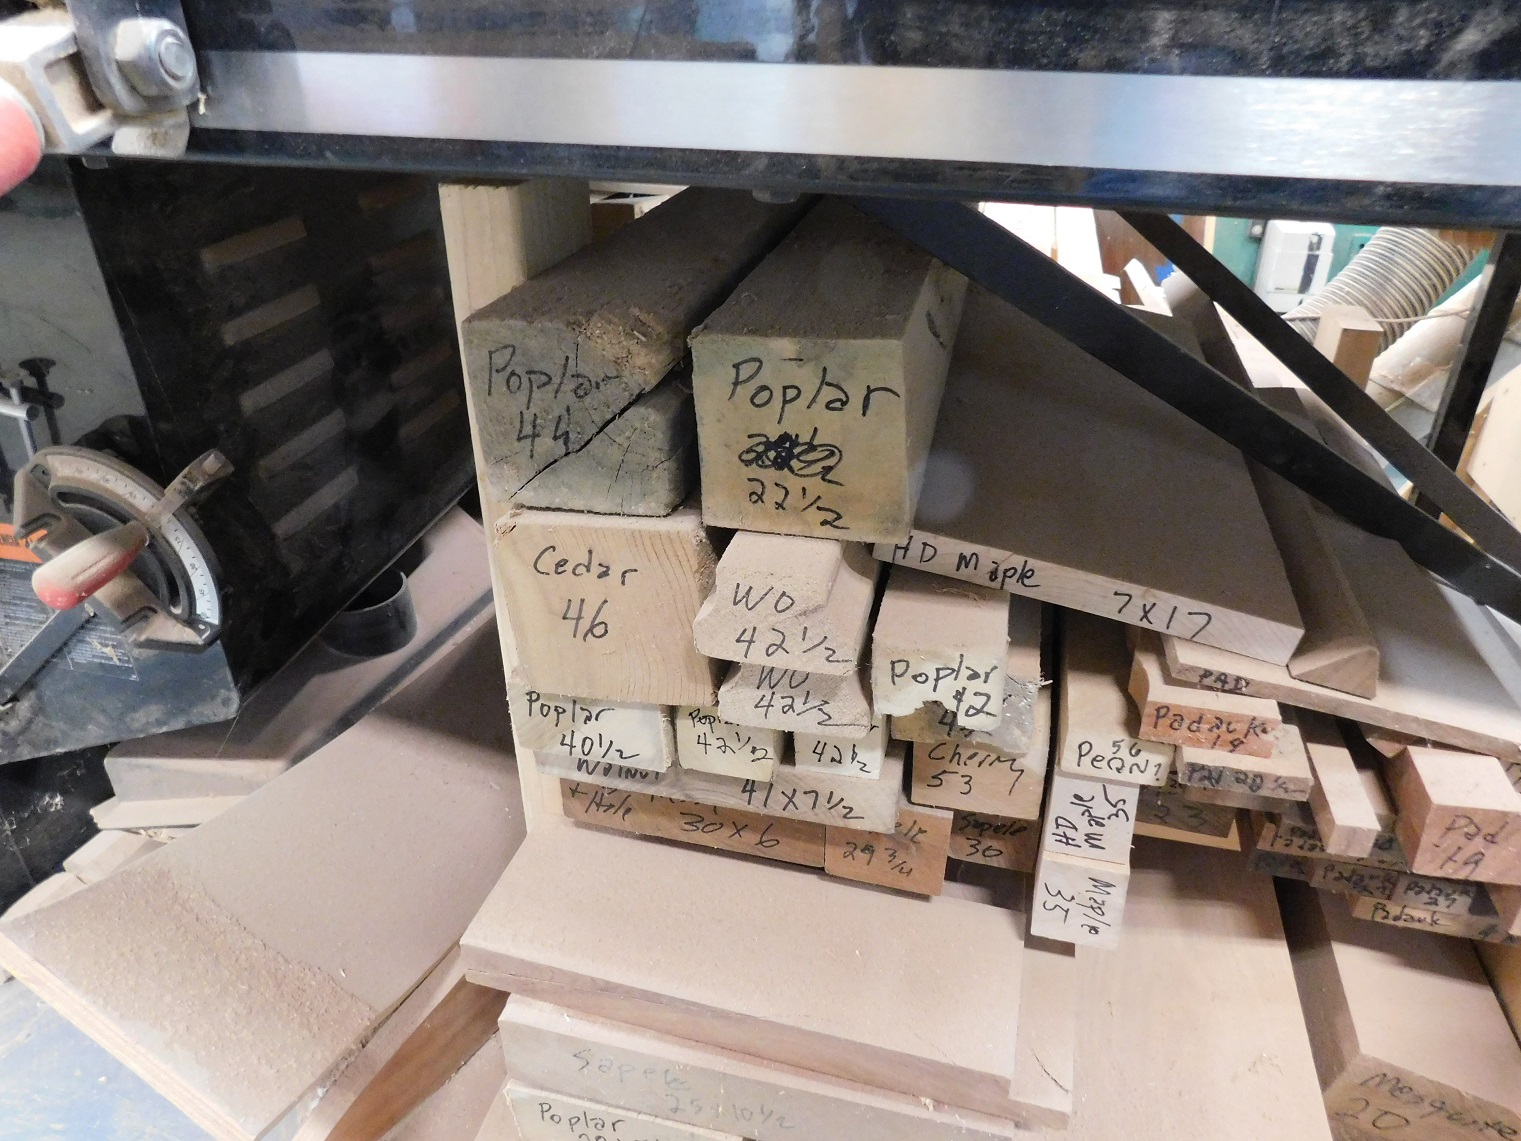
 Keeping track of scraps
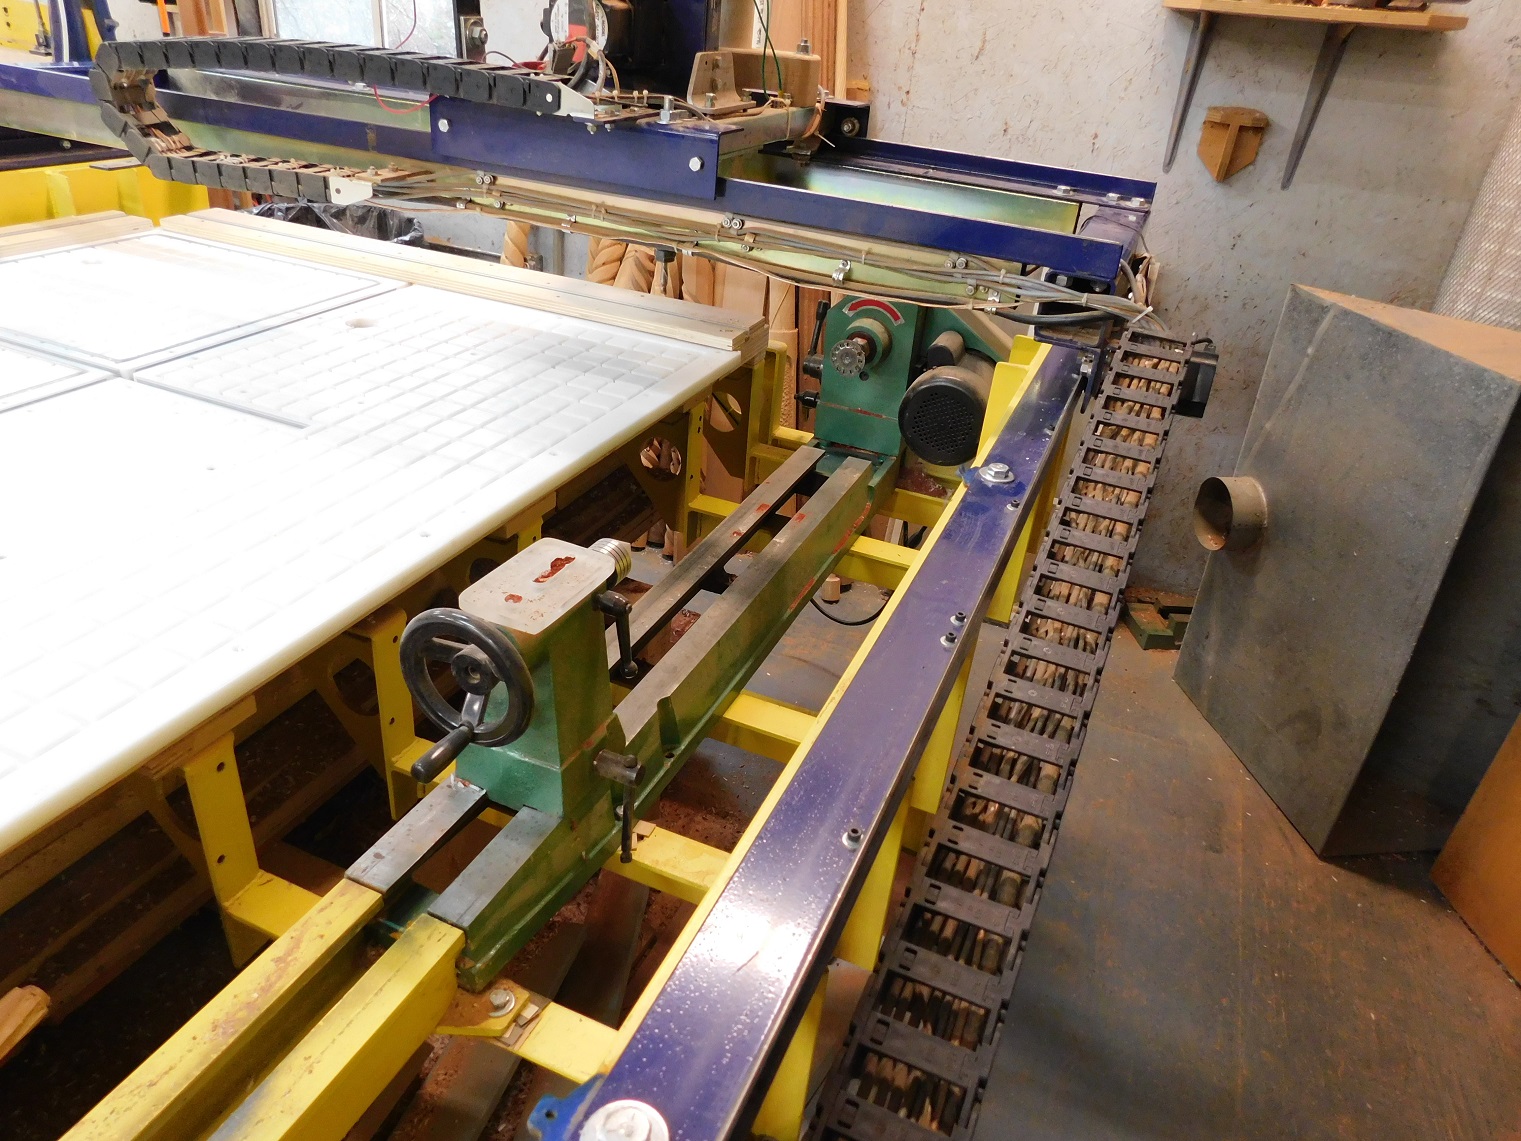
Since he does such a wide variety of work, Wayne’s PRT ShopBot has been modified with a couple of custom additions. He’s added an indexer to the side of his ShopBot, modifying the table so that he can do an 8′ turning. He’s also added a very versatile vacuum hold-down system with a highly customizable plenum for holding parts of all sizes. His table is a funny color, but we try not to hold that against him.
 Indexer in a lowered section of the table
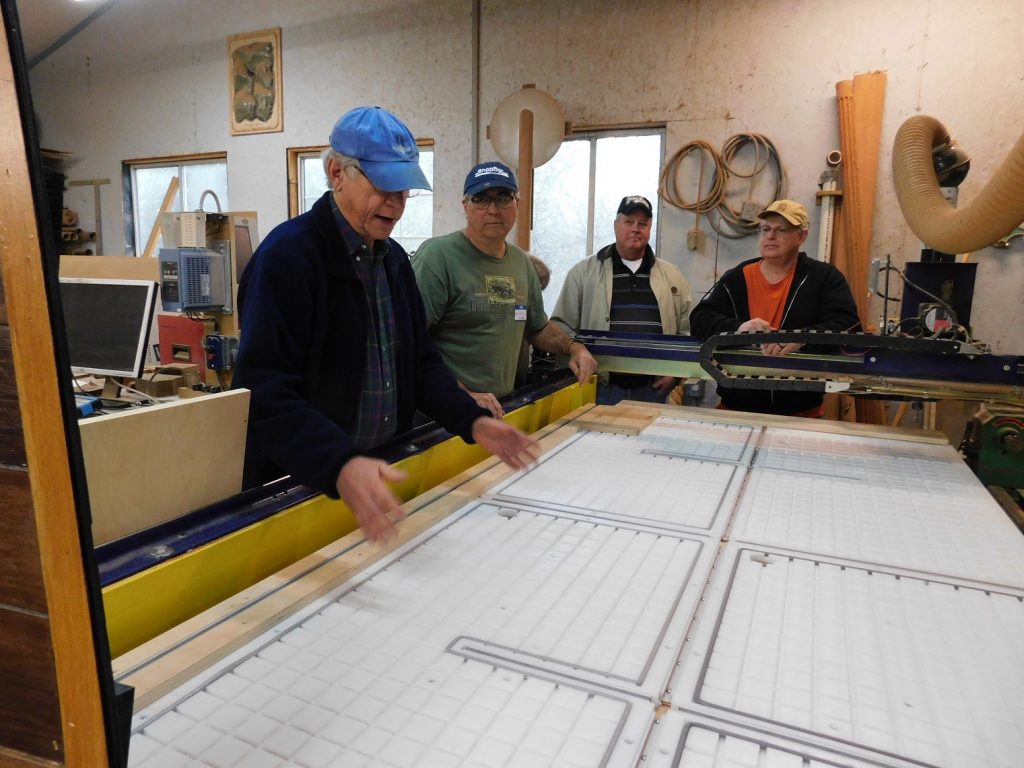 Discussing hold down options
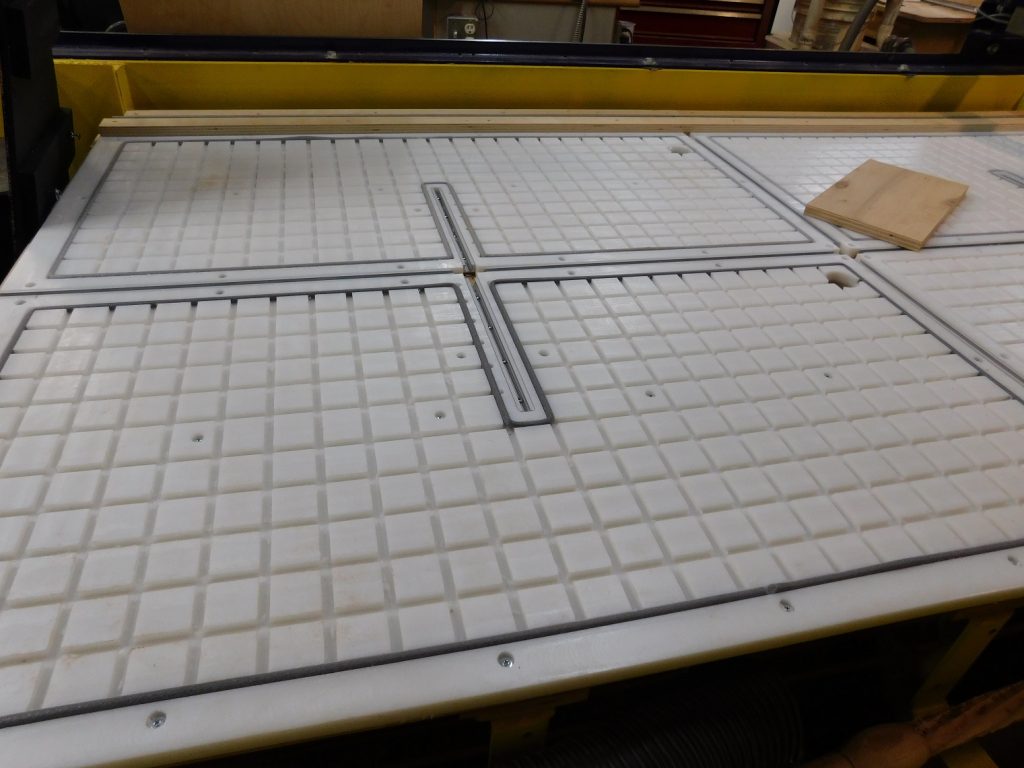 Wayne’s table allows for both vacuum and mechanical clamping using t-slots
One of the first presenters was long-time ShopBotter Santiago Laverde. Santiago does custom cutting and specializes in jigging and setting up for production runs. He started with an overview of some of the work he had done, followed with one in jigging for production that used a bottle opener as the example product
 Santiago
 Some of Santiago’s work
 Holding jig for machining bottle openers
 A prototype cut for a bottle opener
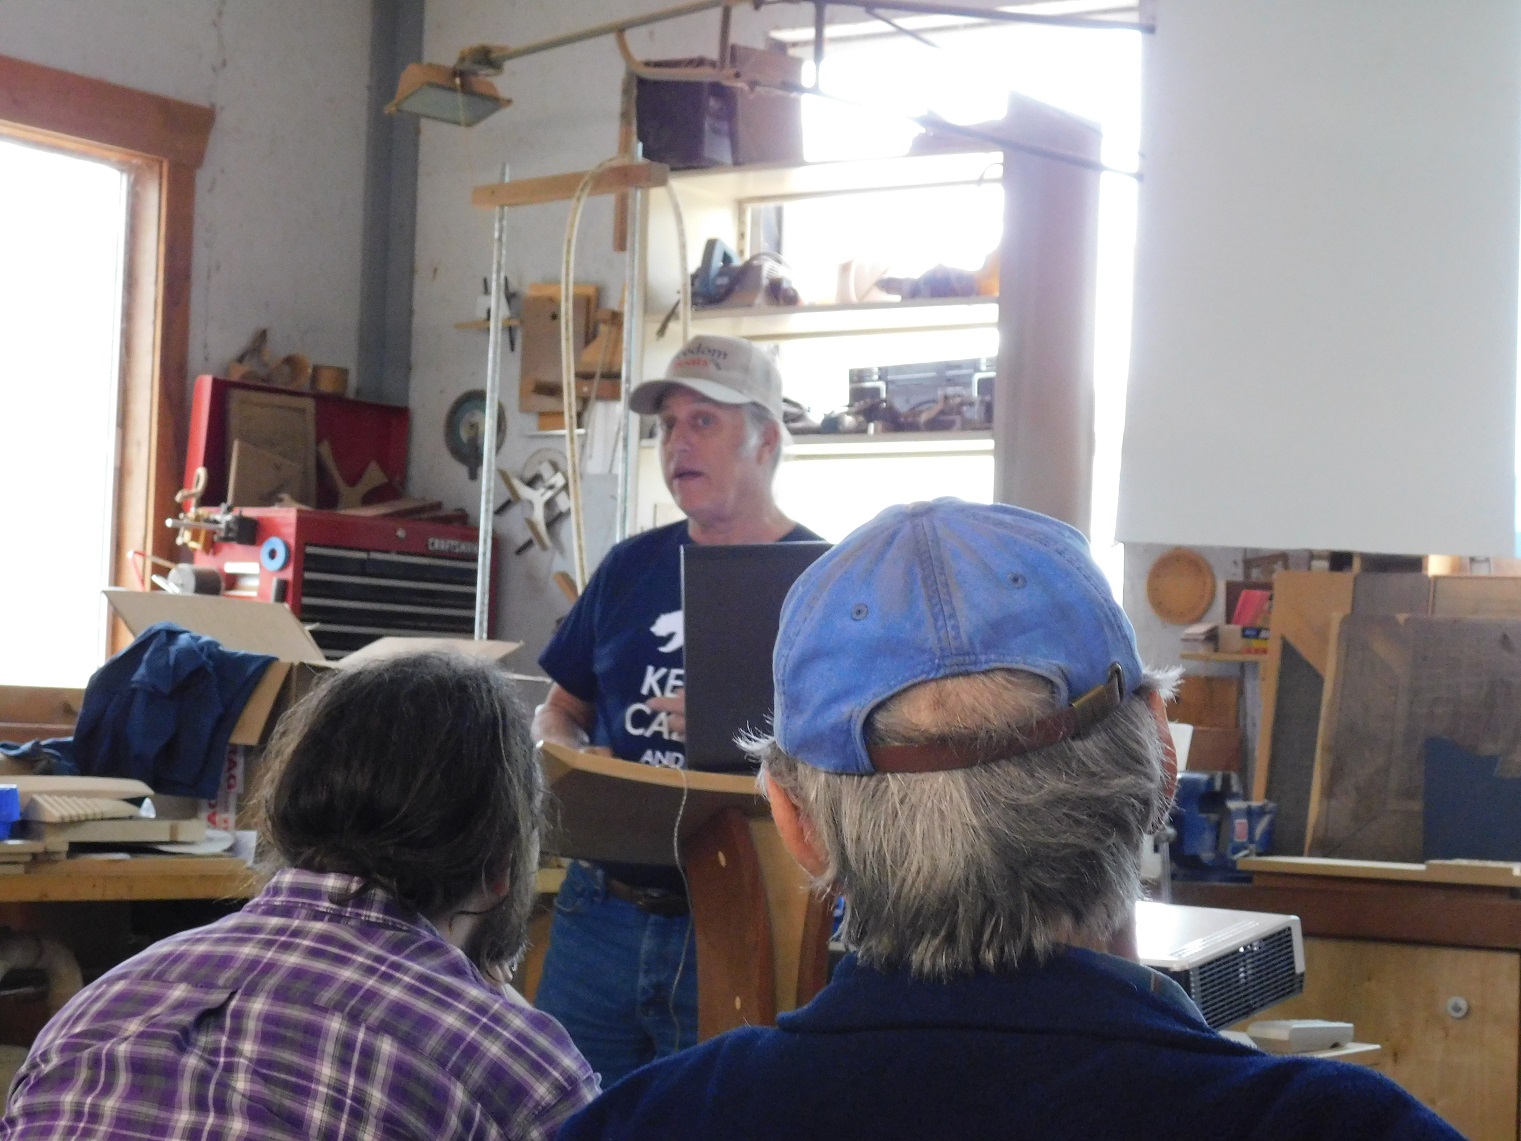
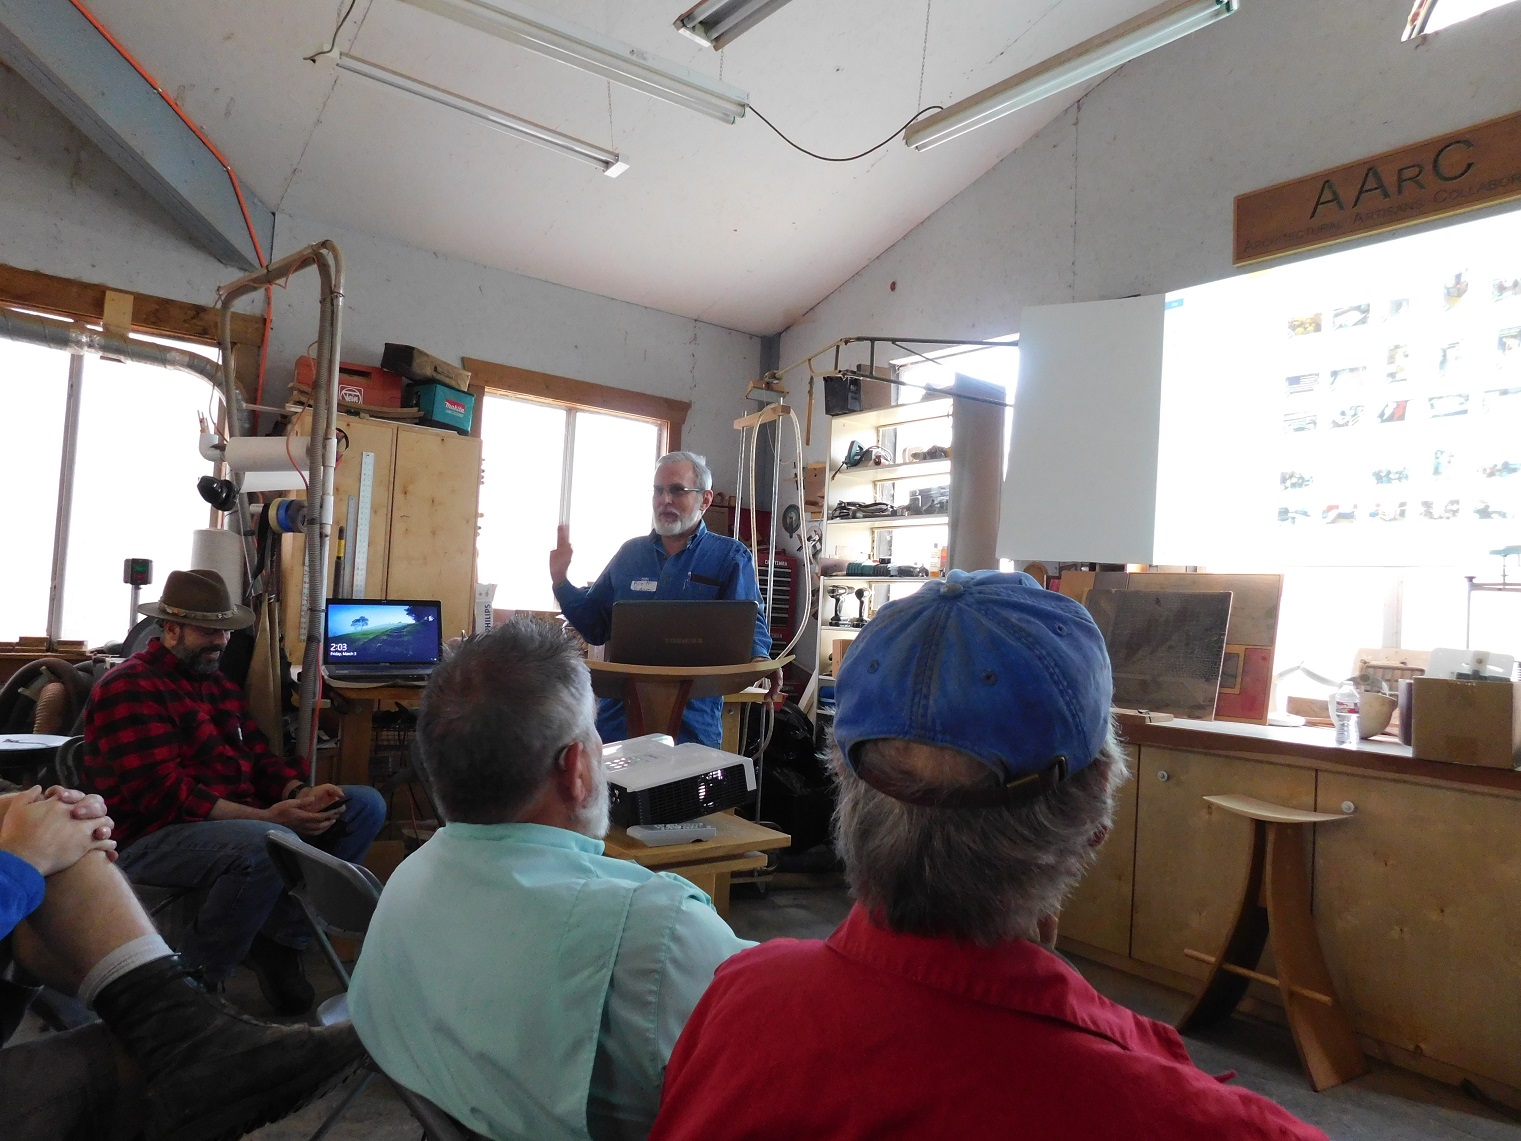
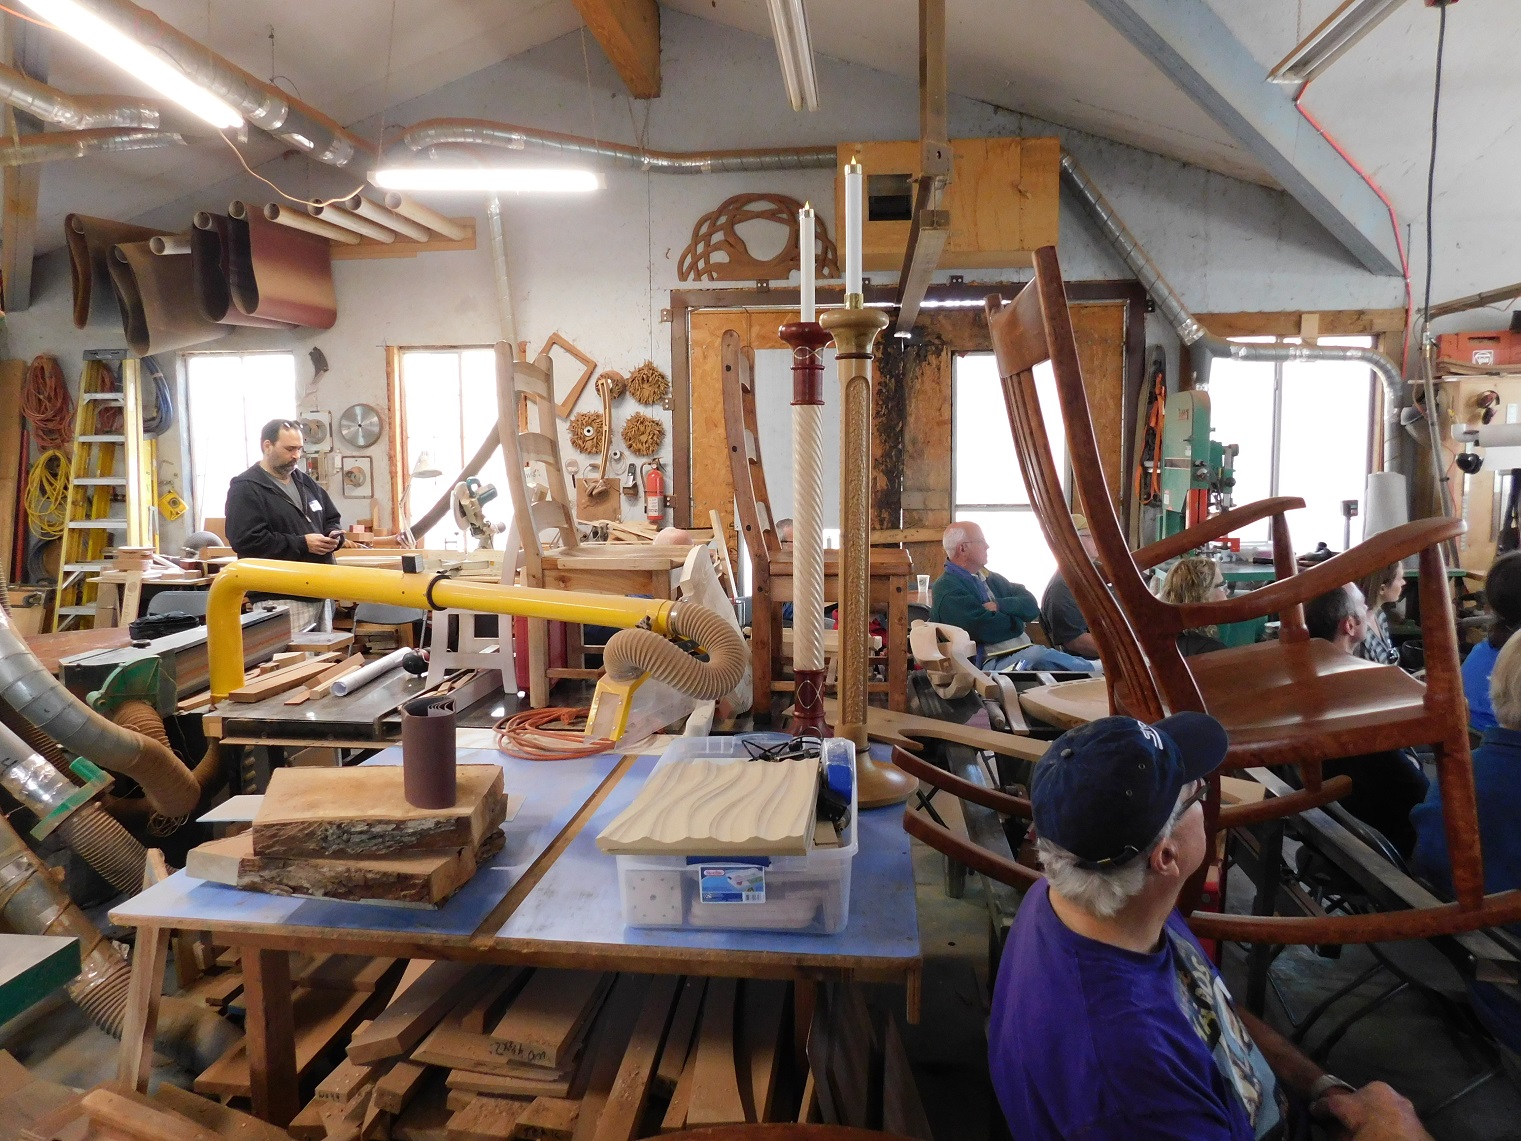
One of the main topics of discussion this year was chairs, which began with a presentation by Gary Weeks that described how they currently make their rockers. Their handmade rockers are beautiful, but very labor intensive to make, so they came to the User Group to explore the idea of adding a ShopBot to their shop. Lots of creative and clever thoughts from the crowd, including a discussion of what “handmade” really means and where tools of all kinds fit in. It’ll be interesting to see what they decide!
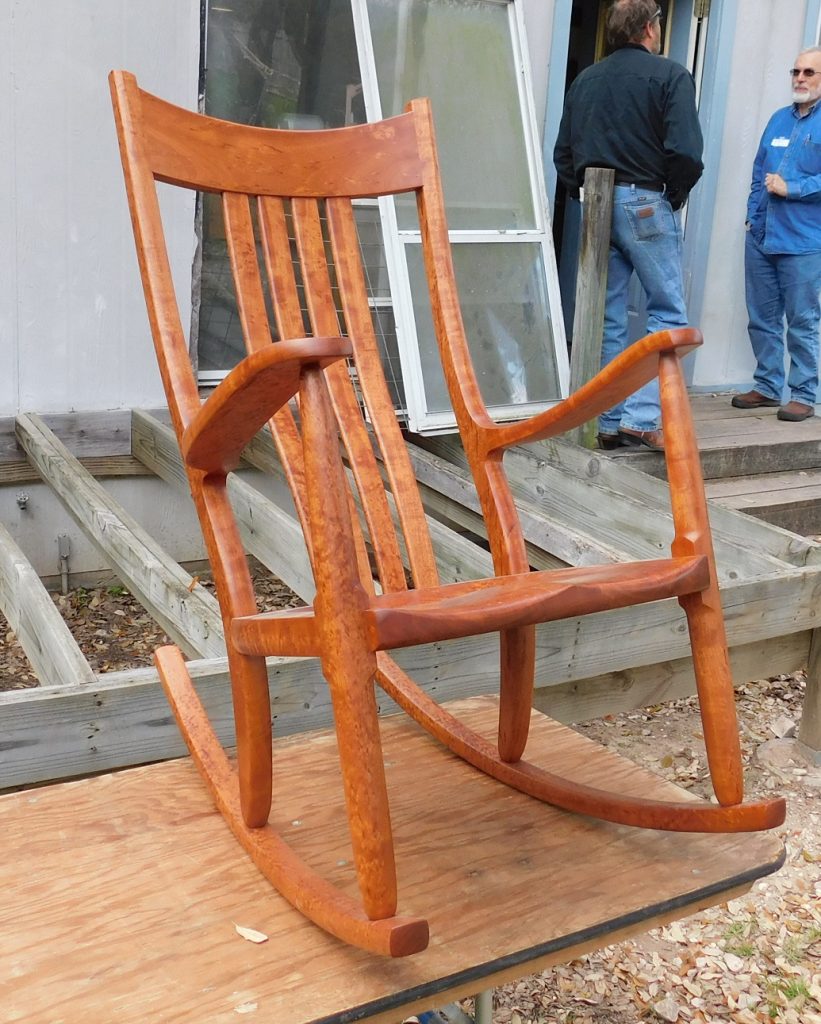 A Weeks rocker
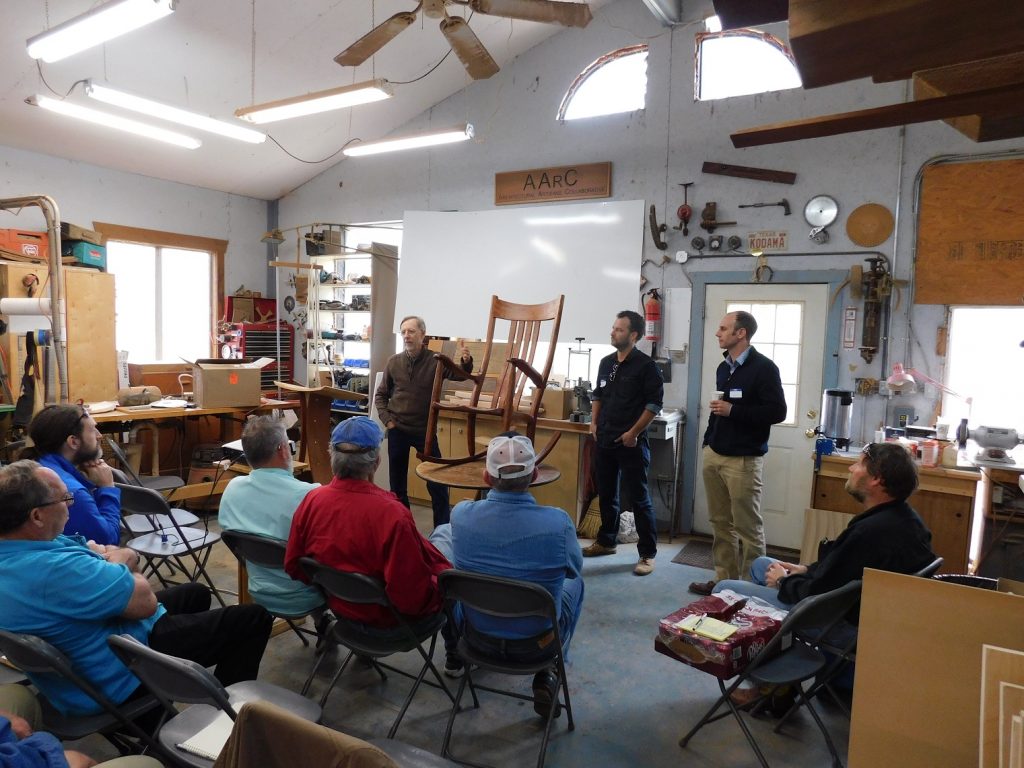 The Weeks crew talking about their beautiful chairs
 Wayne examining a rocking chair arm
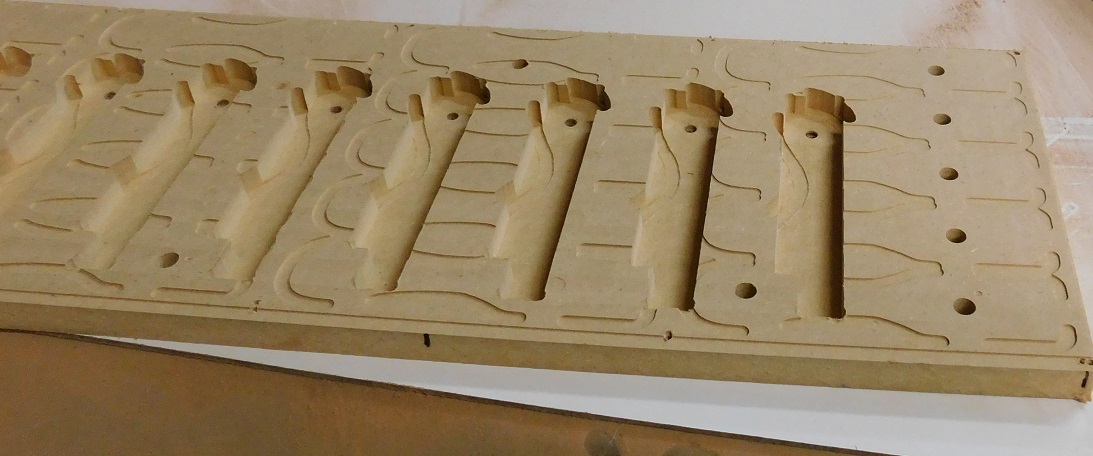
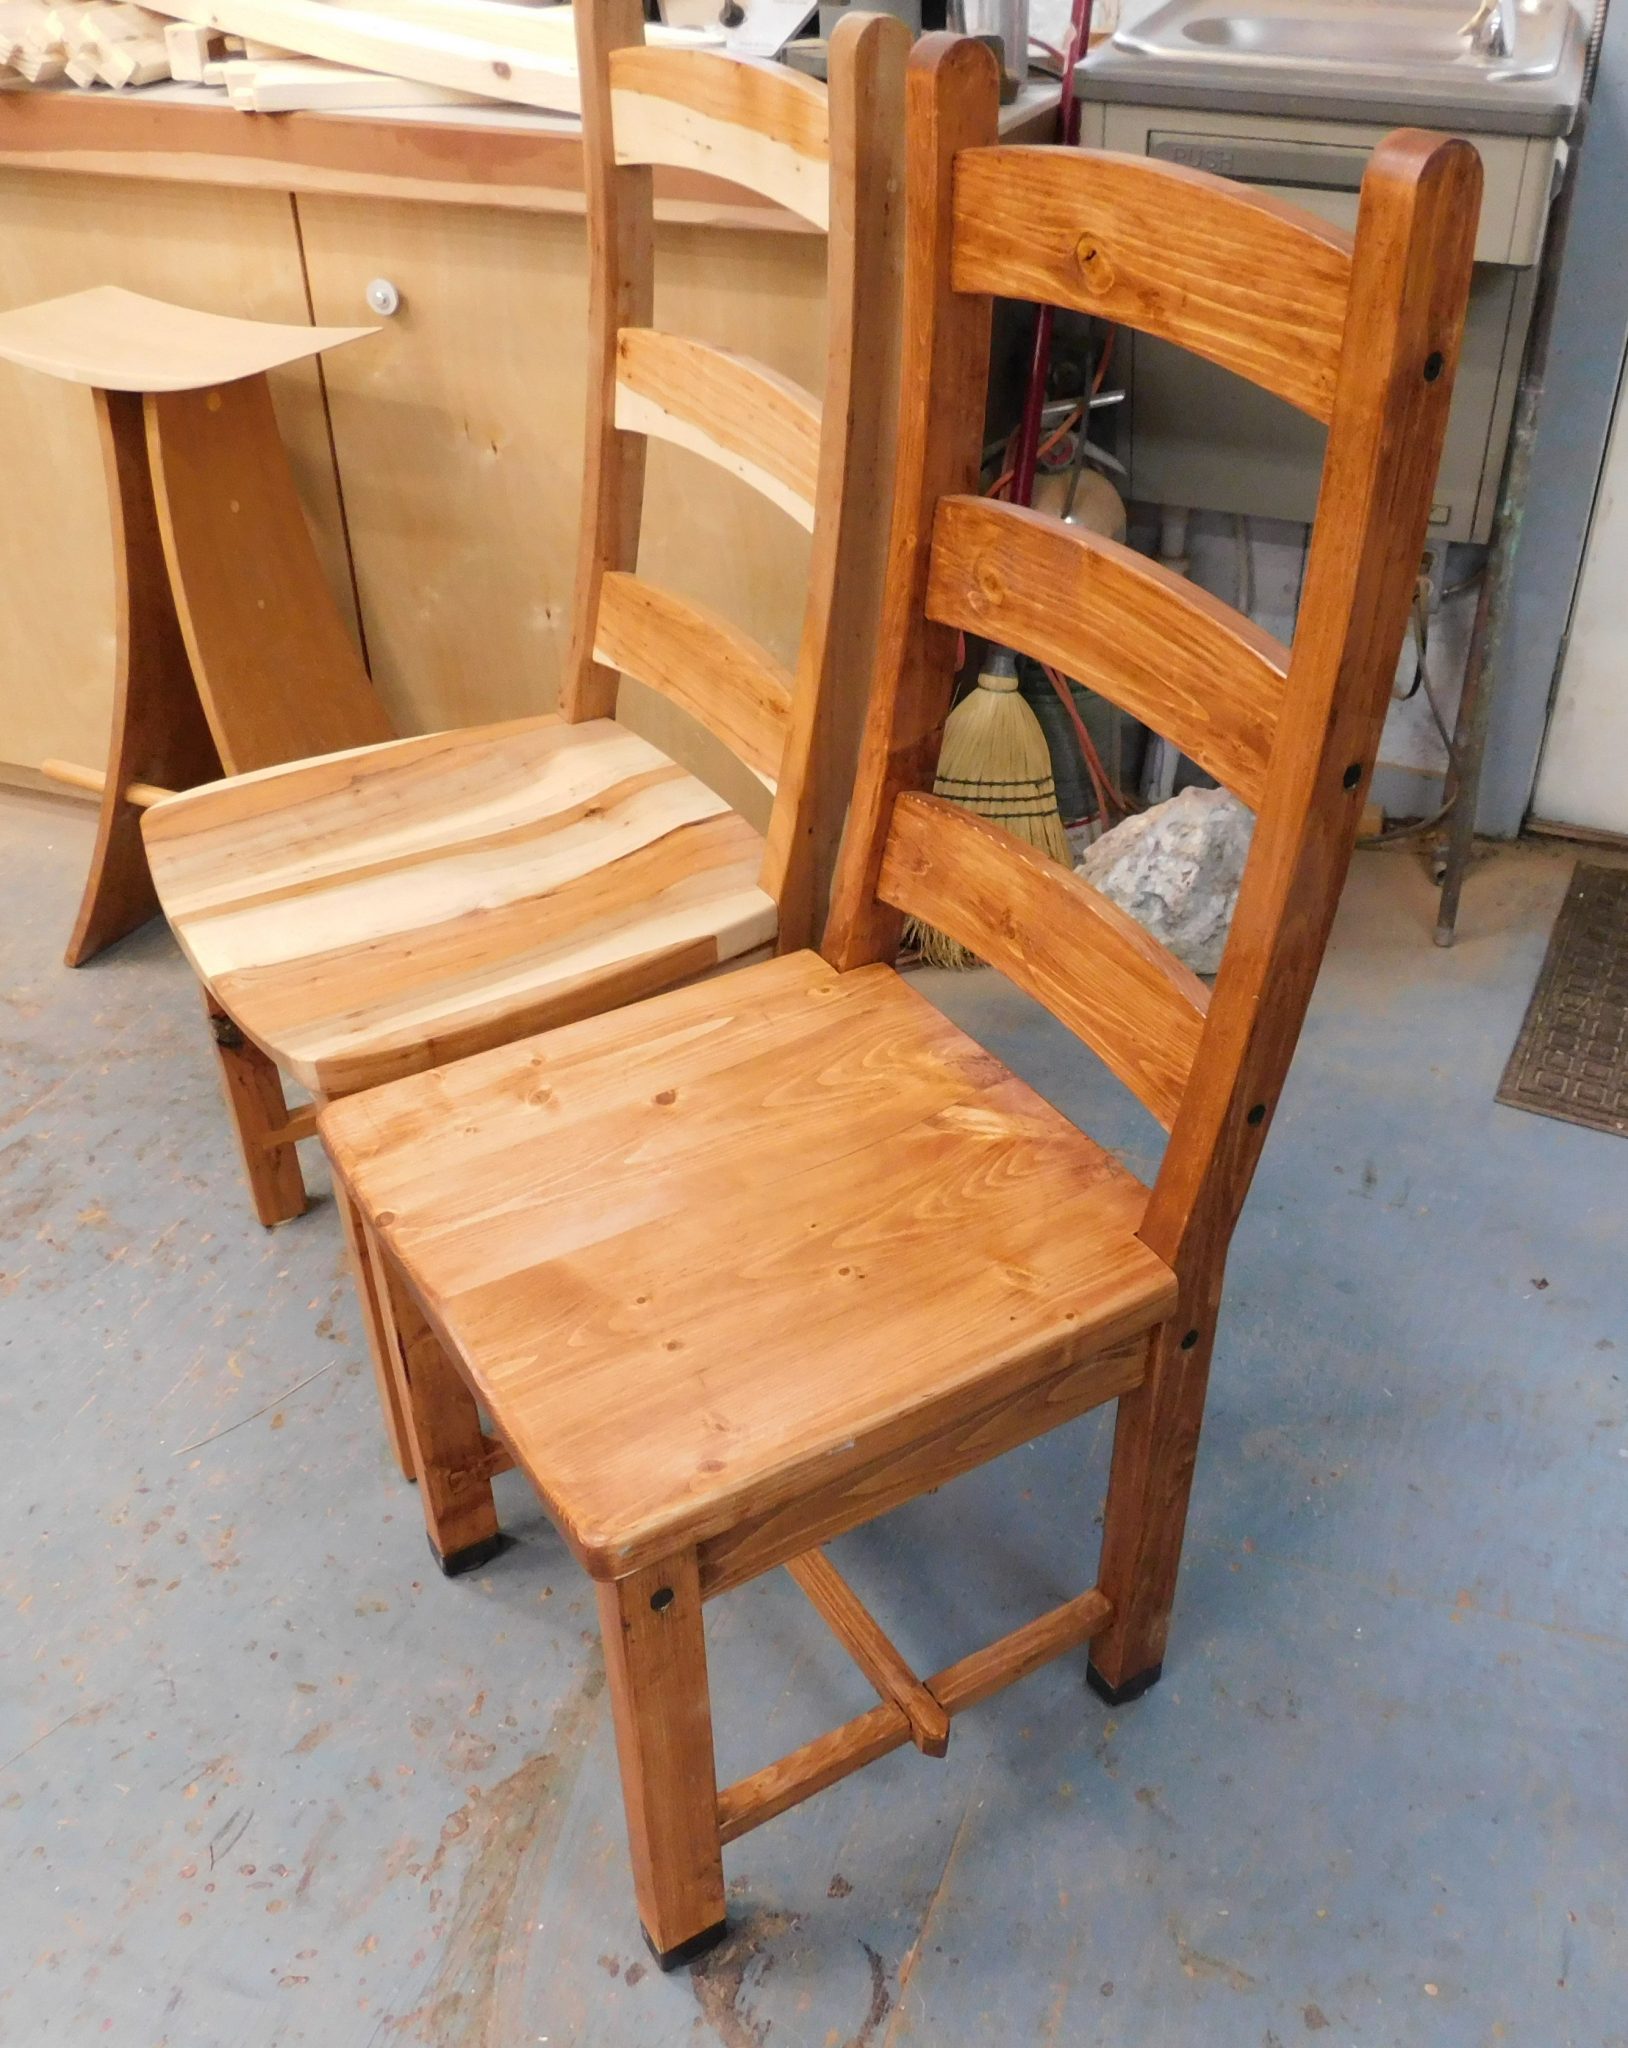
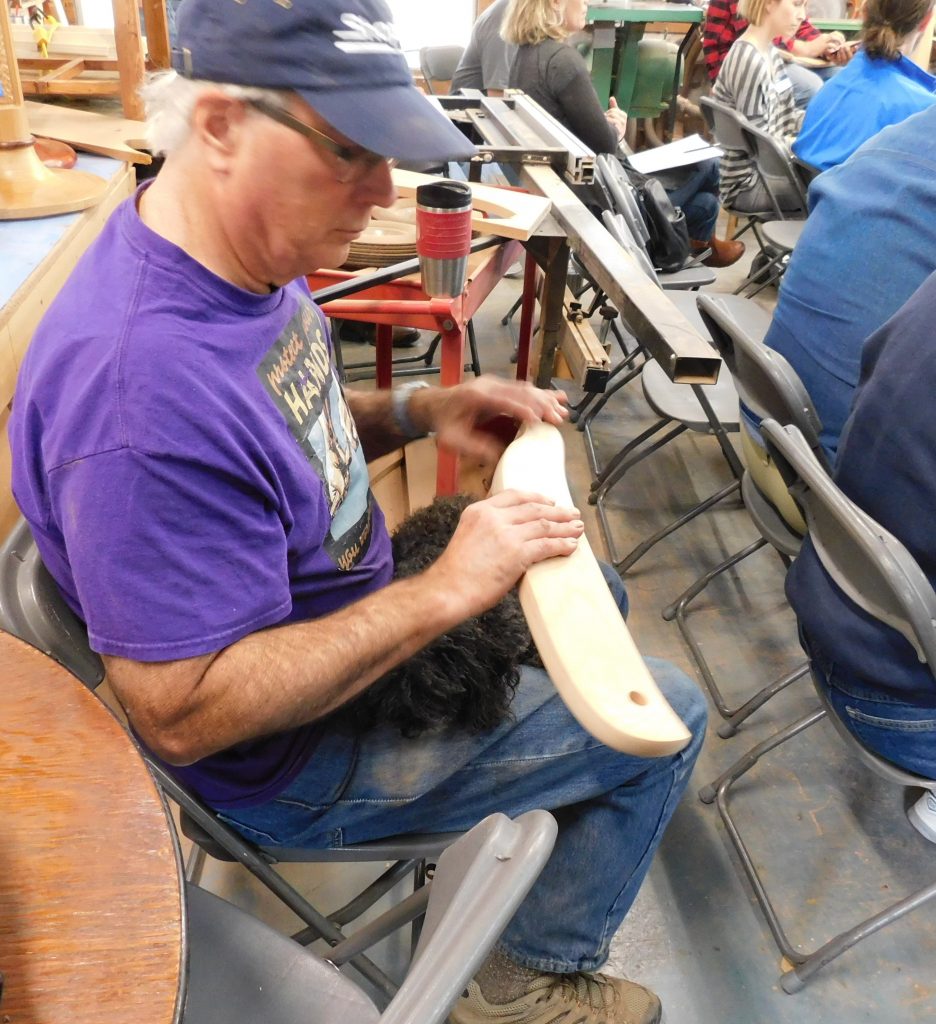
Longtime ShopBotter and frequent forum participant Steve Glassell followed with a great presentation on how he uses his ShopBot to build his line of rustic chairs. Steve has developed a very clever joinery system that makes assembling his chairs quick and strong, held only with glue and a single screw. Steve has created this design–and the files–so that everything is cut from one side only, without any material flips. He and Wayne followed up with a two-way discussion of the ways they shape their chair seats.
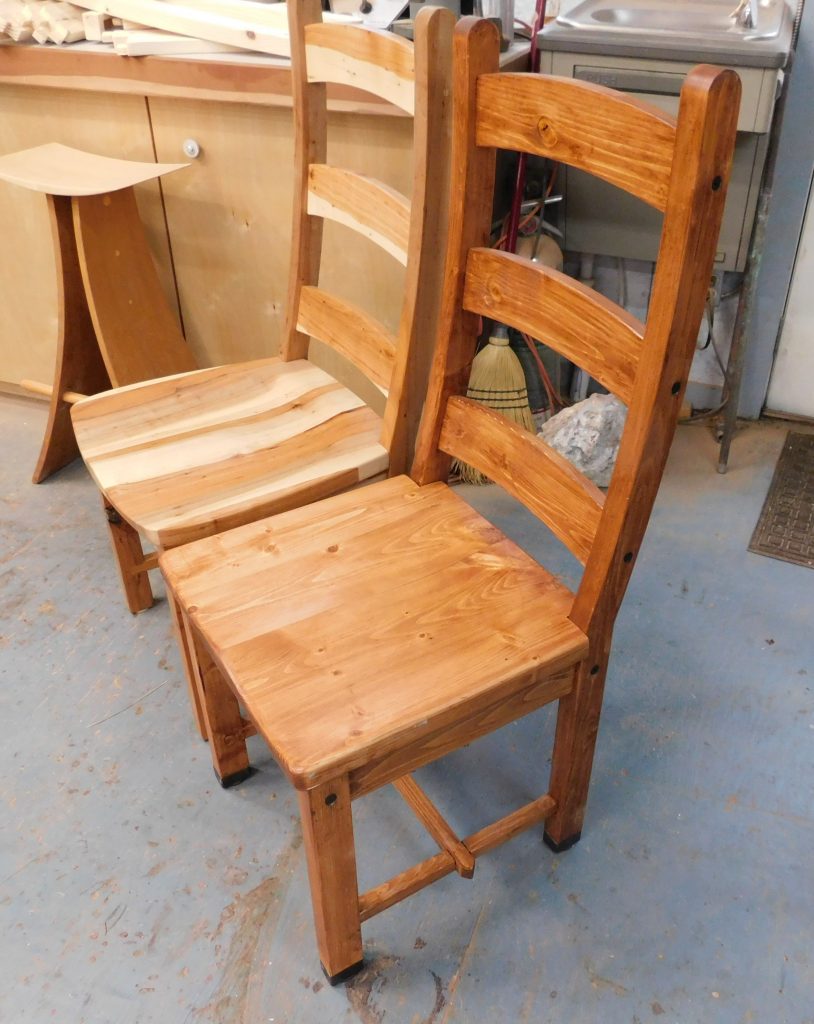 The same chair built from two types of wood
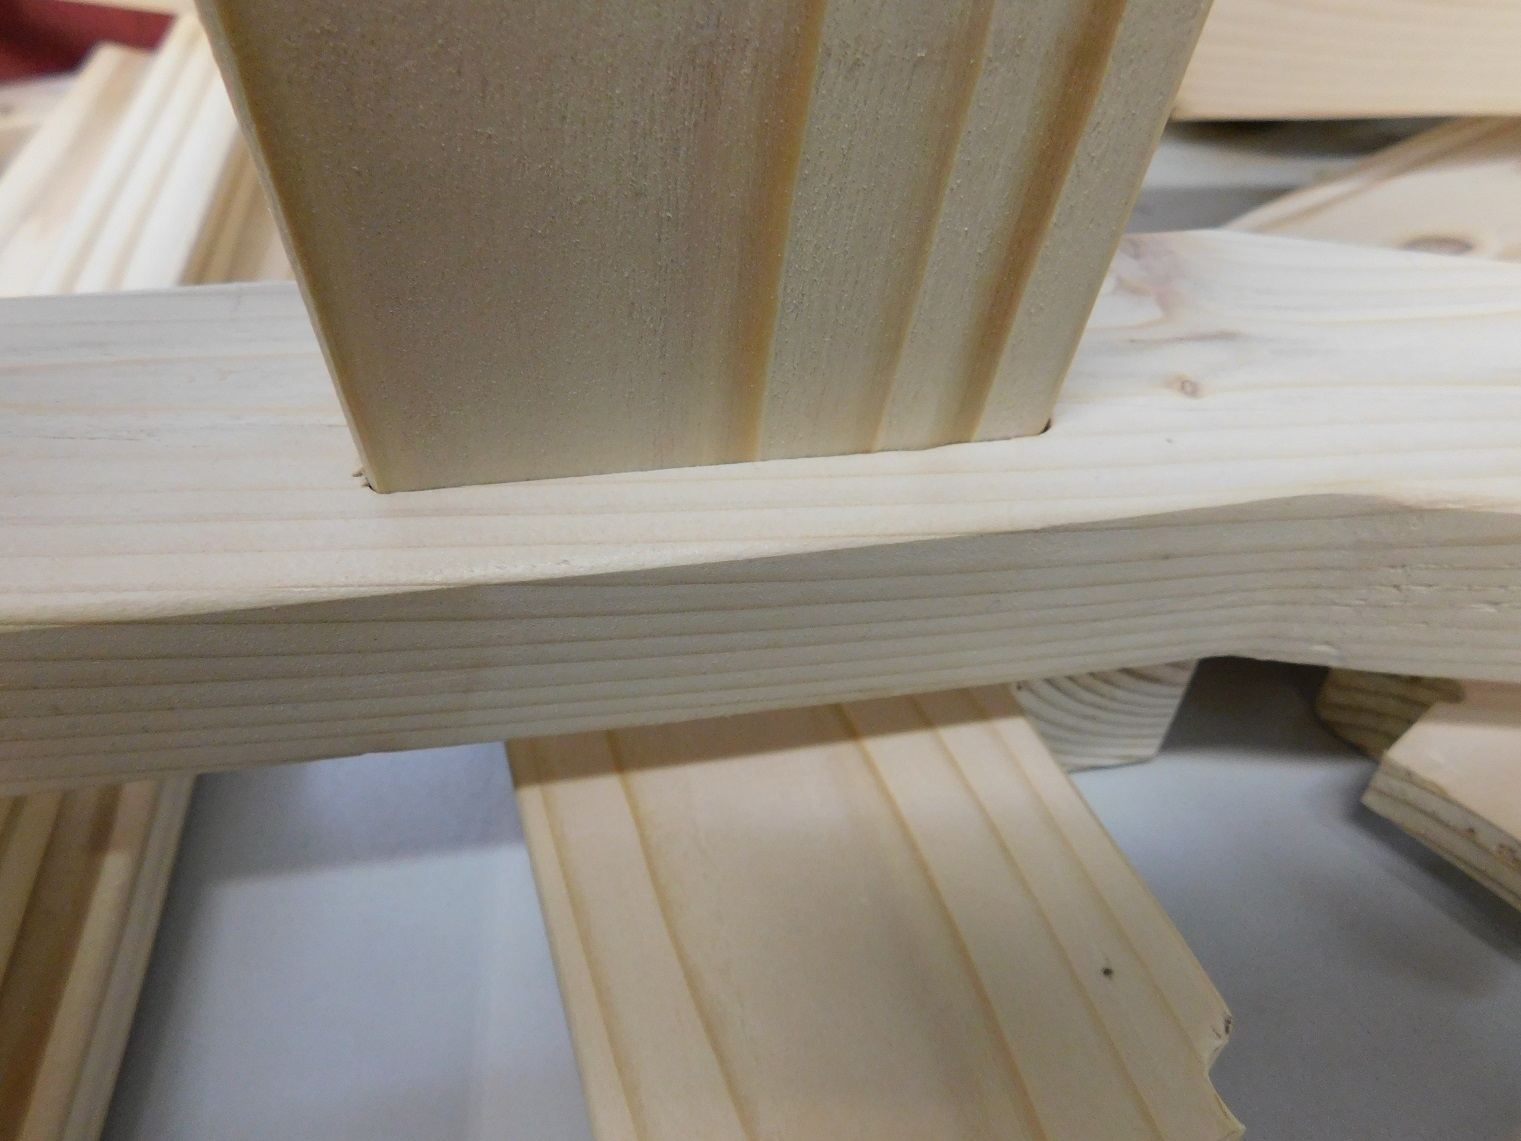
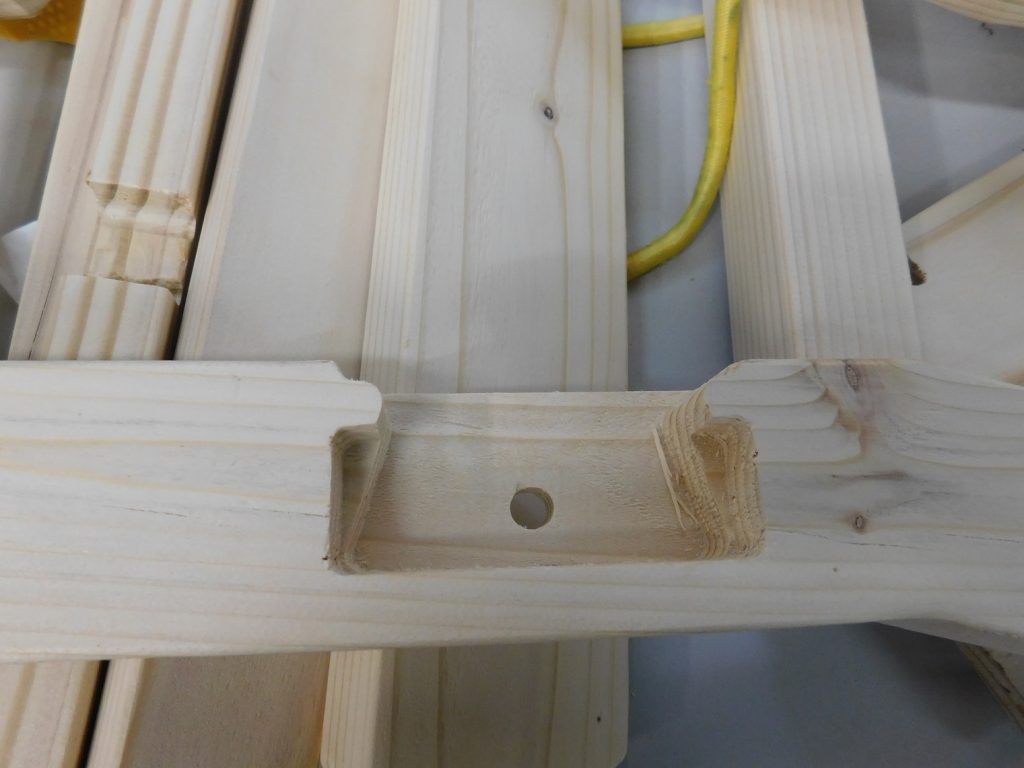 Clever joinery. This pocket is cut in the back leg…
 …and the seat support fits snuggly into it, leaving room for a tenon on the seat cross piece
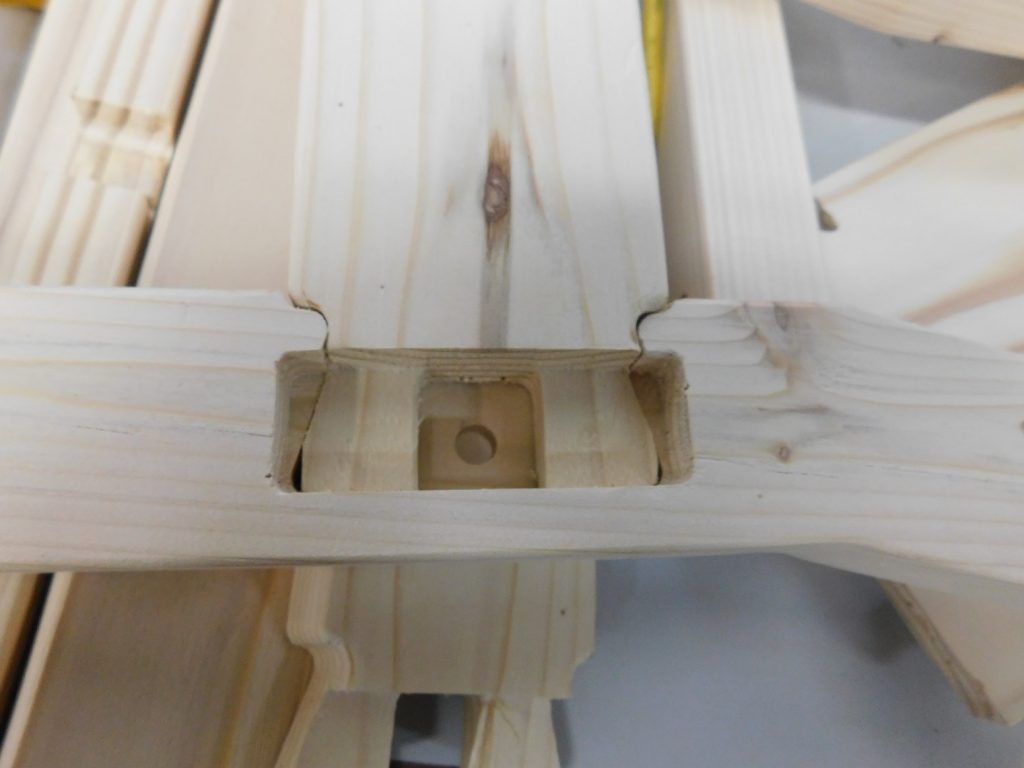
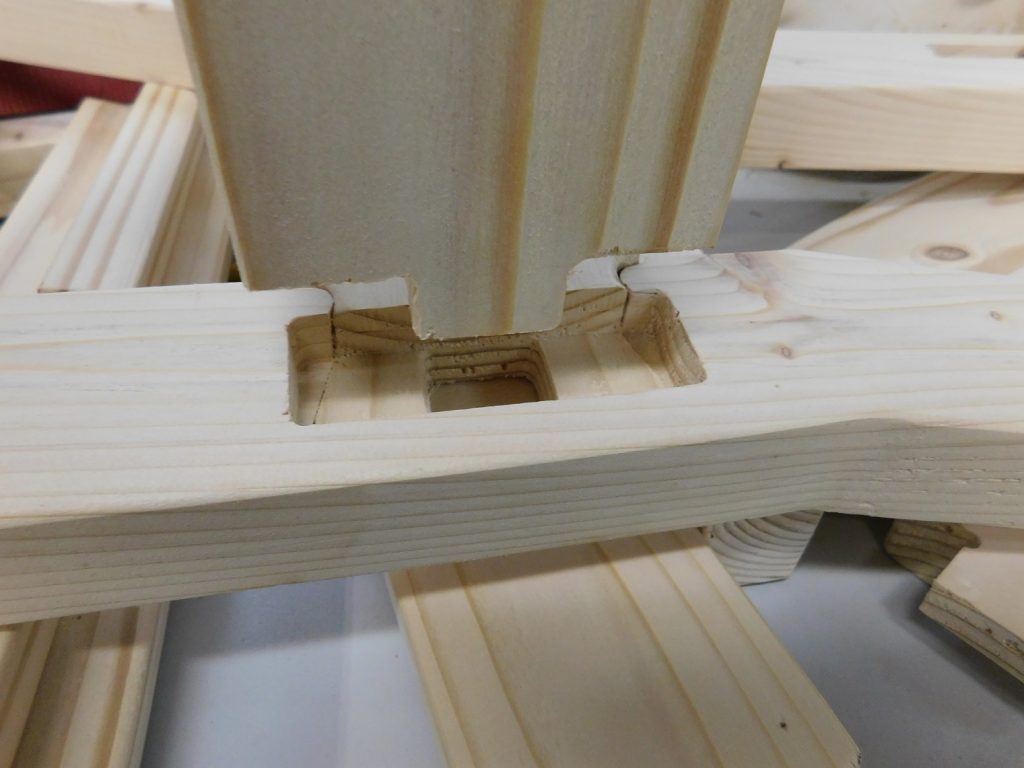 The crosspiece and tenon fit in the recess…
 …and are held with a screw and wood glue. The screw can be removed after the glue sets
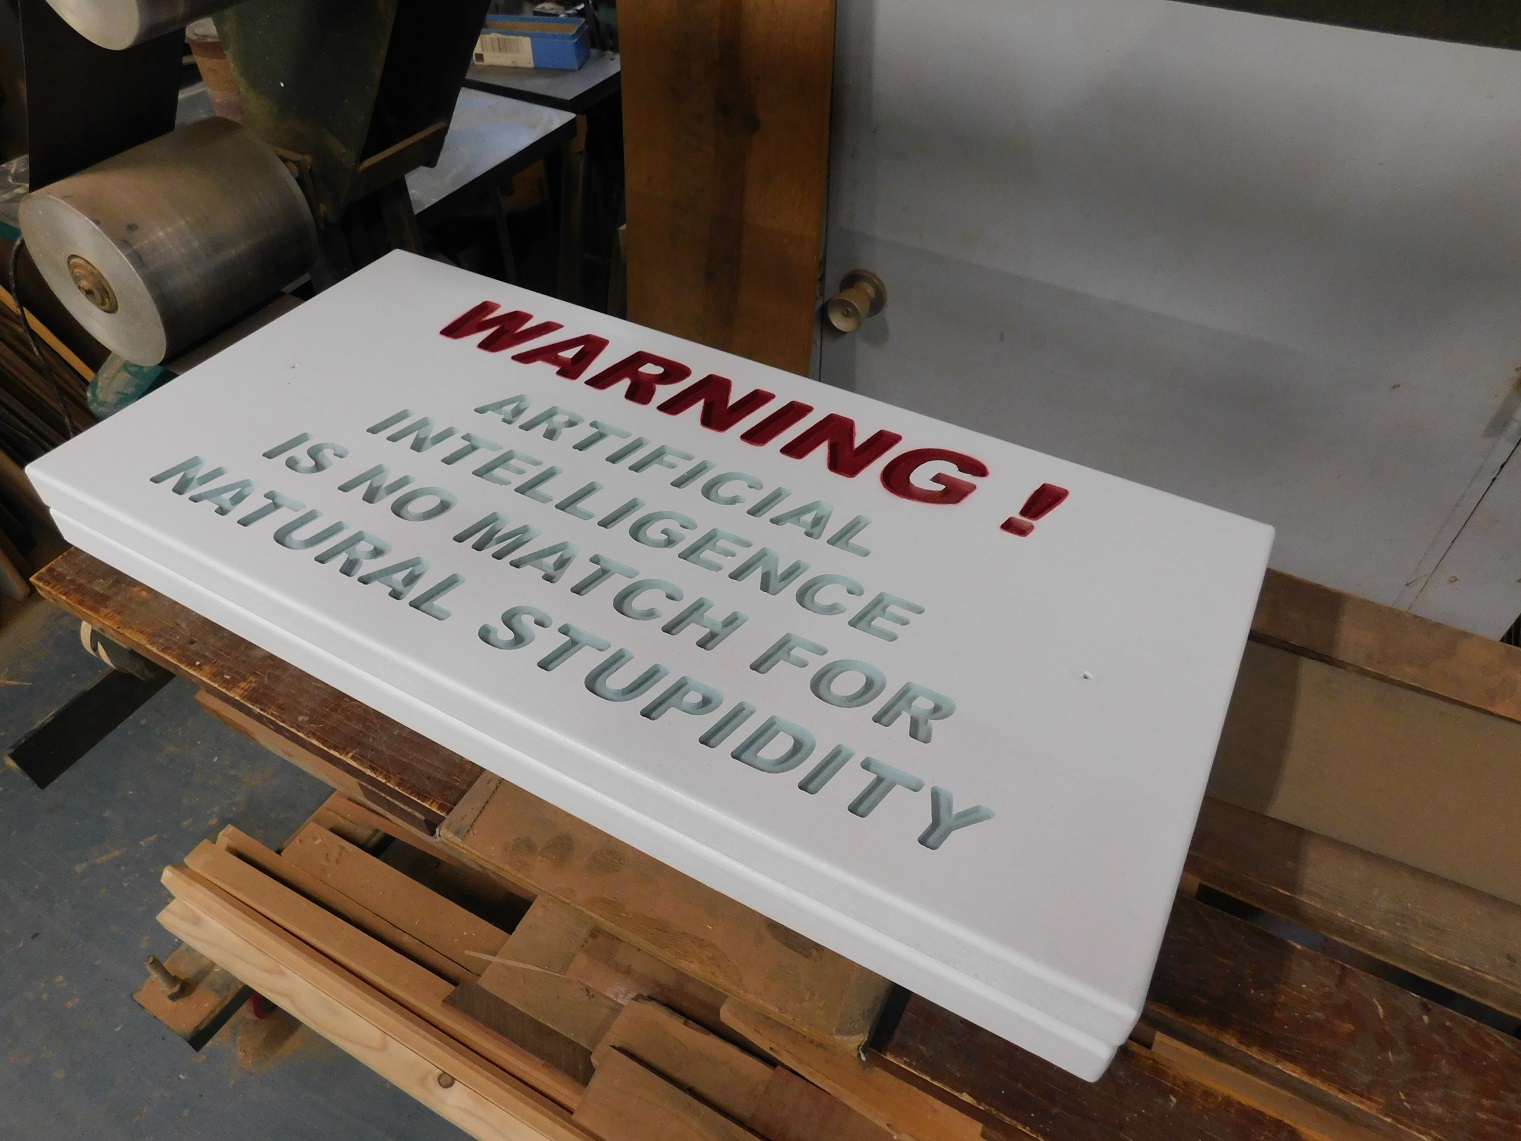
Texas Boatbuilder David Lemke talked about how he used his ShopBot to build both boats and “plugs” that production boatbuilders use to make molds to manufacture boats. As a plus, he brought signs for a of couple of attendees to take home.
 David Lemke
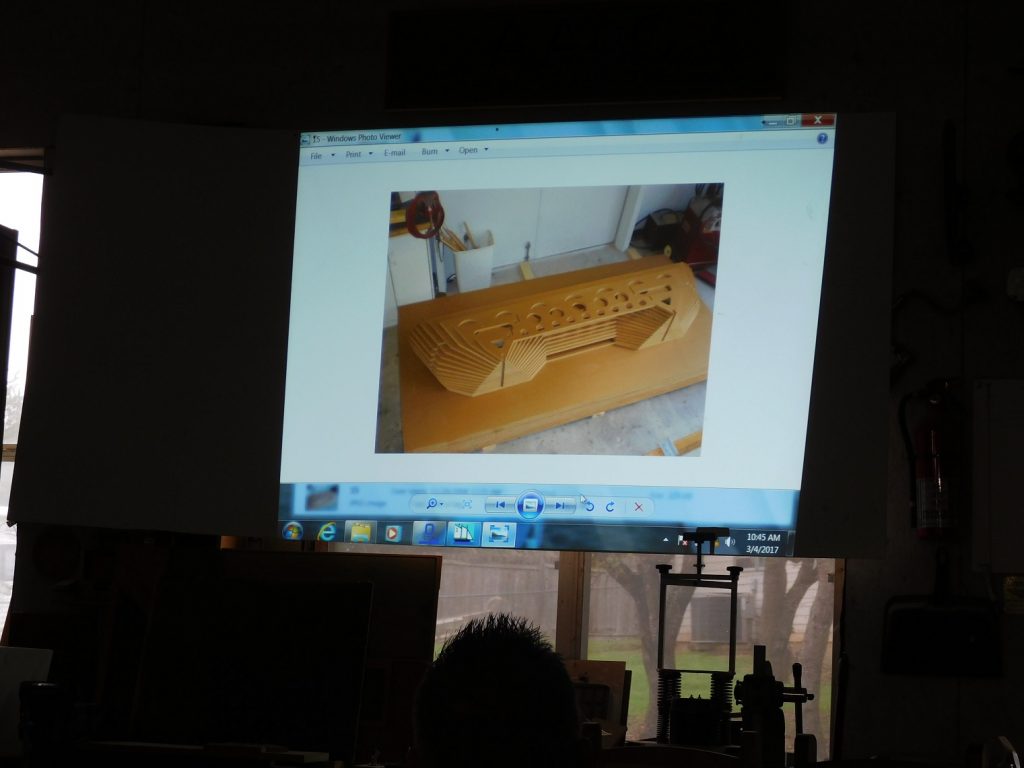 A stack of frame pieces for a boat hull
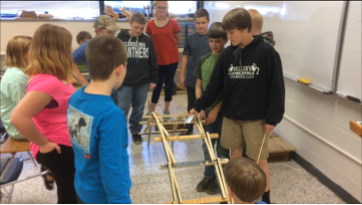
 Truer words were never spoken! Brett Dickinson, long-time ShopBotter and Texas educator, talked about some of his projects and the schools he’s worked with including the Dripping Springs, Texas Fab Lab and their F1 in Schools team.
 Brett Dickinson
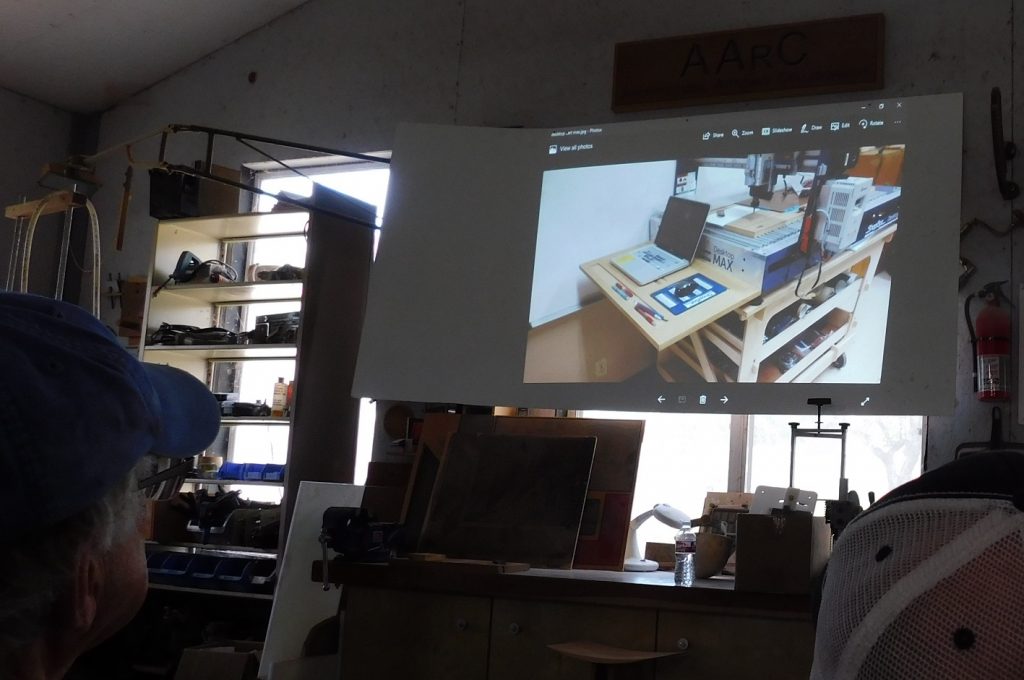 The Desktop MAX rolling cart that Brett designed and built
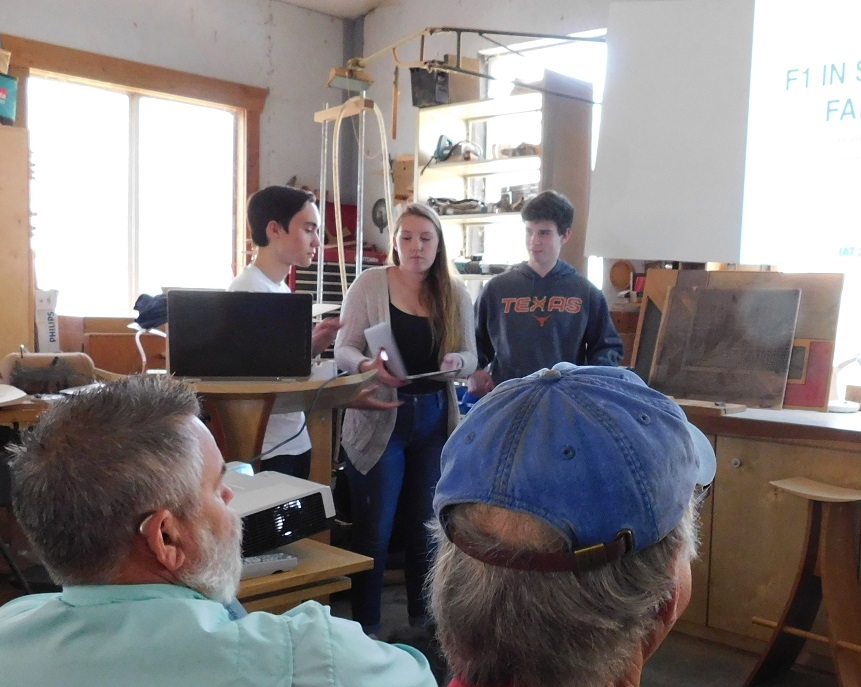 Members of the F1 in Schools team from Dripping Springs, Texas
Machinist Matt Schreiner, also of Dripping Springs, spoke about his spreadsheet system for fine-tuning feeds and speeds for machining materials like aluminum. He also showed some of the techniques for aluminum machining techniques that he uses on his XCarve using Fusion 360.
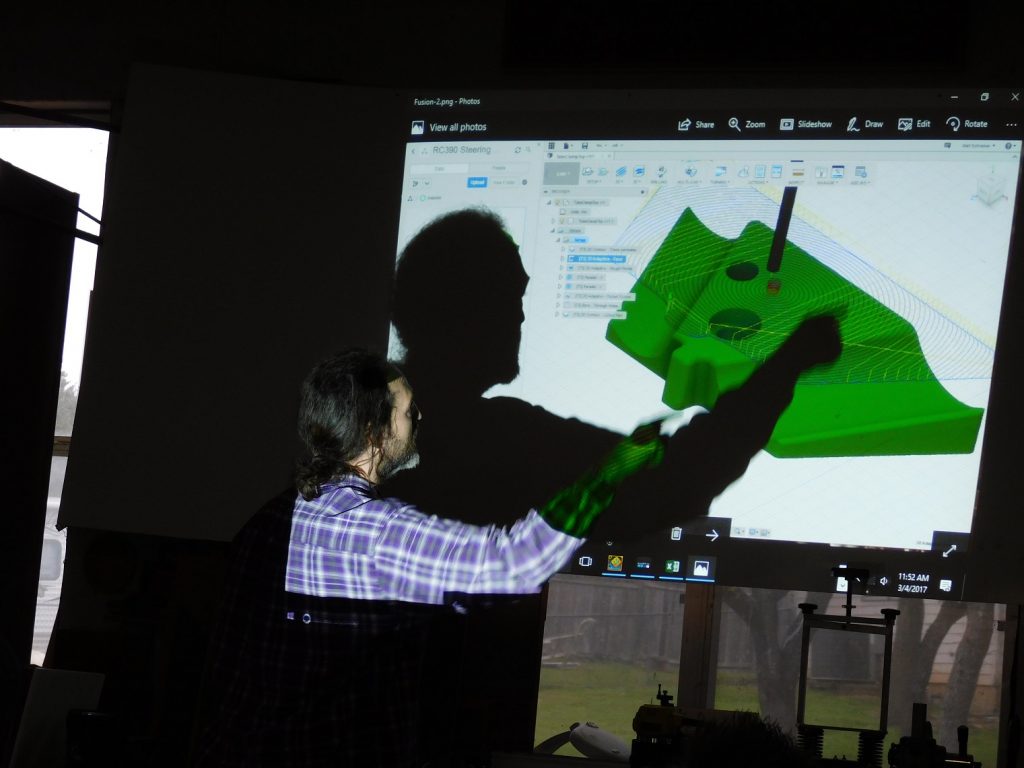 Matt showing a machining simulation from Fusion 360
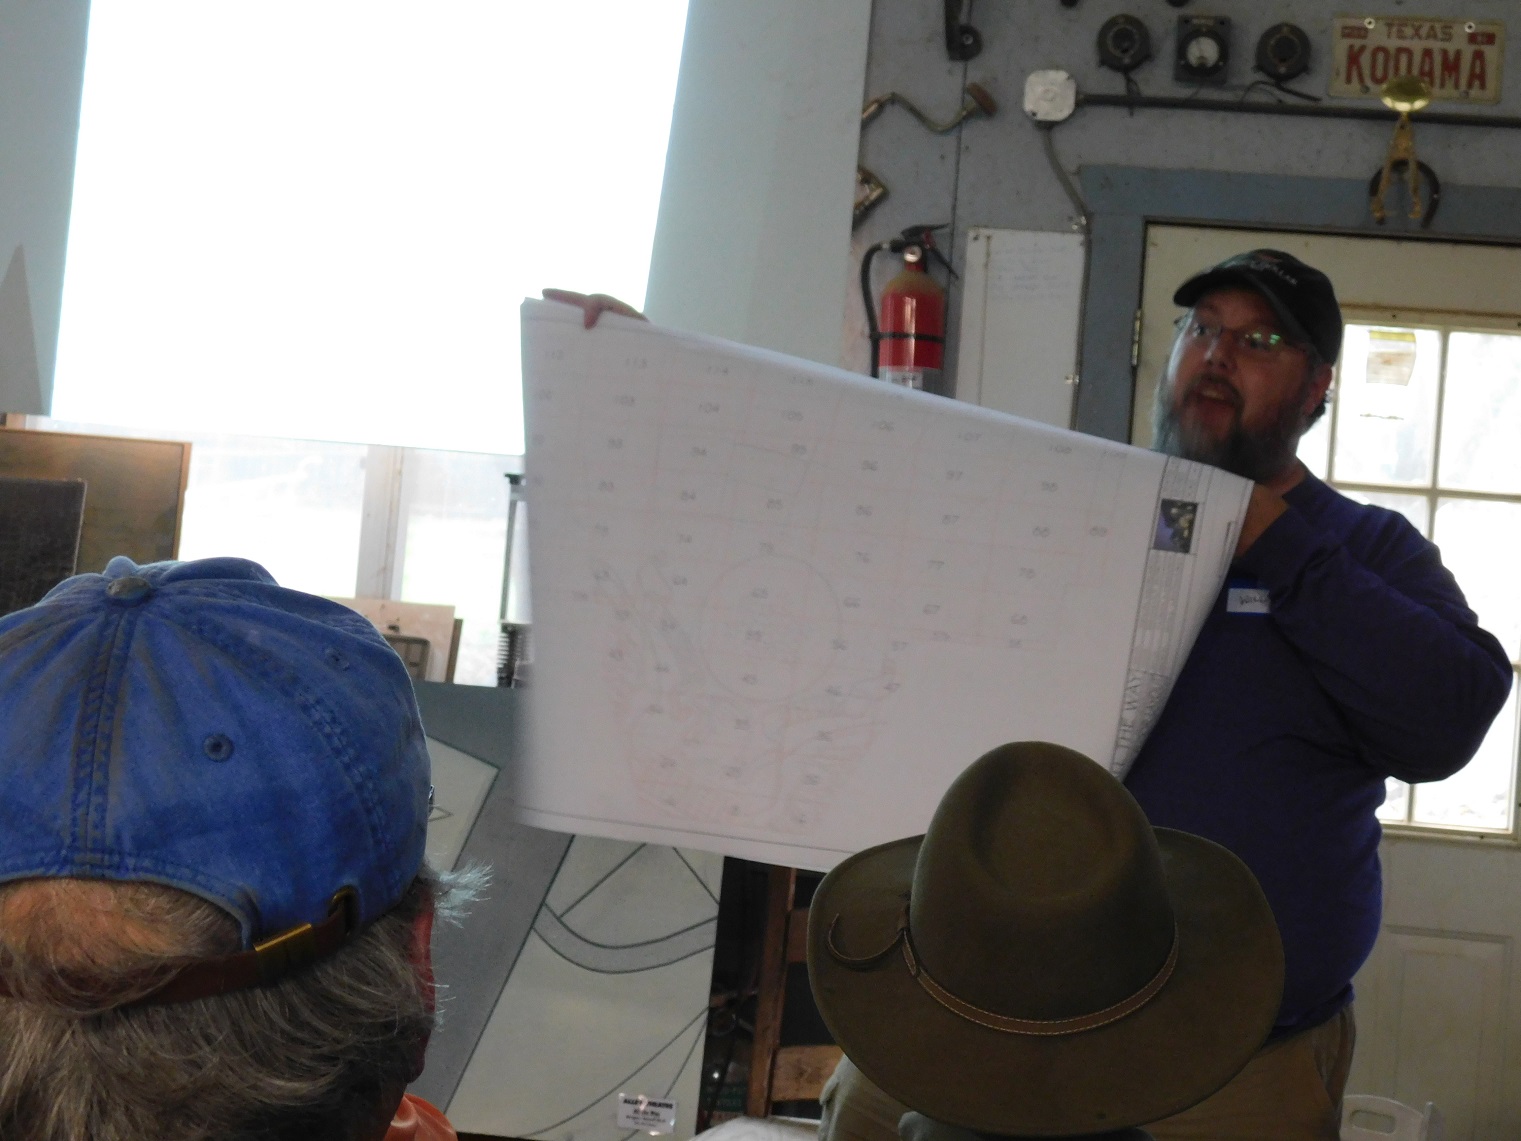
Will Leonard of the Alley Theater in Houston wrapped up the event with a presentation on how he uses their ShopBot to make sets for the productions that the theater does. Will uses their ShopBot to cut out the pieces and also to engrave lines for color changes, to make it easier for the painters to get a clean edge. Although much of the design and fabrication is digital, they still need paper plans to keep track of it all!
 Paper plans help keep track of everything
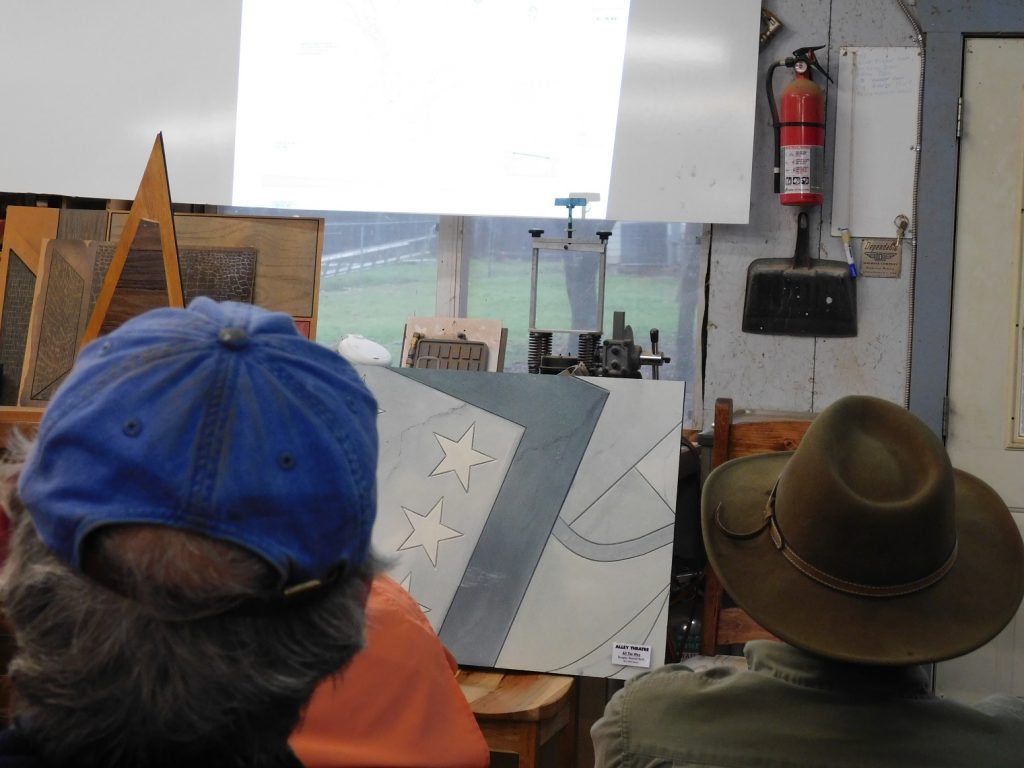 A section of a floor from a recent play
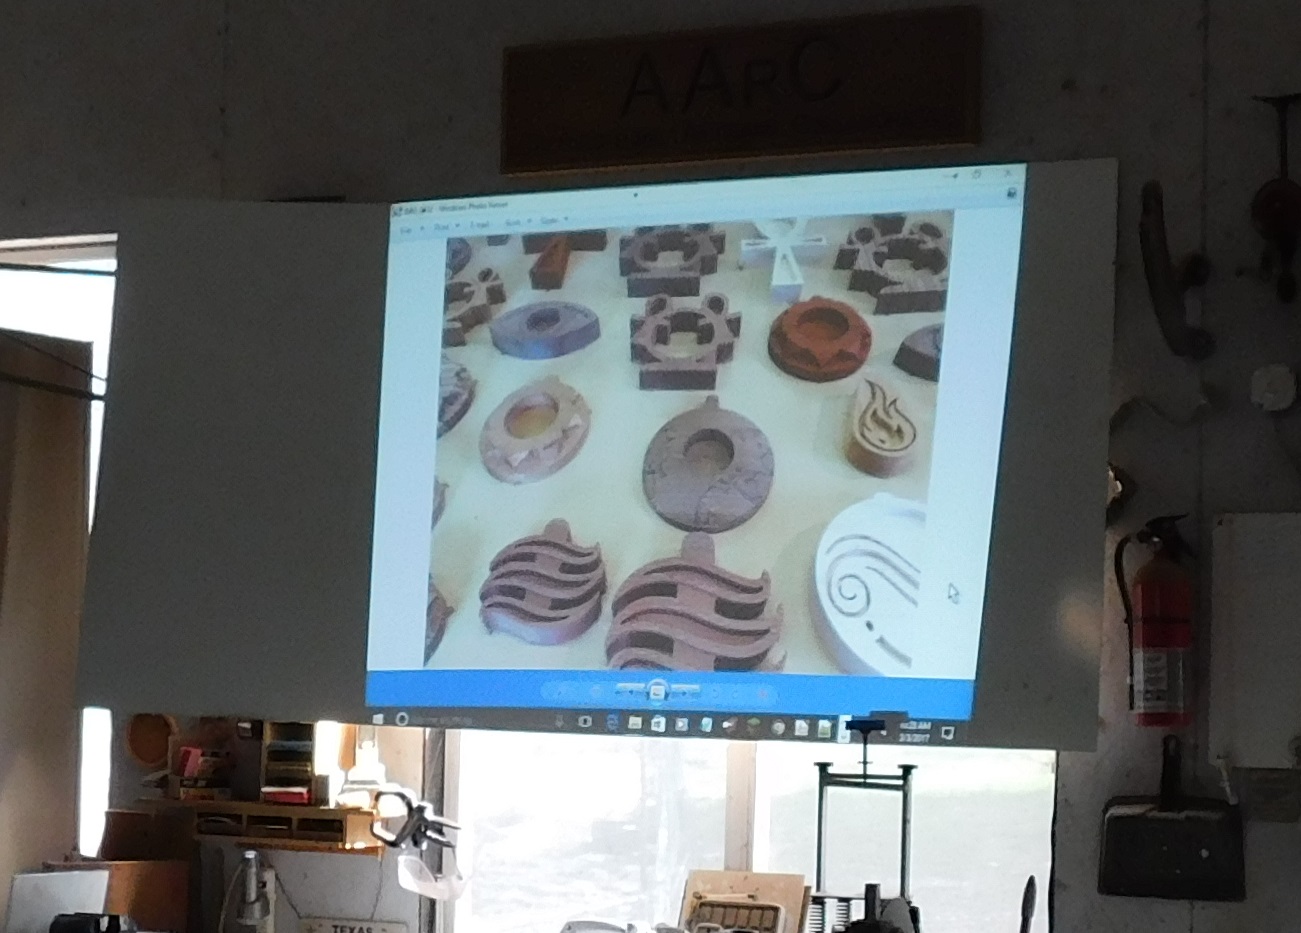
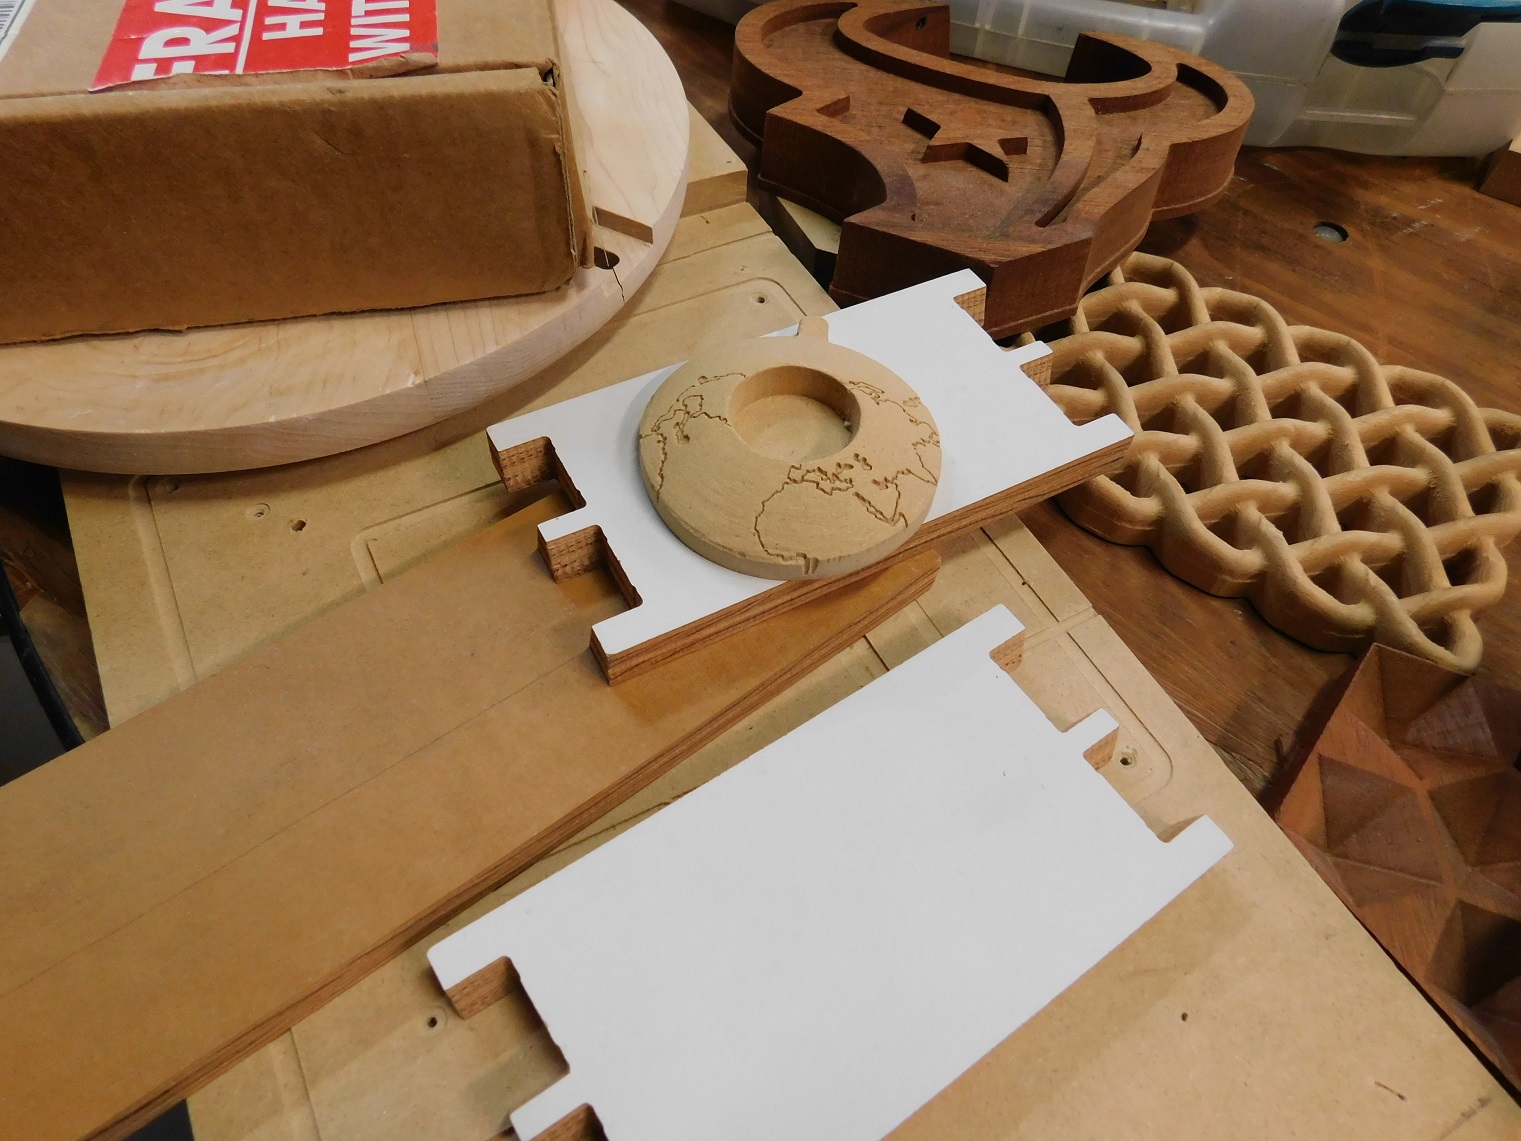
The most important part of any ShopBot event is the show-and-tell items and conversations that are constantly going in. And of course lots of food!
 Show and Tell items
 More Show and Tell
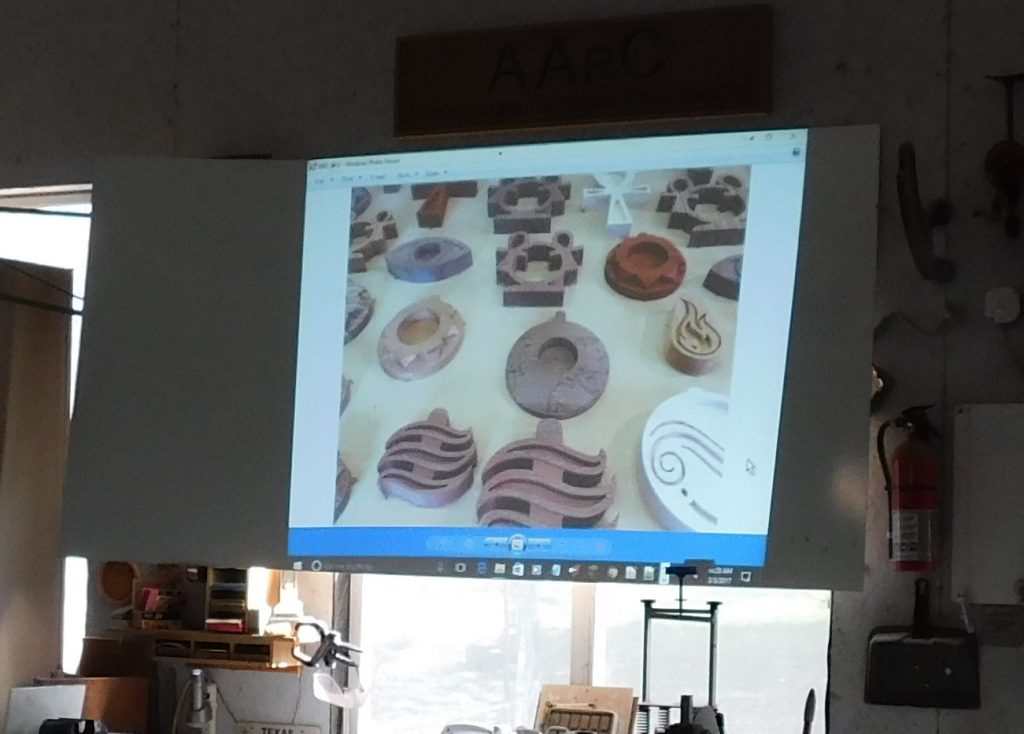
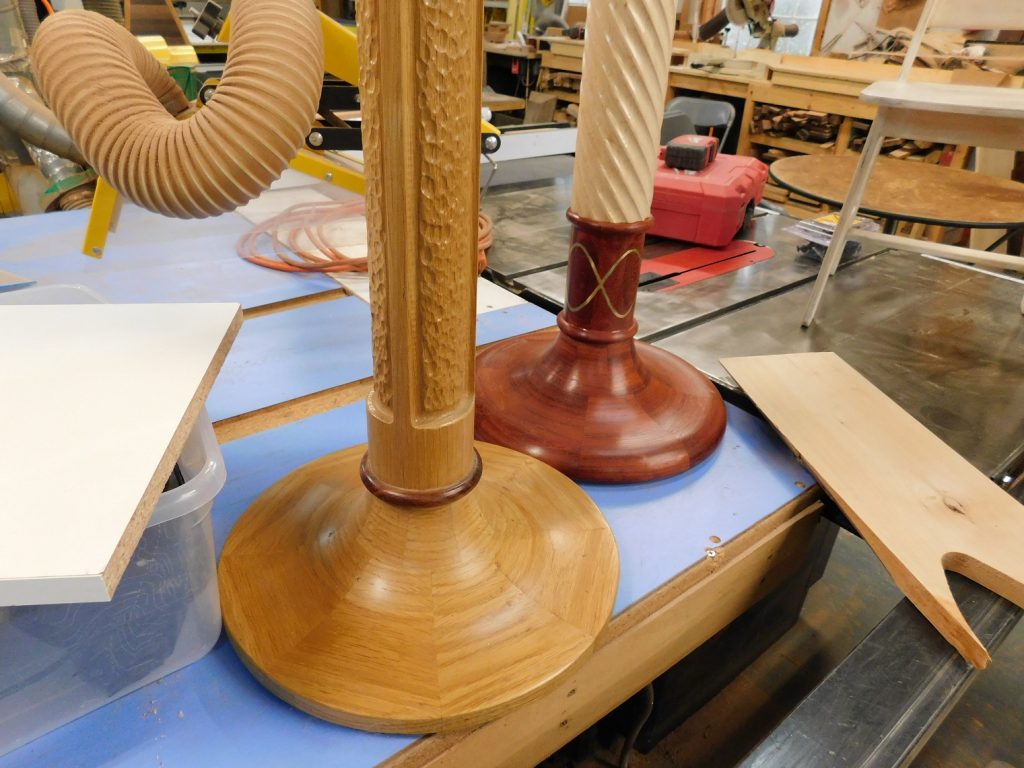 The bases of large candles that Wayne machined on his indexer
 More show and tell
 Santiago describing a project he is working on
 LUNCH!
My next stop is a visit with Ken Picou, an amazingly creative woodworker and ShopBotter that has been to Wayne’s gatherings for years. Stay tuned!
By Tim Babiasz, April 3rd, 2017 
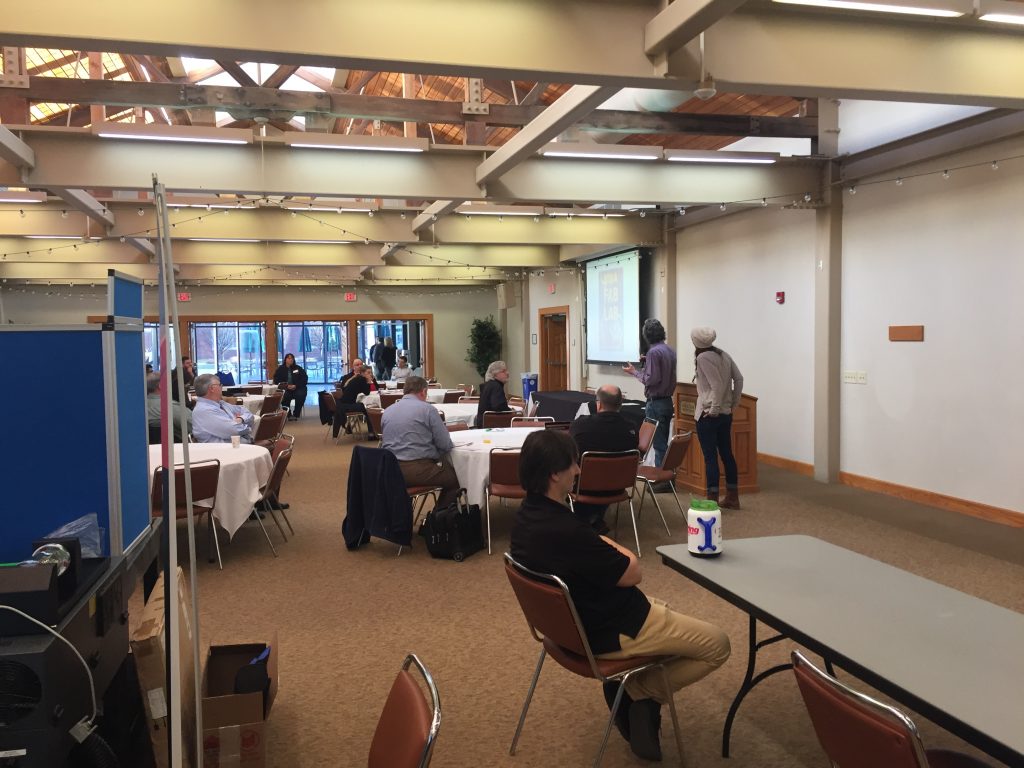
From March 13-15, 2017, ShopBot Tools attended the 2017 USFLN Symposium at Lewis and Clark Community College’s St. Louis Confluence Fab Lab in Edwardsville, IL. This year’s theme, “Stairway to Making”, featured a number of workshops and sessions highlighting the various steps that Fab Labs and Makerspaces can take to start, grow, and succeed in bringing digital fabrication education to the communities they serve.
For the symposium, ShopBot’s Sallye Coyle brought a Handibot, which she used to showcase the workflow of a project from design to finished product to educators, makers, and those looking to start up digital fabrication spaces. She was also joined by ShopBot’s Digital Marketing Specialist Tim Babiasz, who was fresh off representing ShopBot at USITT just down the river in St. Louis.
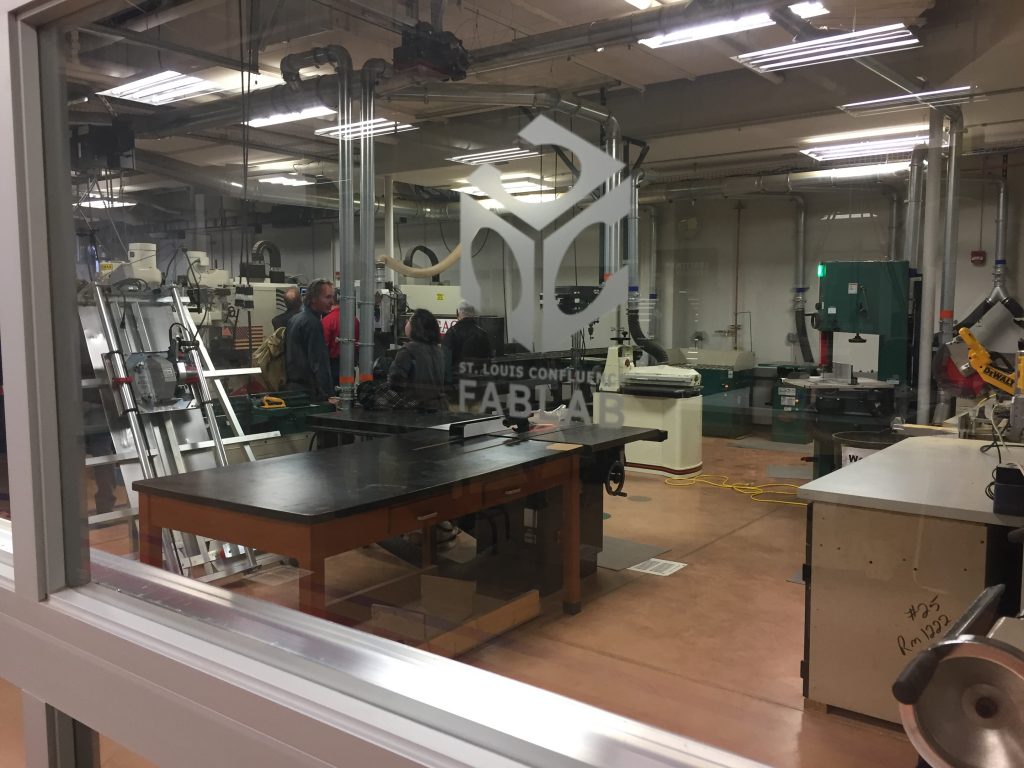 The event featured multiple hands-on demonstrations in Lewis & Clark CC’s state-of-the-art Fab Lab. Tools of the Trade
From large-format printers to laser cutters, just about every type of digital fabrication tool imaginable was on display at this year’s symposium. Seeing a range of different tools in one location really helped attendees get a feel for the versatility that’s so important in a successful Fab Lab or Makerspace.
At the ShopBot booth, Sallye and Tim showcased a typical project workflow on the Handibot from initial conception to finished product, and showed off a few samples of finished works in a range of materials, from foam to aluminum.
 Sallye Coyle shows a USFLN attendee the range of projects that can be cut on the Handibot. Maker Education
 An hour-long session held in the USFLN lab showcased the workflow involved in ukulele making. Throughout the symposium, the maker’s mindset was applied to every aspect of digital fabrication, including how to create and curate a space. Included in the schedule were sessions dedicated to education, staffing, training, program implementation, and operations, which provided a launchpad for those looking for ways to spread the culture of Fab Labs and Makerspaces in their area.
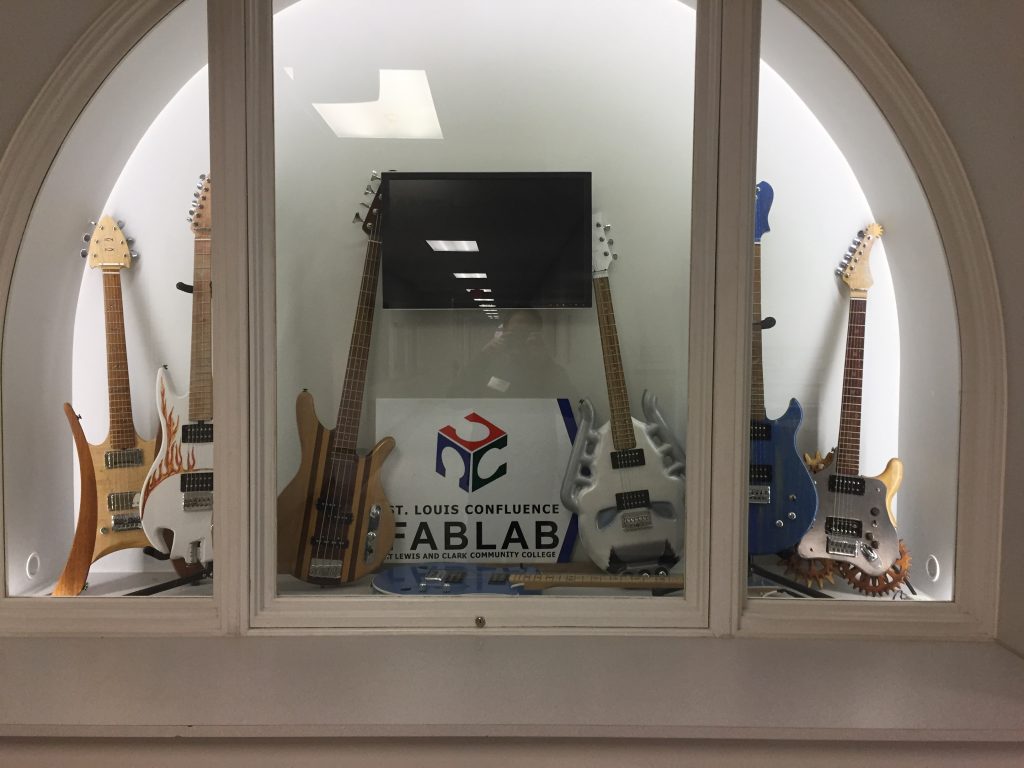 Guitars on display at the Confluence Fab Lab were made by students using a combination of CNC, electronics, and handcrafting. Sallye led two different ShopBot sessions. The first was dedicated to workflow, and followed the path of a project from conception through design and toolpathing, all the way to cutting. The students were lively and engaged, with many even staying after just to watch the Handibot cut the finished product, a wooden skull. To explain the different levels of detail and cutting speeds, the left half was done with a 1/4″ ball nose bit. The right side was cut with a 1/8″ ball nose. A portion of the roughing pass was left on both sides for reference.
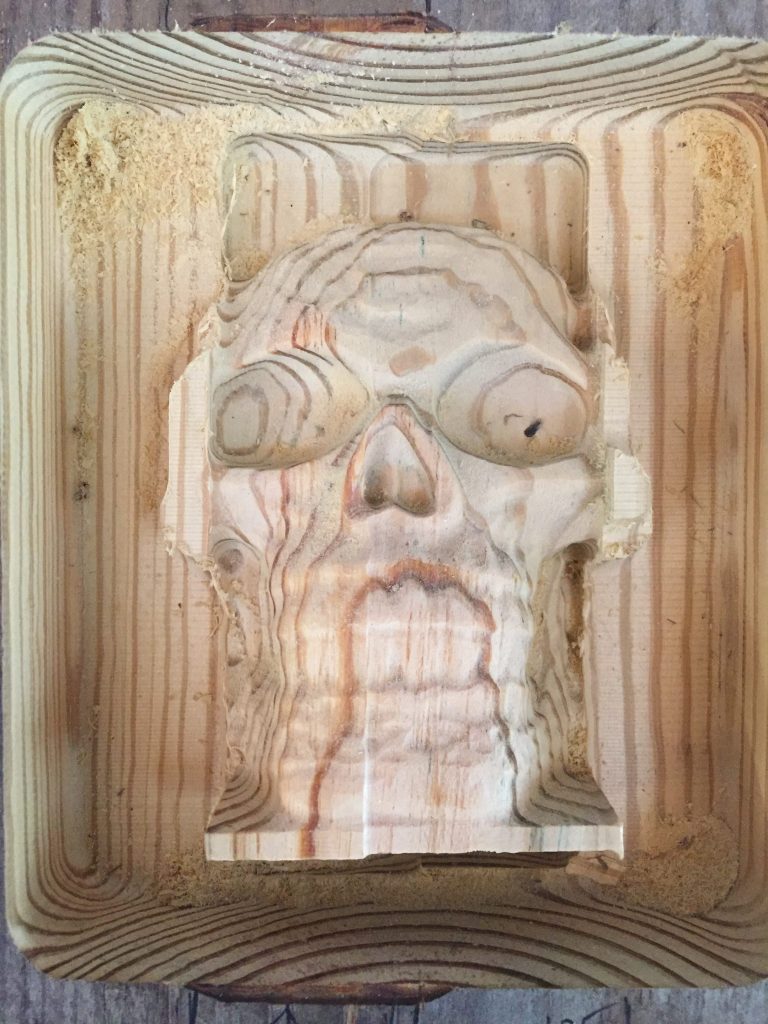 Wooden skull cut on the Handibot, with roughing pass on the outer edges. Sallye’s second ShopBot session provided a deeper dive into CAD/CAM software education, project innovation, and workflow, allowing for more questions and discussion from attendees.
A Cross-Section of Digital Fabrication
 Eugene & Tiffany of NWA Fab Lab talk about Fayetteville, AR’s growing maker culture All in all, the 2017 USFLN symposium provided a great opportunity to learn, grow, and network with people from all over the country. The final day included presentations from the attendees themselves, which showed how digital fabrication and maker culture is taking hold in every area of the United States and in various forms, from membership-based Fab Labs to free library and children’s programs. It will be exciting to see how things have developed at next year’s event!
By Devin Wilson, March 27th, 2017 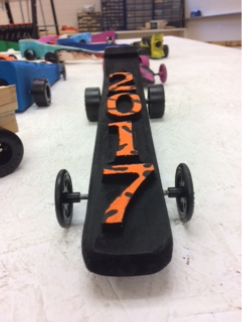 We made a jig to CNC the tops and sides of our CO2 cars. Hello, my name is Devin Wilson and I am excited to be a part of the ShopBot world! I am a first year Carpentry and Technology teacher at Rosman High/Middle School in Rosman, NC. There have been some ups and downs, but the ShopBot aspect has definitely been one of the ups. My goal coming into our Carpentry program wasn’t to reinvent things, but to build on the foundation of craftmanship, stewardship, and ownership that had been laid in previous years. Change doesn’t mean you have to get rid of the past. Some of our equipment has been running and maintained for more than 20 years. This year we sold a planer that had been on a World War II ship—and it was still running! We were sad to see it go, but excited to press on with the same standard of quality and workmanship in mind.
We were introduced to the ShopBot MAX at a construction career day. I had been researching CNC routers and it seemed like the perfect fit for us. I had no idea, at the time, what it was capable of. We have been able to take older projects and improve them with a CNC twist, and we have been able to do a lot of new things that we wouldn’t have dreamed of before. Here are a few things we’ve learned in the process and a few that we are still trying to learn.
 The Da Vinci Bridge from TJ on the ShopBot resource page. 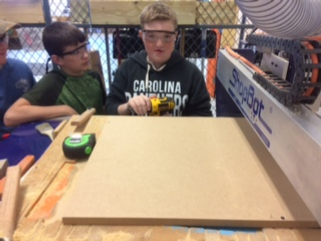 When the machine is off, the kids can come in for a closer look. 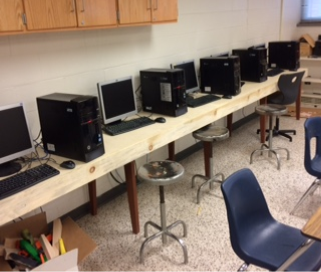 We built a computer desk. Now our kids can break into groups to design. We set up a shared drive so we don’t have to carry the thumb drives back and forth. 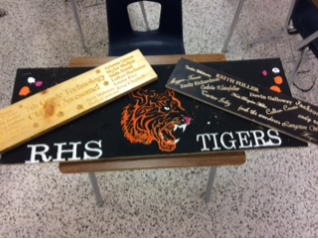 Of course, signs are always a hit! I am trying to let each class write their name first. It draws them in. 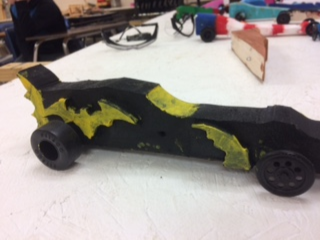 We live in a low income area, so the ShopBot gives kids opportunities to create things that they dream up.  This sign was designed and toolpathed by an 8th grade female student. She picked up the design software in about 3 minutes and has become my best designer.
Soon, I will share what our high school class is up to: selling signs to a local development, carving aluminum, and more!
By Tim Babiasz, March 22nd, 2017 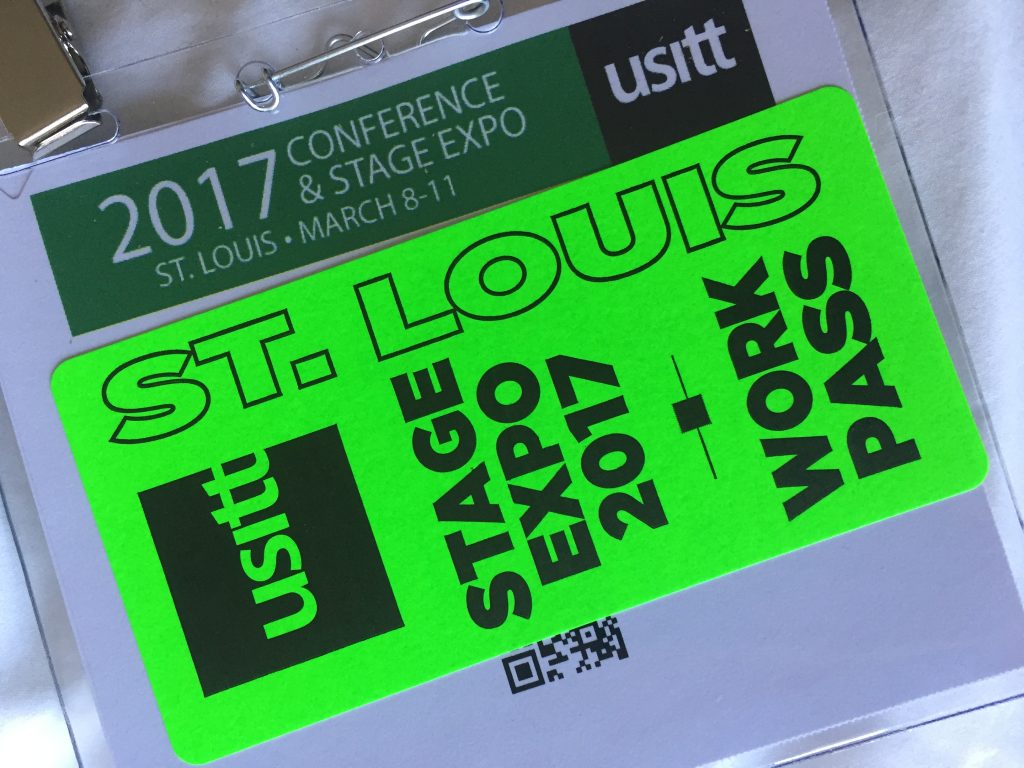
This past week, ShopBot Tools attended the 2017 USITT Symposium in St. Louis. The annual gathering, held at America’s Center Convention Complex, assembled the latest tools, technology, and products that are shaping the way that theatre programs are evolving in the 21st century. ShopBot’s booth highlighted the growing role of CNC in theatre production, and showcased some of the latest design and workflow innovations aimed at making productions easier and more realistic.
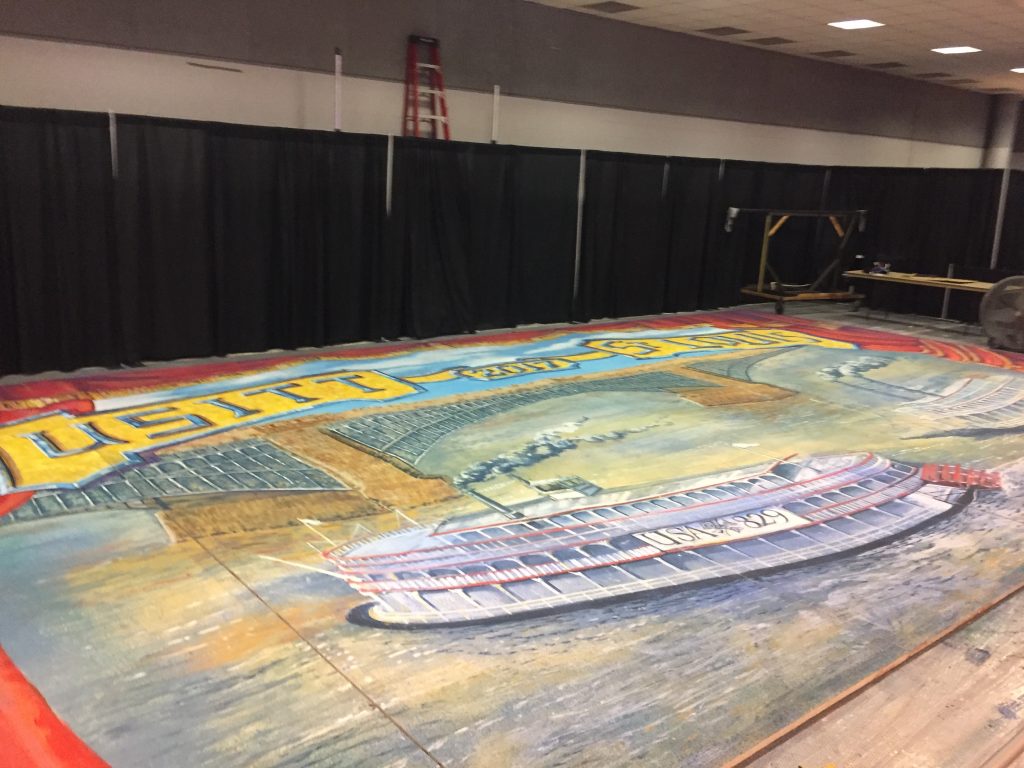 Over the course of the exhibition, master painters created this custom drop with a distinctive St. Louis flare.
Behind the Scenes at the ShopBot Booth
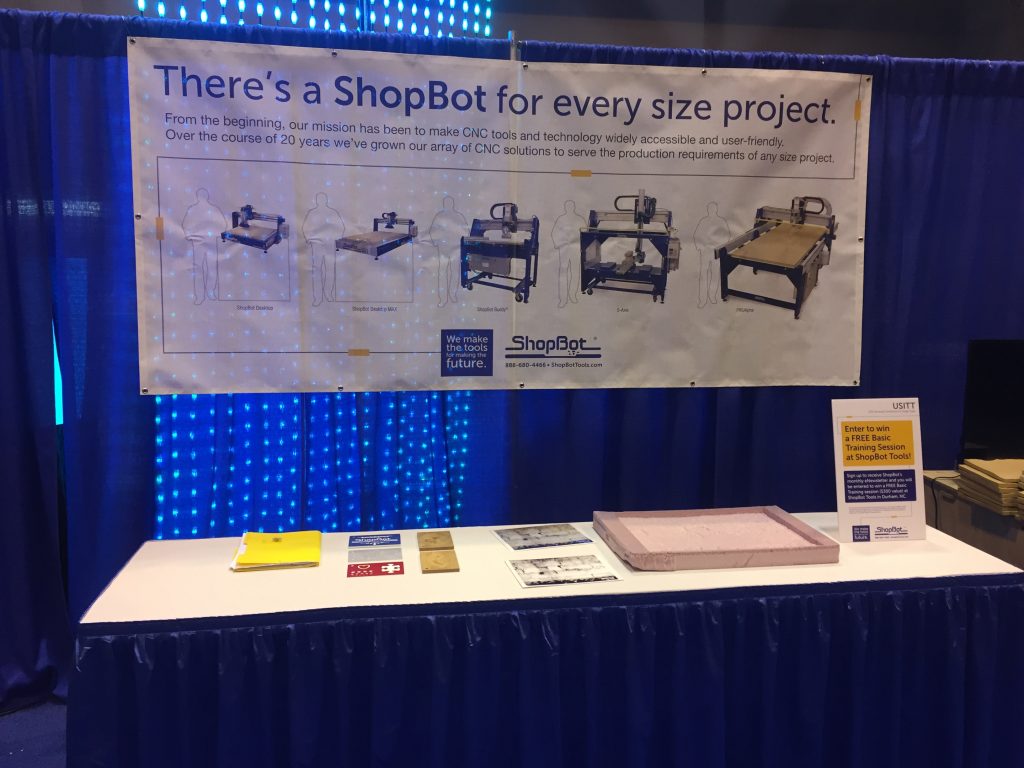 The ShopBot booth showcased the ways that CNC tools can be applied to theater and entertainment production.
Throughout the conference, the ShopBot booth served as a resource for technical directors, performers, educators, and theatre shops looking for information on CNC in theatre production. On display was a slideshow highlighting sets from Alley Theatre and UNC School of the Arts, a foam hat block project from a UNC Chapel Hill graduate student, and videos of tools in action.
The table exhibited all of the different materials that can be cut using a ShopBot router, ranging from aluminum and wood to MDF and foam. One of the more popular objects was a 3D-carved recreation of the Wailing Wall in Jerusalem, cut into pink insulation foam.
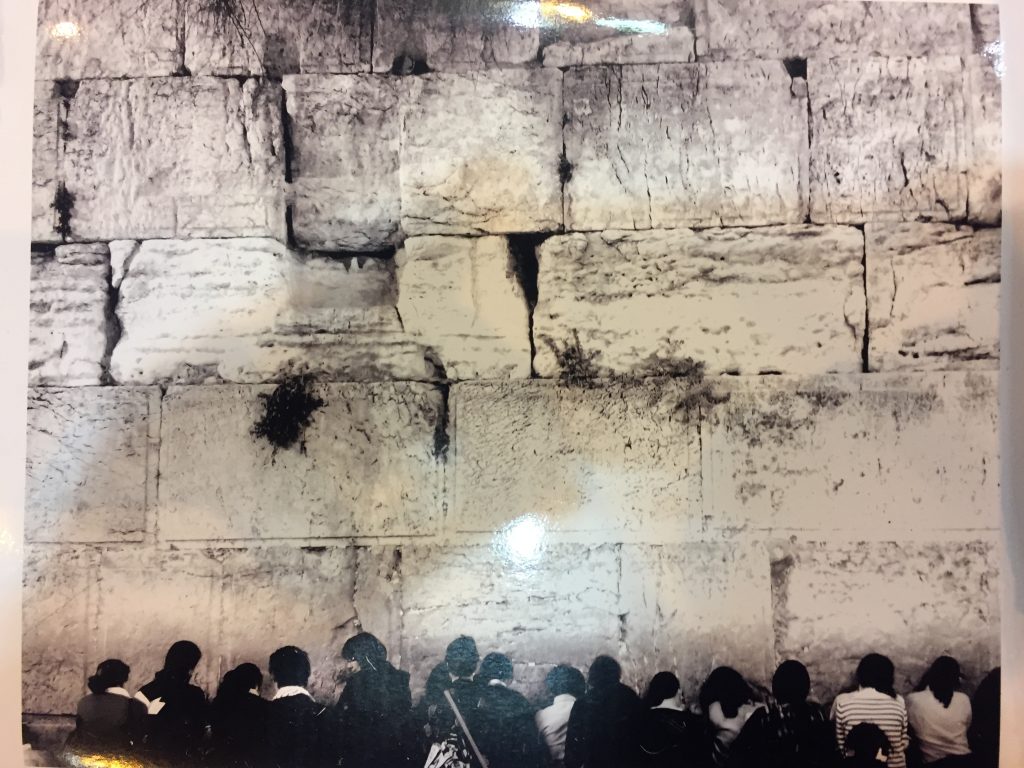 This full-color photo of the Wailing Wall in Jerusalem helped explain the process of converting a 2D image into a 3D carving.
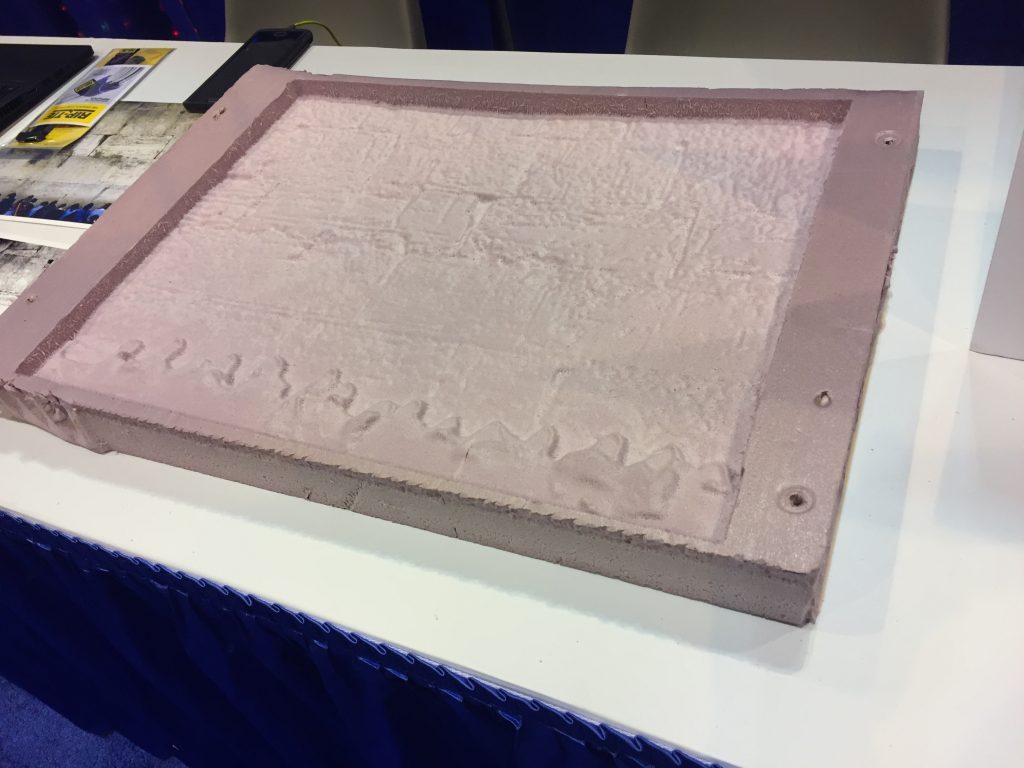 The image was then converted to gray scale, and the depth was controlled by the darkness of a given area. The crowd at the bottom of the image was then divided into a separate vector and the process reversed to place it on top of the image. Elsewhere in the booth, exhibition attendees enjoyed getting up close and touching the textures of Bill Young’s MDF column. Students, performers, and tech directors alike commented on the different moods that could be conveyed with the same surface and cutting tool.
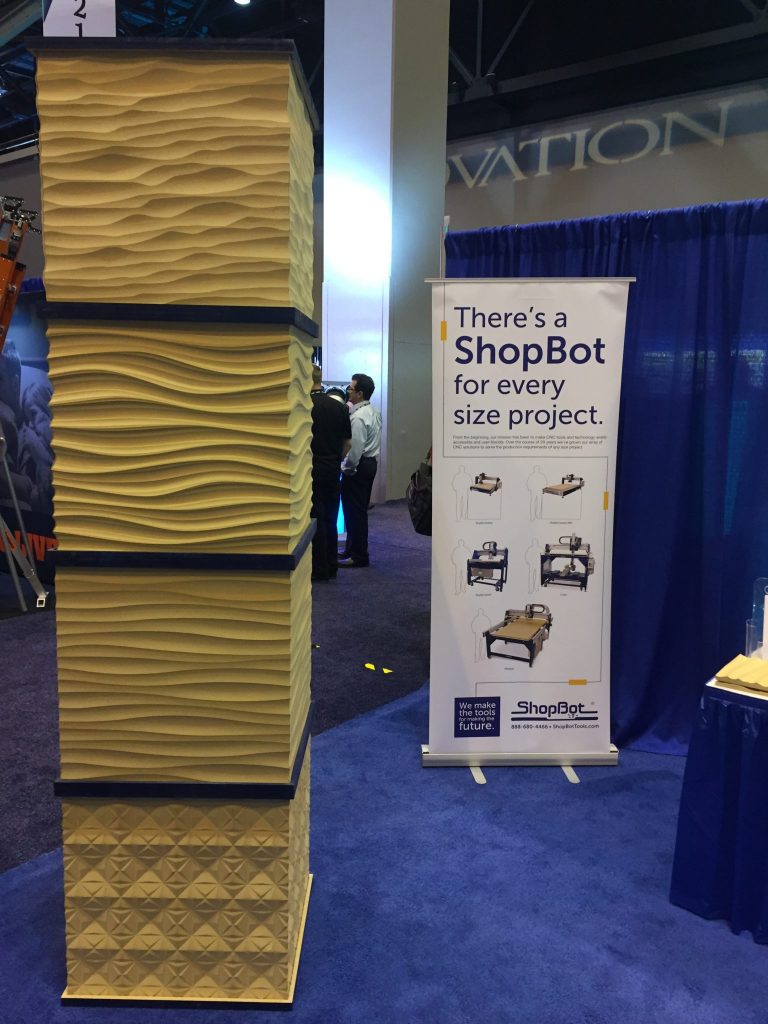 This column helped explain how CNC is an affordable and easy way to add texture to any production.
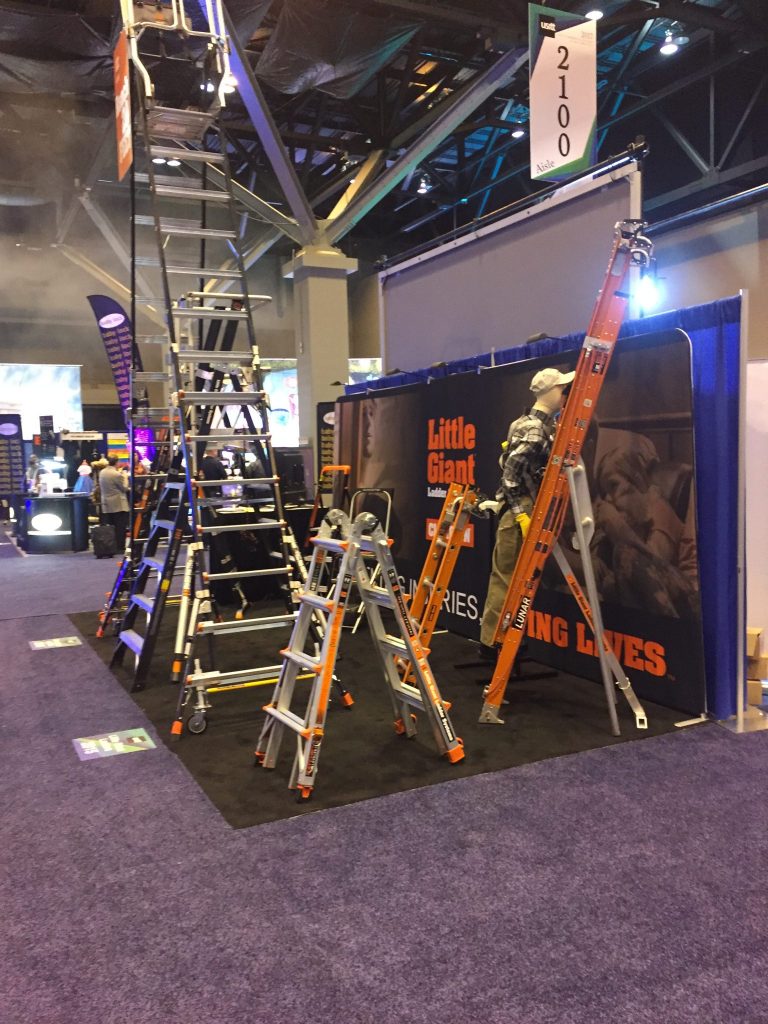
Elsewhere at USITT
All around the convention hall, the sheer range of tools and products was a testament to just how much work goes into theatre production. Everything from sound and lighting equipment through costumes and set design littered the floor, and there was no shortage of fun and surprise throughout the convention hall. We had a blast exploring all the things that go into a successful theatre and sharing the role of CNC in theatre production. We can’t wait for Fort Lauderdale and USITT 2018!
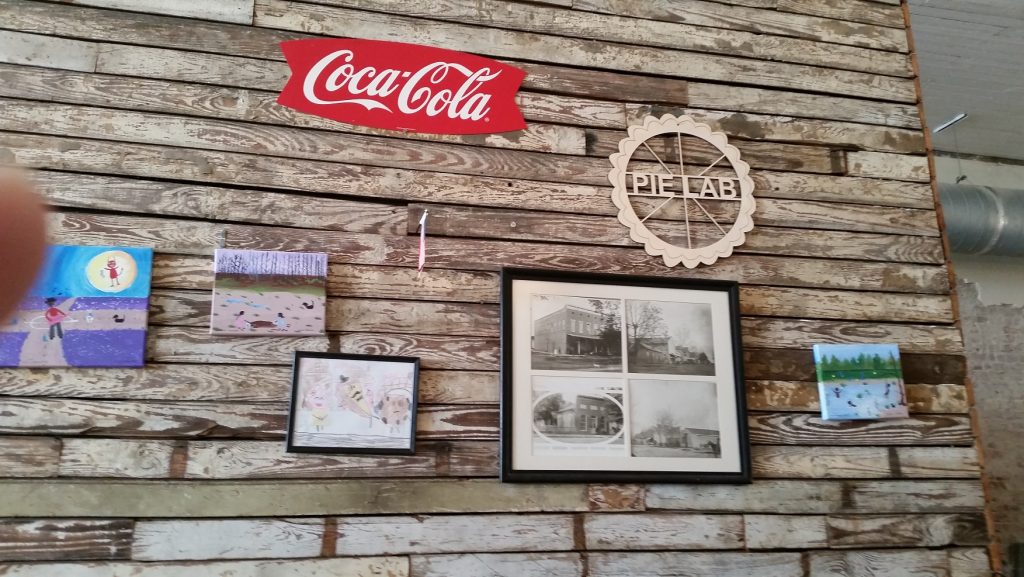
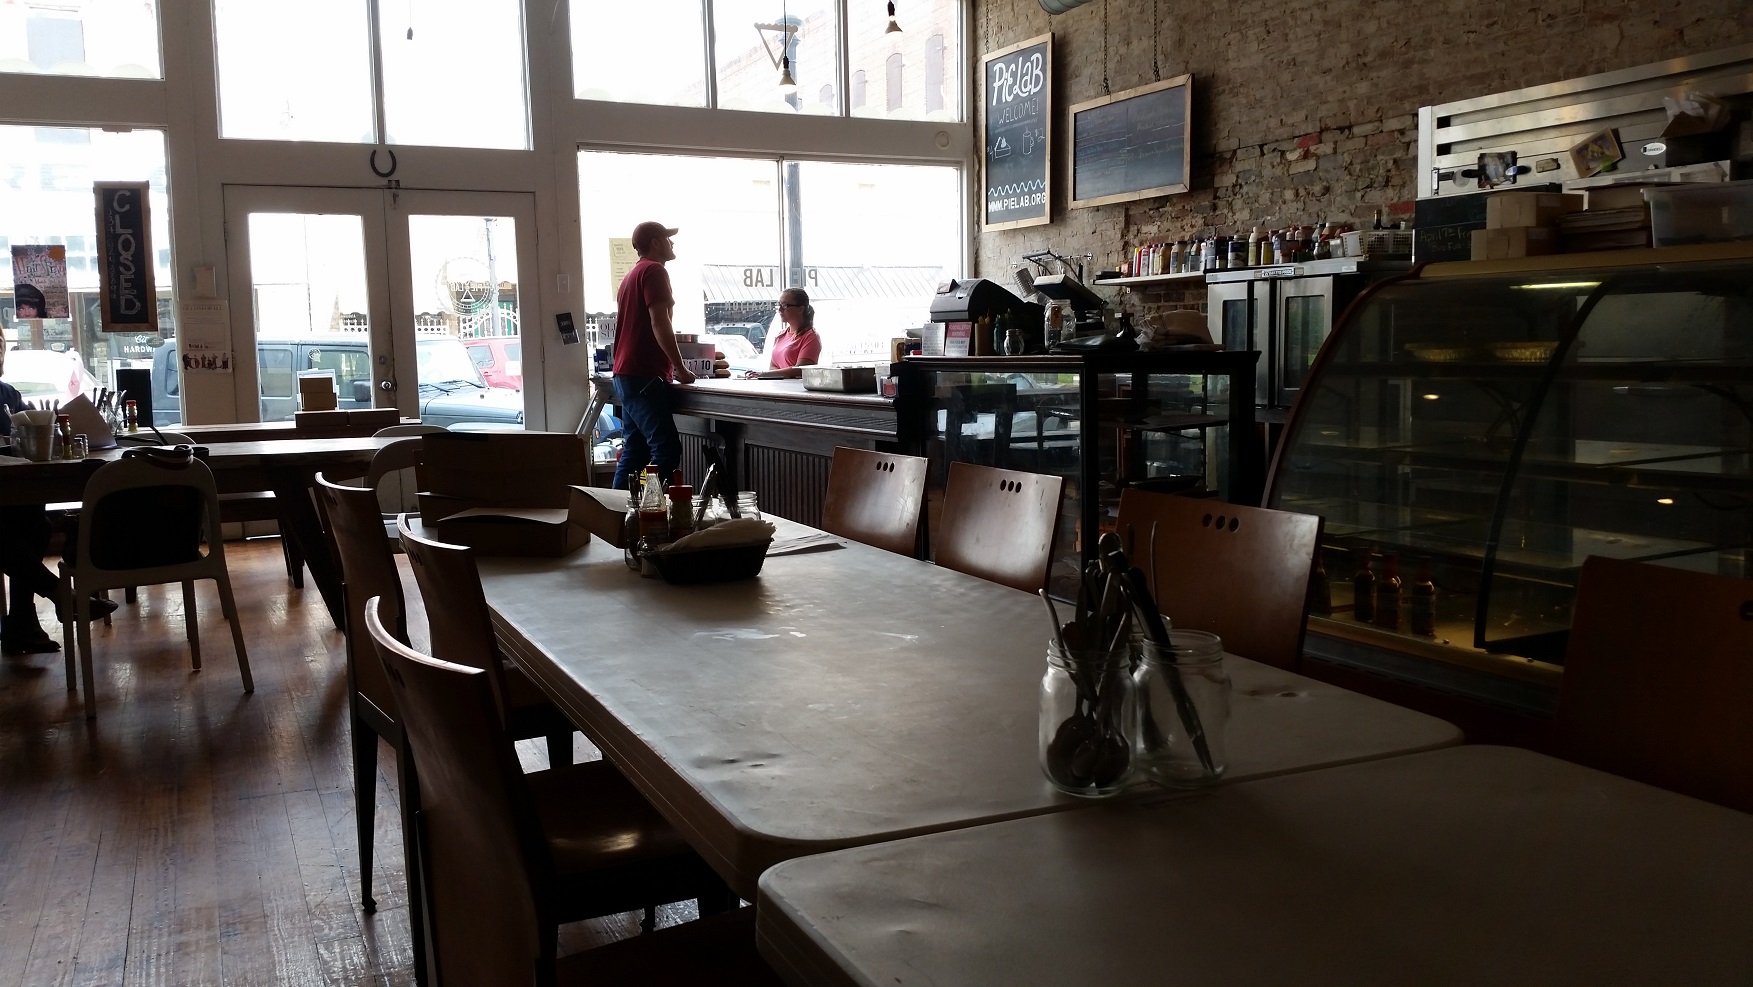
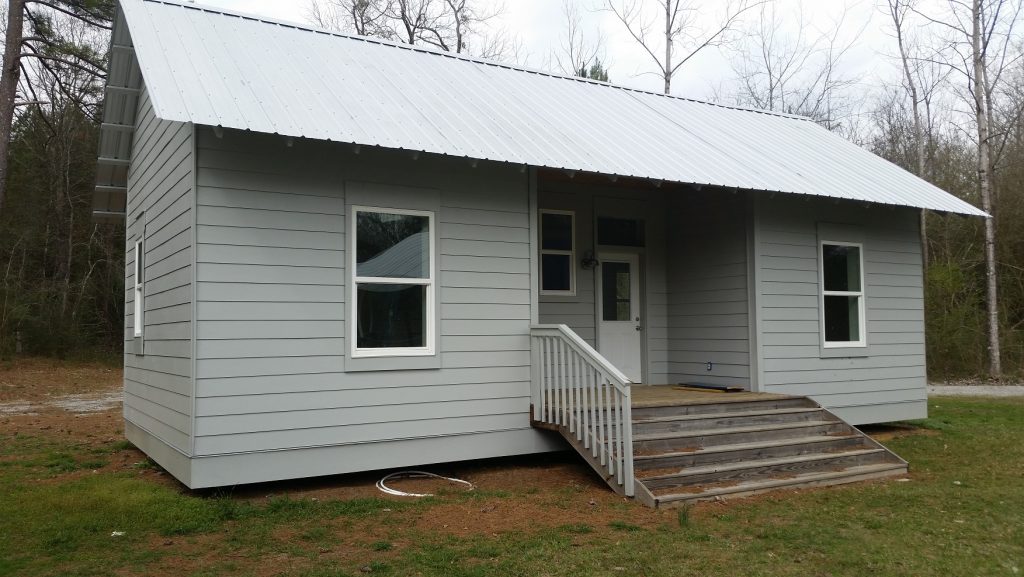
First, let me give you a little background. In 2008, I drove my camper from my home in VA to Austin, TX with a couple of friends and collaborators, heading to the Austin Maker Faire to build a digitally fabricated shed at the Faire. On our way through Alabama we stopped at Rural Studio in Newbern for a quick visit. Rural Studio is an outreach program of the Auburn architecture program, founded by Samuel Mockbee, that specializes in innovation in materials and design in affordable construction. Then in 2011, I attended the Better World by Design conference in Providence, RI and one of the keynote speakers was John Bielenberg of Project M. He talked about the power of “thinking wrong” and several projects he was involved in, including Pie Lab, a combination pie shop and community center in Greensboro, AL that was just up the road from Newbern.
For years I had been working on various, very cool CNC cut structures and loved working on them, but they all had a common problem – you couldn’t get a building permit to build them without jumping through a lot of hoops, if at all. At the time, they were not a viable solution for affordable housing. For a couple of years, I had been helping Dennis Michaud of Homebuilt work on ways to democratize the construction of affordable housing using CNC technology, and had gotten pretty passionate about the idea of using CNC to make it easier to build homes that were building-code compliant by default. At the same time, Rural Studio had been running an interesting project called the 20k Home project to design affordable homes. They were struggling with the same problem that Homebuilt was working on solving – the need for skilled labor and its associated costs.
Fast forward to 2017 and my trip to Austin. Since Newbern was kind of on the way from Florida to Austin, I made contact with the director of the 20k Home project to try to visit Rural Studio and to talk about the power of digitally augmenting traditional construction methods. Of course I couldn’t get that close without stopping at Pie Lab and having a slice of pie, so my first stop was in Greensboro to explore the town and have some lunch. There are lots of amazing things going on in Greensboro, much of it spearheaded by Pam Dorr, but the highlight of the visit to Greensboro was the slice of brown sugar buttermilk pie I had for dessert!

Full of chicken salad, black-eyed peas, and pie I headed down the road to Rural Studio to meet Natalie Butts and learn more about the 20k Home project. Although $20,000 was the original design goal – to see if a house could be constructed for that little money – they are really just trying to make housing as affordable as possible.
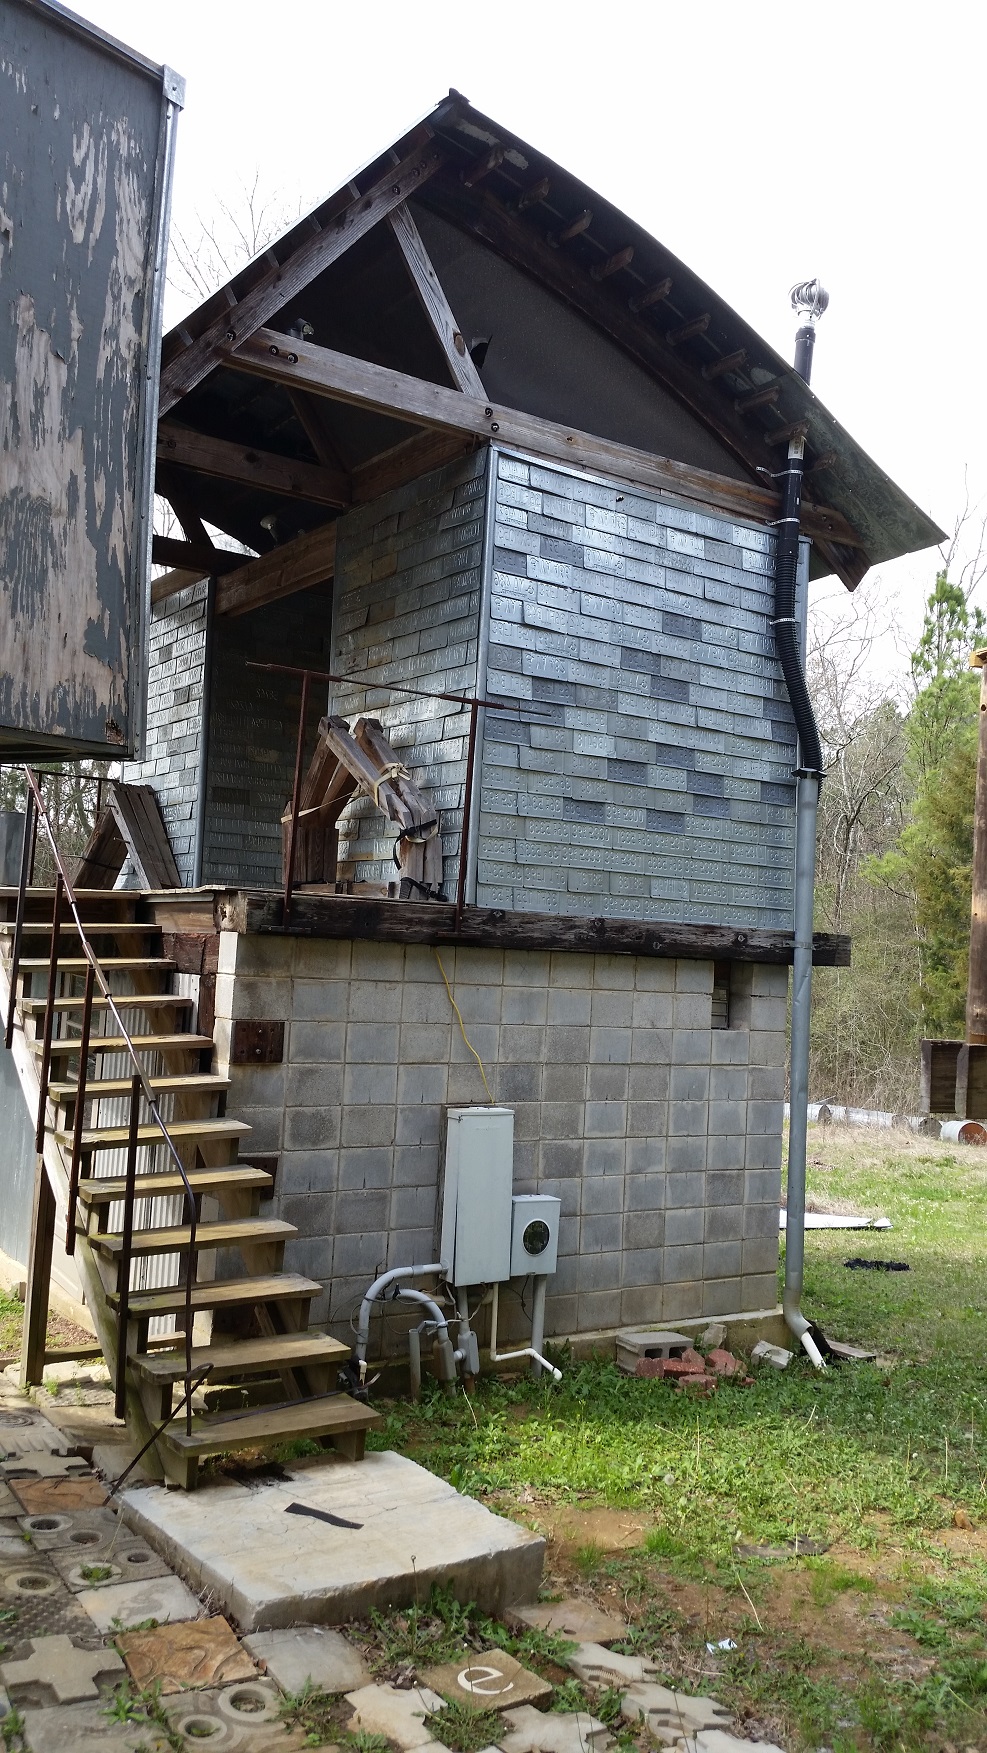
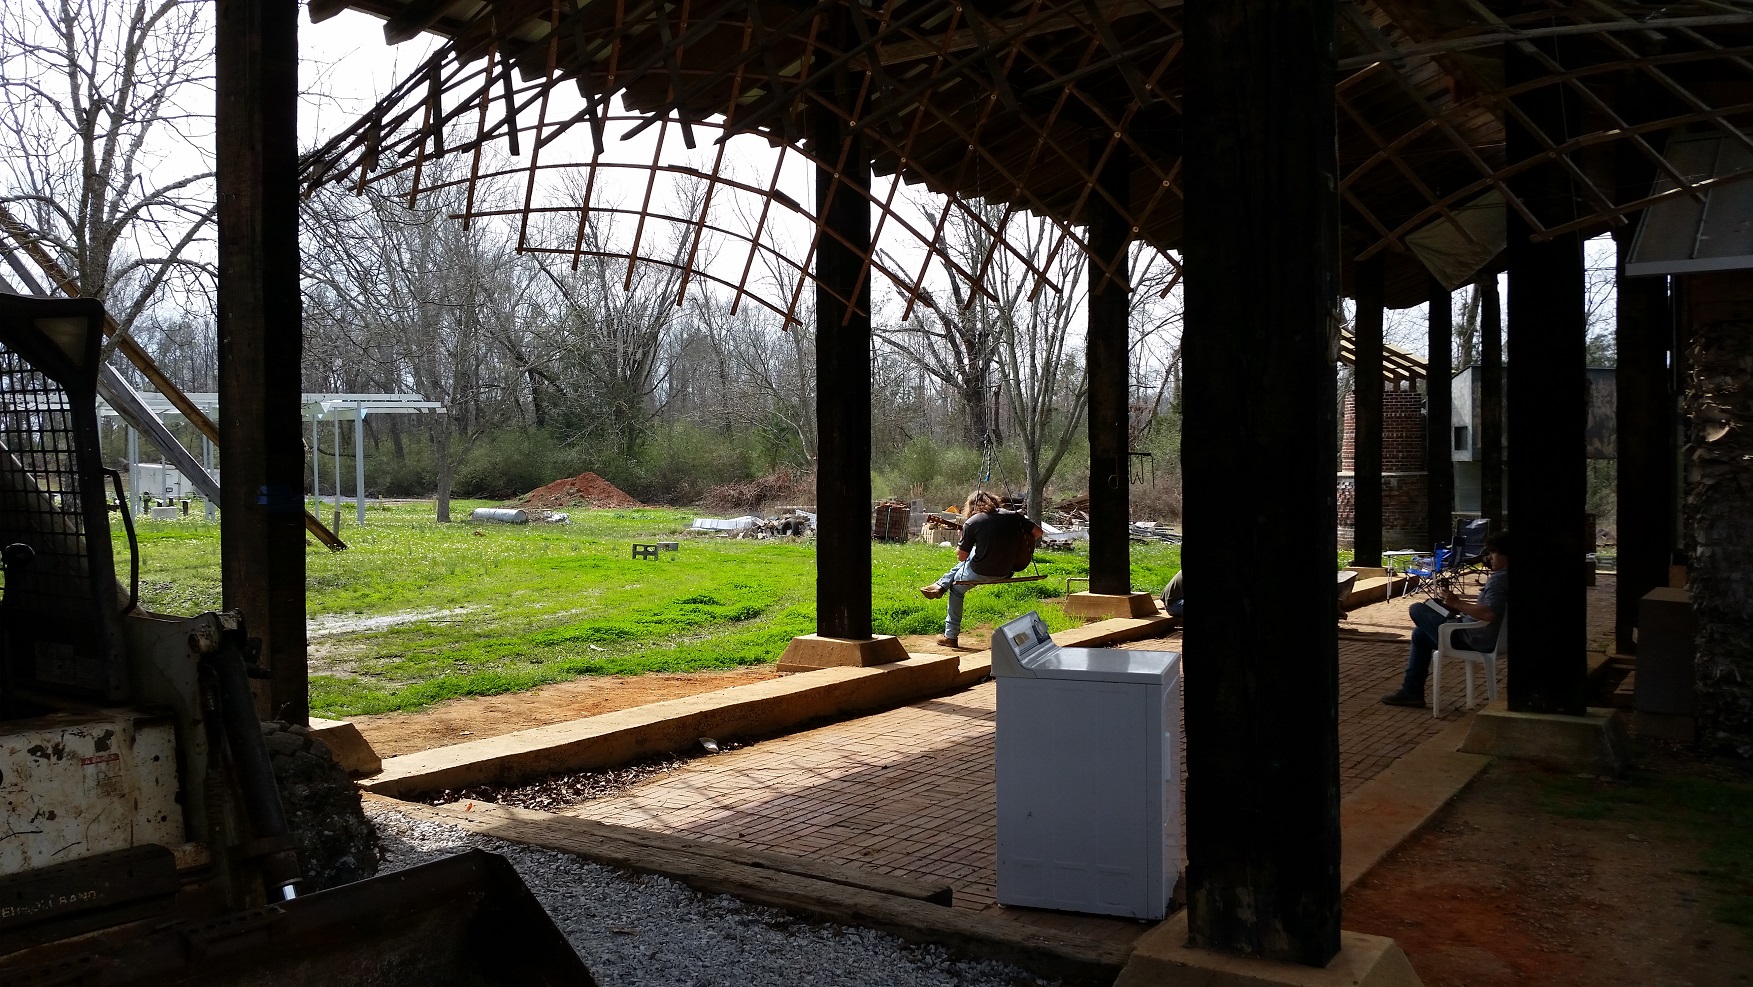
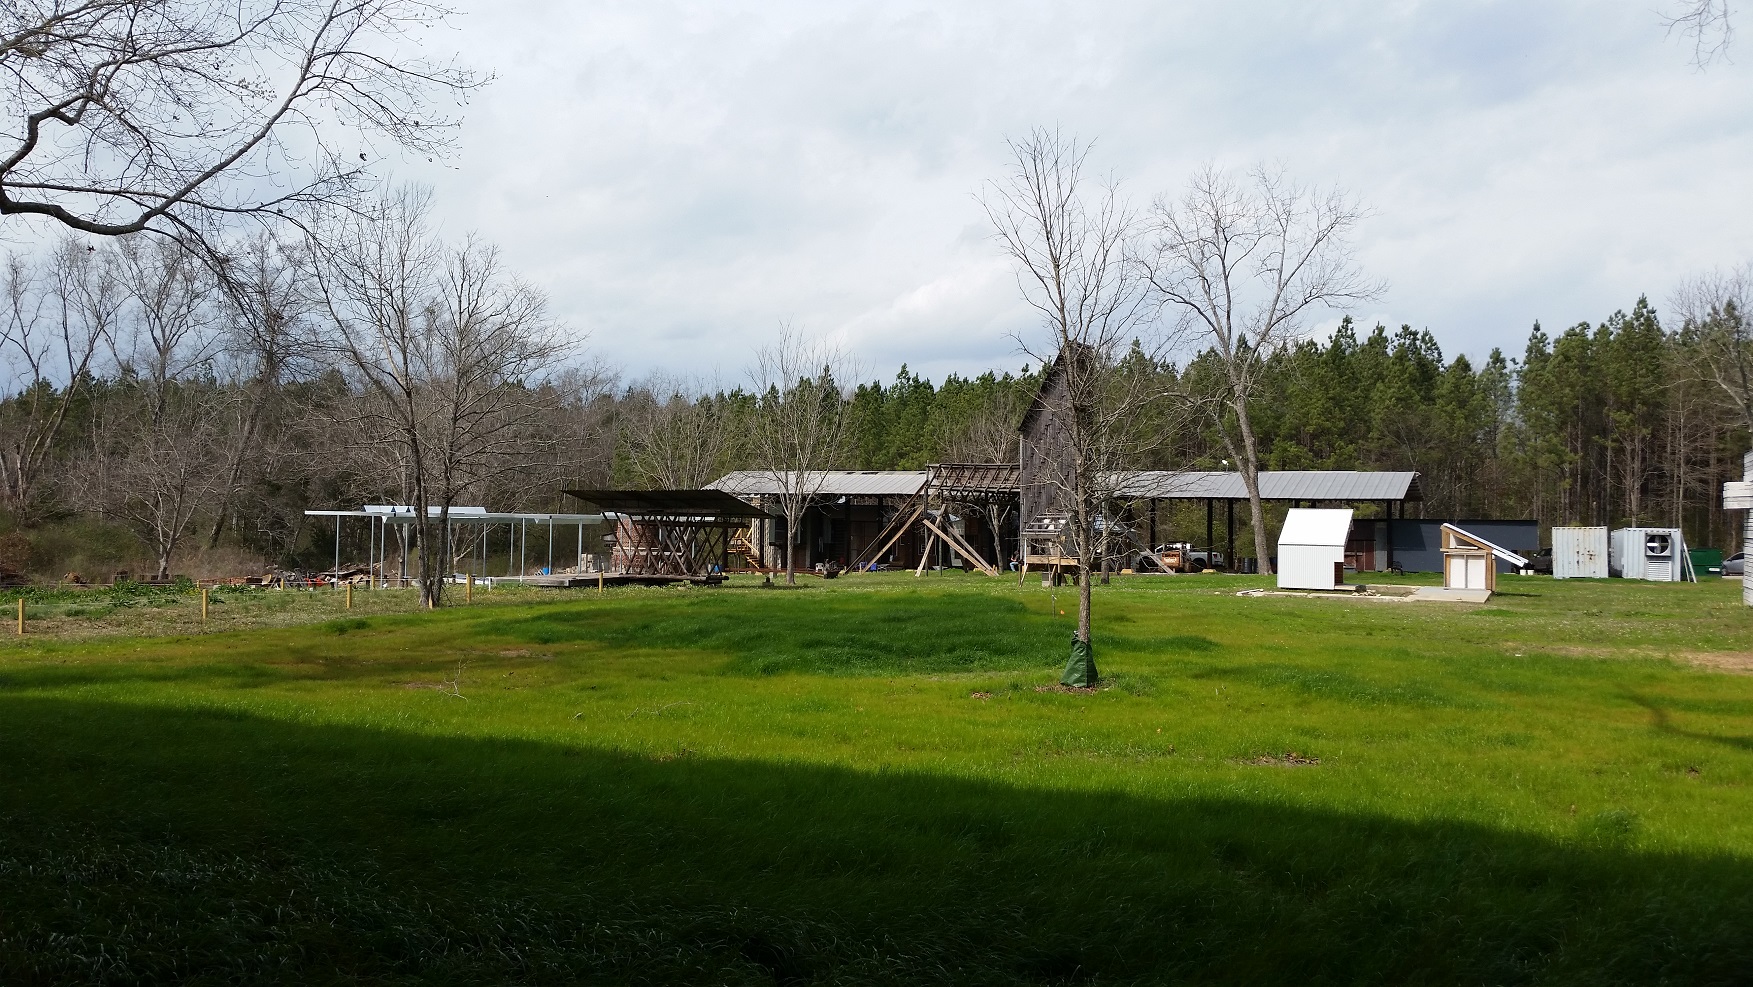
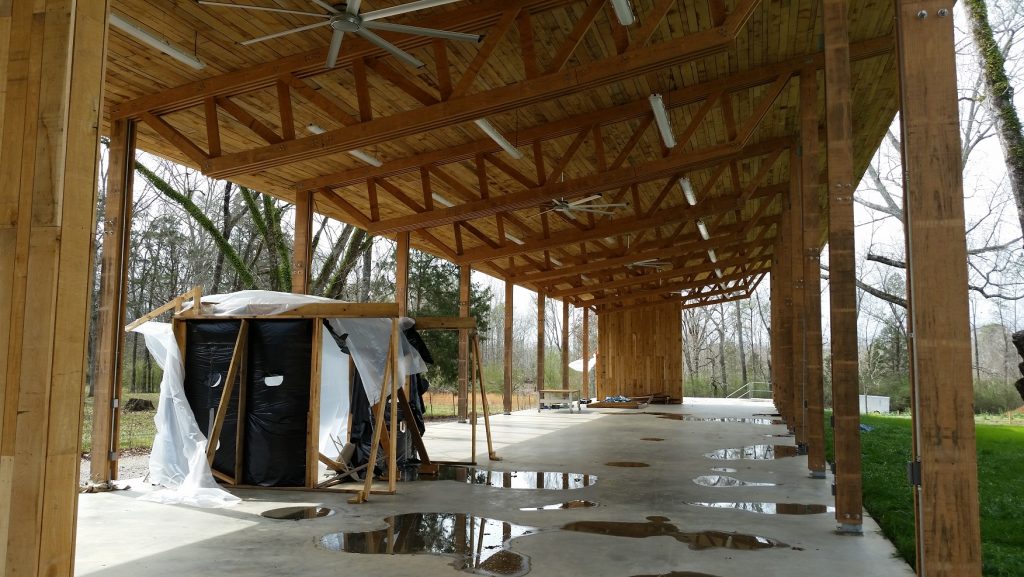
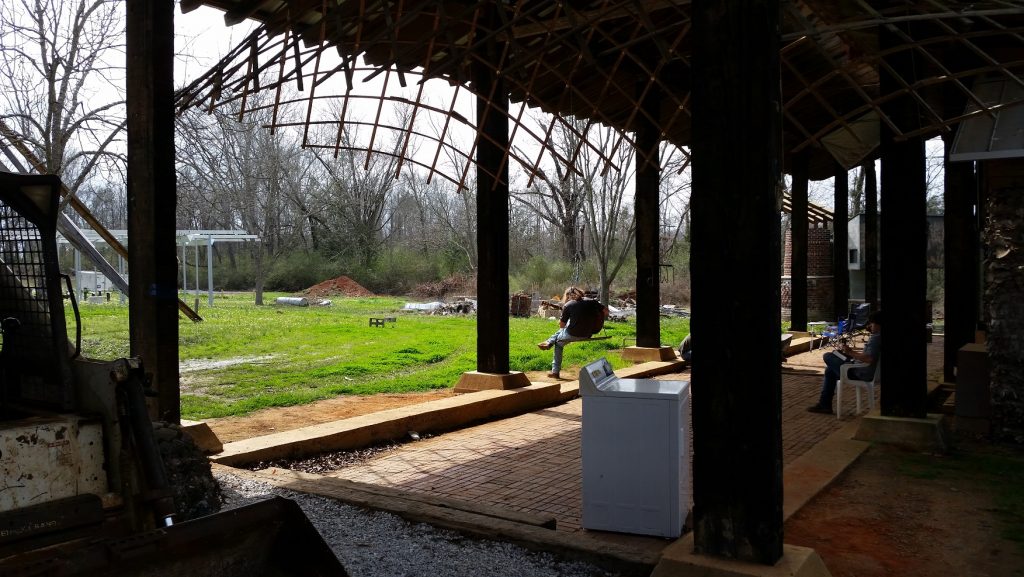
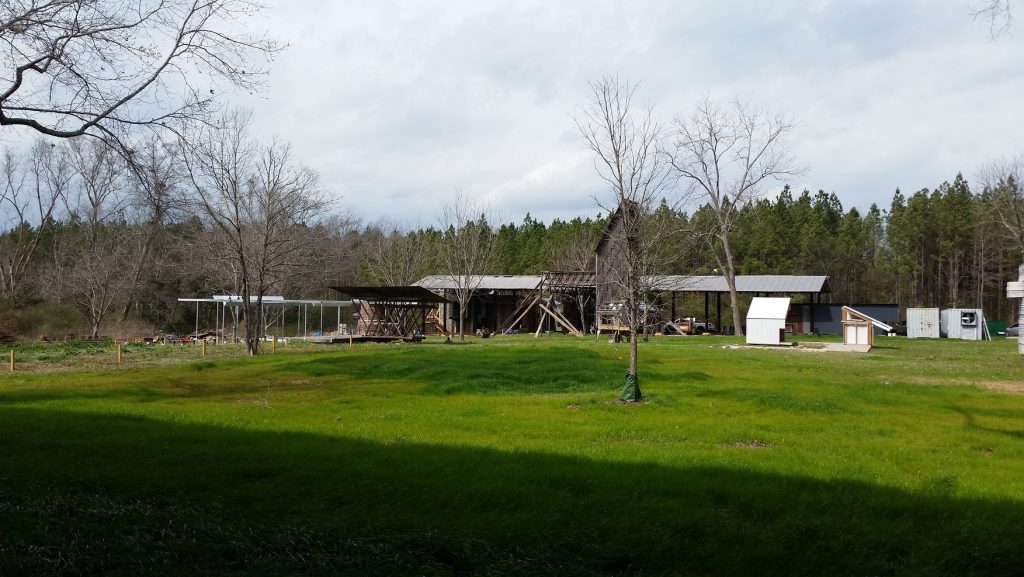
The first thing I saw when I drove up was the new fabrication shop they are building. In this first phase, they’ll use it as an open building area, eventually closing it in to house power tools including CNC equipment. Currently they have to drive to the Auburn campus to use CNC equipment for projects, a 2 1/2 hour drive each way!
Since I had gotten there a little early, I had a chance to wander around a bit and explore the various building scattered around that students had designed and built using materials you don’t normally see in houses, like bales of recycled cardboard and old license plates as shingles!

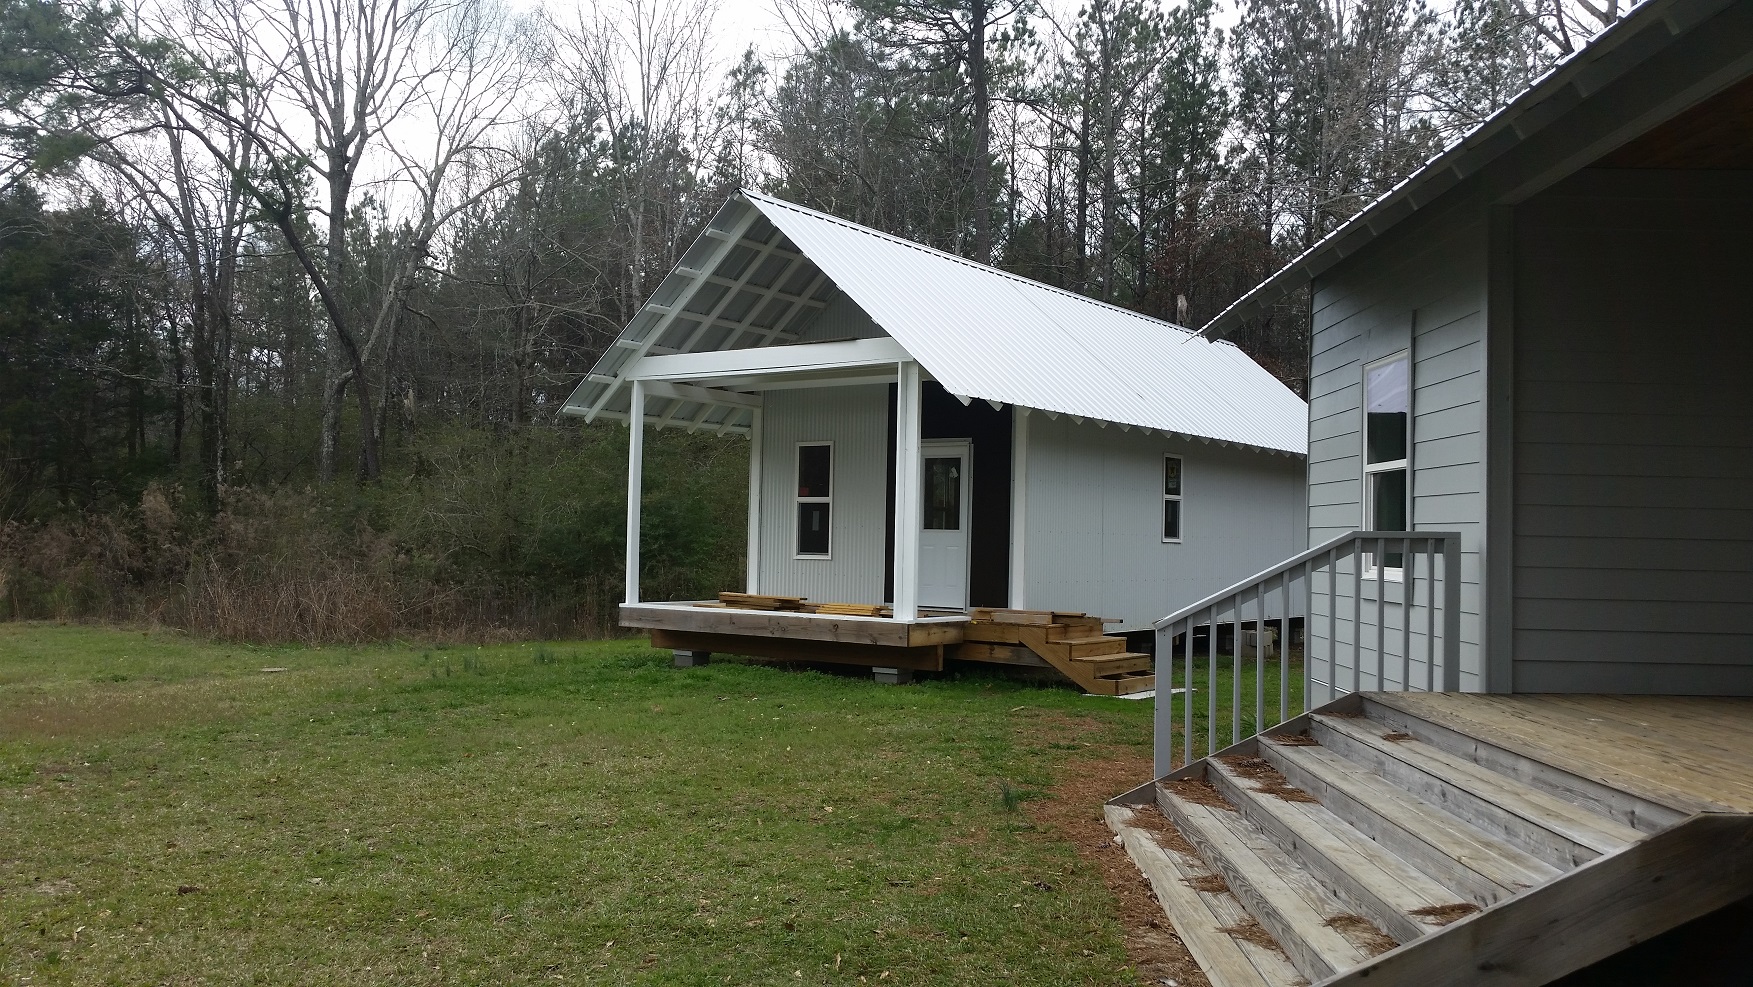
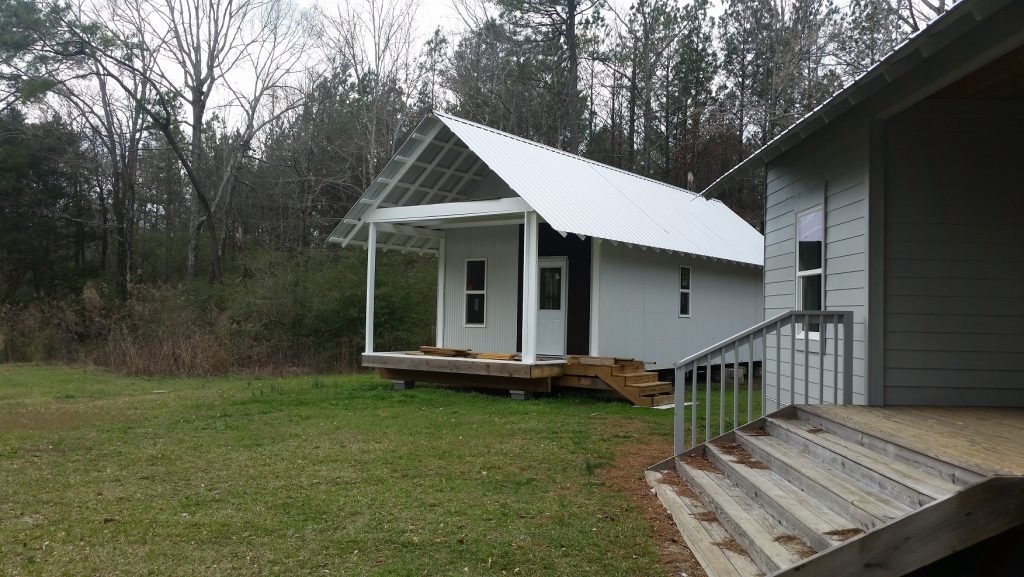
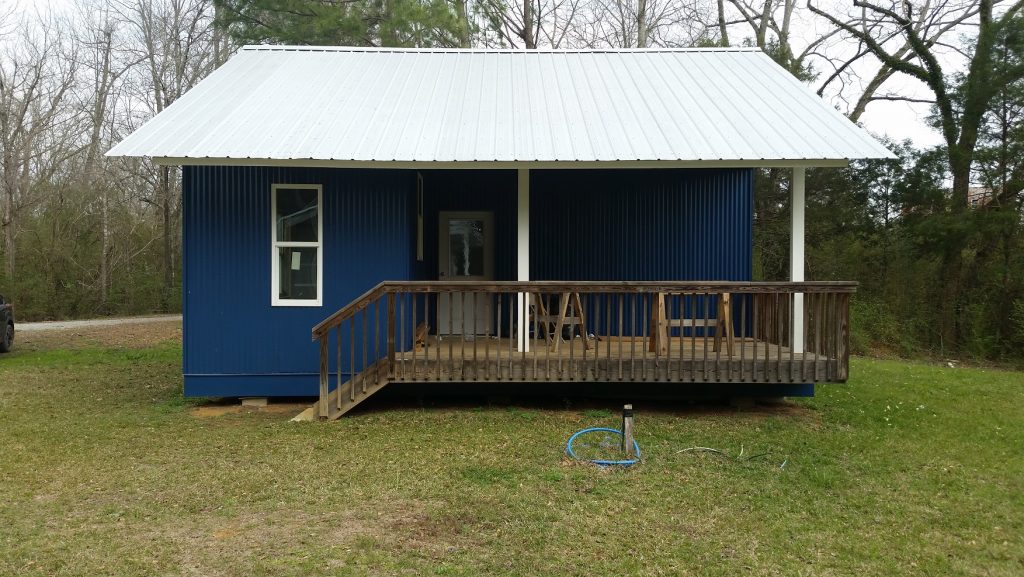
I had taken a couple of sample parts to build a small wall section as show-and-tell to demonstrate the idea that Dennis Michaud had developed with Homebuilt, and then we were off to see three variations of one-bedroom 20K Homes that they had constructed. These homes had been built as model homes of sorts, to keep the public from wandering up to homes that people were living in and snooping around!
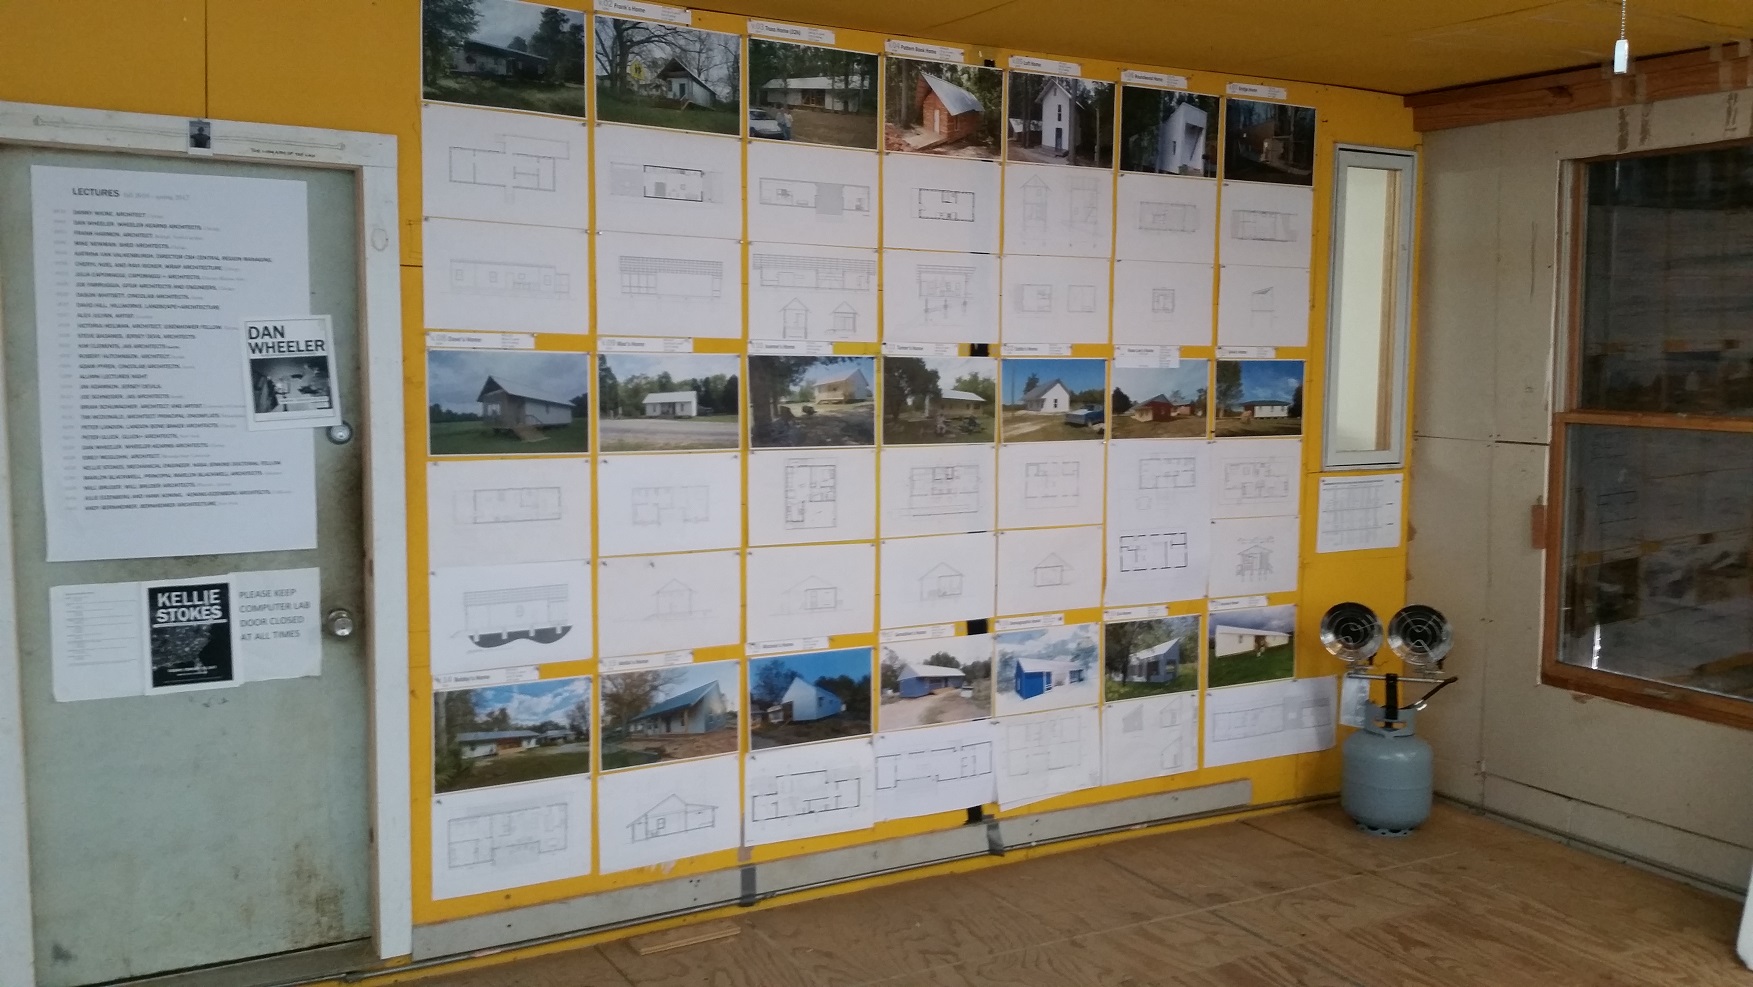
After exploring these homes we continued on to their Design Studio, in downtown Newbern where students worked on projects. On the wall as you enter they had hung pictures and descriptions for the designs they had built so far, showing the evolution of the project. We met with some of the design students and instructors and talked about the things they struggle with and possible solutions. They were very interested in the possibilities that introducing digital technologies can bring in helping reduce labor costs and increase affordability.

I have a special interest in these sorts of projects because the area I live in is similar to this, with an economy based on agriculture and aquaculture, and a great need for both affordable housing and work training. This was an inspiring visit, and even though there wasn’t a ShopBot to be seen, they were very aware of the possibilities that CNC and digital tools can bring to a project like the 20K Home project.
By Sallye Coyle, March 9th, 2017 
Creating the right look for a character on the stage is one of the tasks of a costuming department in a theatre. When creating a hat for a character, a felt hat must have the material draped over a form, or hat block. The hat block must be able to accept pins to hold the material in place, as well as stand up to the heat of the steam to mold the material. The hats themselves may curve under the block, so a complex hat block has to be disassembled in order to remove the finished hat. The Drama Department at University of North Carolina at Chapel Hill has a few hat blocks that came from the 40’s, 50’s, and 60’s, but they are worn from use and, perhaps, not the right size for current actors. Furthermore, the making of a hat block using “traditional” woodworking techniques is becoming a lost art. But one student at UNC Chapel Hill is working to revitalize the art using digital technology.
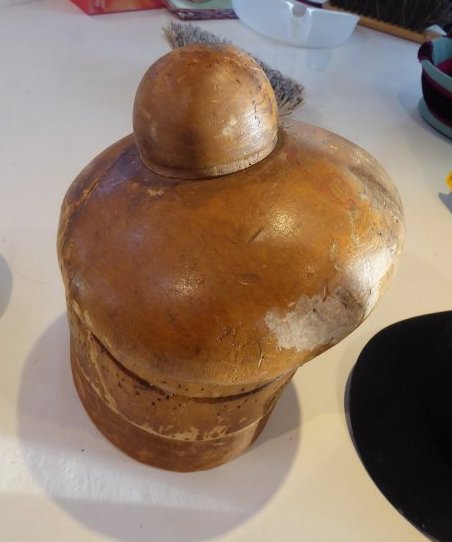 Anatomy of a Hat Block. This block has a separate top knot that fits into the base pieces. The bottom part has been sliced in two, with an internal “key” that holds the pieces together while blocking the hat. The parts can be separated to remove the block without distorting the finished hat. Note the wear and holes from use. During a graduate class in millinery at the UNC Chapel Hill Drama Department, Athene Wright became interested in using digital fabrication techniques to recreate hat blocks. Under the direction of Rachel Pollock, Craft Artisan and Lecturer, Athene took on the task of creating a digital file of a crown block with a conical tip. She worked with Brad Erickson at the UNC Makerspace to create a 3D model of the hat by taking multiple pictures from different angles, and stitching them together in a software to create a 3D rendering of the block. She then 3D printed the file, adding a wooden base because the ABS plastic of the 3D print would not hold up when pins were pushed into it. More information and the files can be found at Athene’s website and Thingiverse post and on Rachel Pollock’s blog, La Bricoleuse.
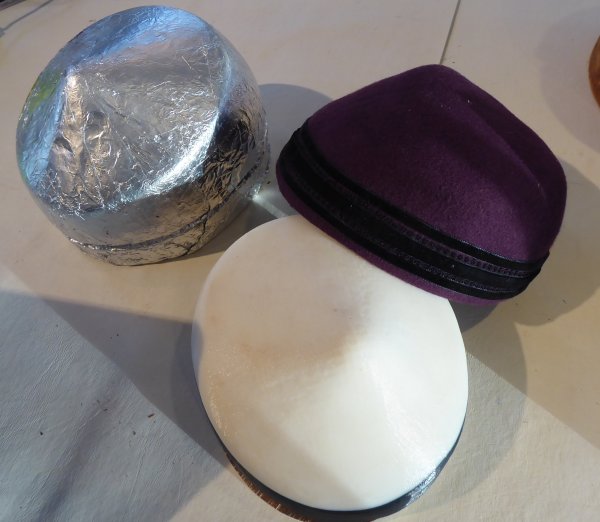 Athene’s first iteration of recreating a hat block using digital technologies. The original hat block, covered in foil, was photographed from multiple angles, and the photographs stitched together to create a 3D file. The .stl file was then printed on a 3D printer, and the ABS part attached to a wooden base. Athene’s finished wool hat is also featured. 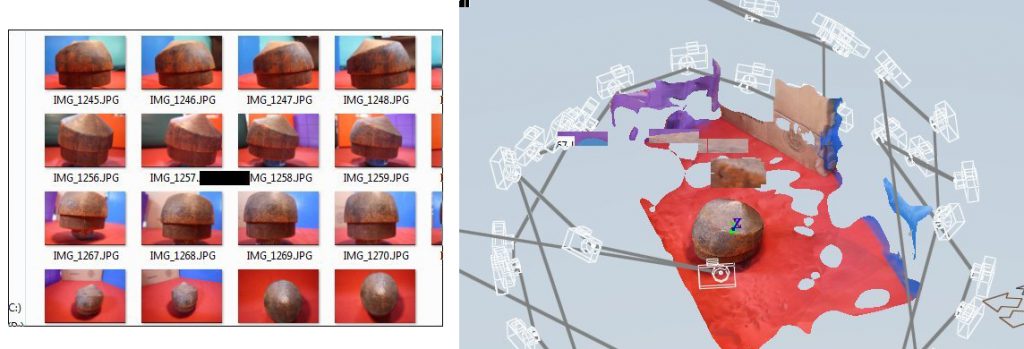 Seeing this hat block was like seeing an old friend. In 2012, Rachel brought it to the studio, and we tried an early version of 123DCatch to make a 3D model. The final model was never realized, but I was excited to find the record of the attempt on my computer. In her blog, Rachel mentioned that another student, Candy McClernan (MFA ’13) used a more traditional technique to reproduce the same hat block by draping the original with plaster bandages, then filling that with a two-part rigid foam. While this technique does recreate the original, it is more difficult to modify the size to fit the head of a different actor. Once there is a digital file, however, the size and shape can be modified on screen to fit different actors and a prototype generated before the final shape is committed to a more durable material.
Athene’s quest to create digital files had another purpose. It’s one thing to recreate a hat block itself, and another to create a new block from an existing hat. You can’t make a physical cast of the hat without ruining it, and you can’t recreate the hat without the block. Athene fell in love with a hat from the 40’s that perches at a jaunty angle on top of the head—so, she again drew on the services of Brad Erickson at the UNC Makerspace to create a 3D model of the hat. Using a 3D scanner, they created an .stl of the hat, and Athene brought it to the studio for machining a prototype in foam.
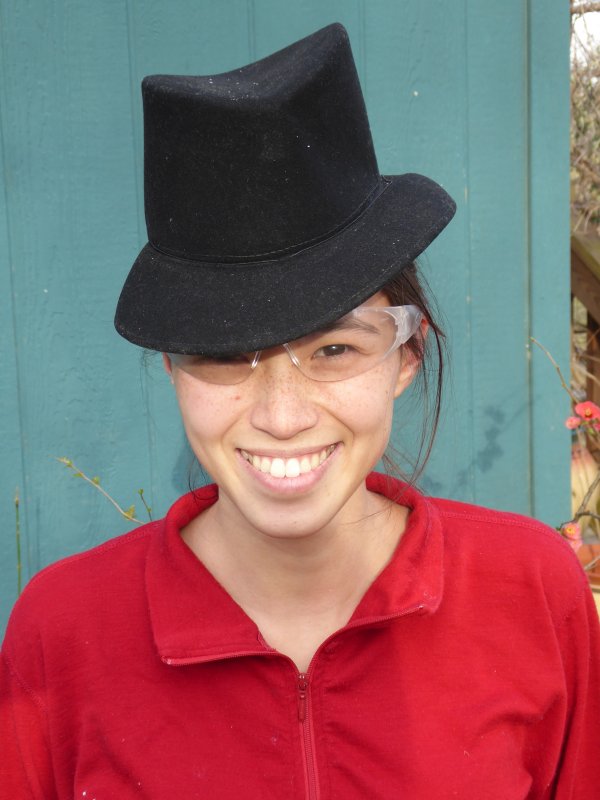 Athene modeling the hat, lent by Kim Fraser for the duration of the project.
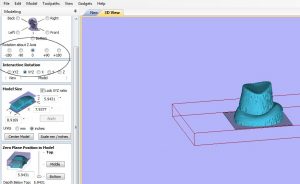 The first step was to bring the .stl into VCarve Pro for toolpathing. The techniques was similar to that described in the blog Machining 3D Scans with a ShopBot CNC. The added twist was using the Interactive Rotation to get the model aligned in such a way that the details that gives the hat its jaunty feel could be machined from the top down with no undercuts.
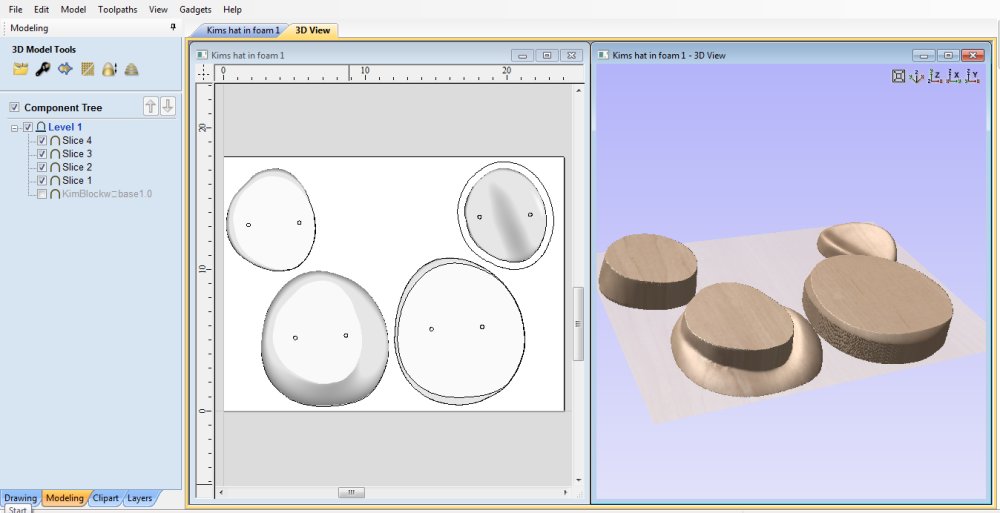 Once the file was imported, it was sliced to fit the 2” pink insulation foam that we were using to prototype. In the image above, note that the original component (the last in the list) is turned off, and the 4 layers and their vectors have now been spread out on the material.
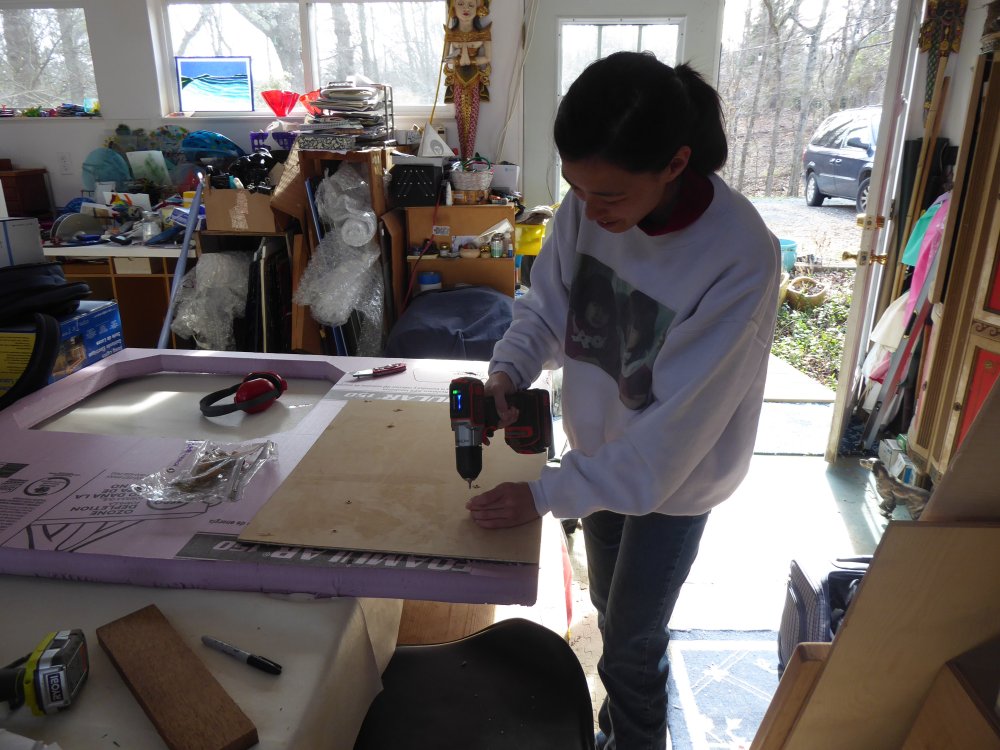 For hold down, we indicated where it was safe to put a screw, and, from the bottom, placed screws through a thin board and into the foam. Then, the foam was cut to size for the ShopBot Desktop (24” x 18”). The thin board/foam was flipped and screwed to the Desktop sacrificial board.
 The roughing passes have been completed on the three slices on the left, while the finish pass has been completed on the slice in the upper right corner. The bit was a .25” ball nose bit.
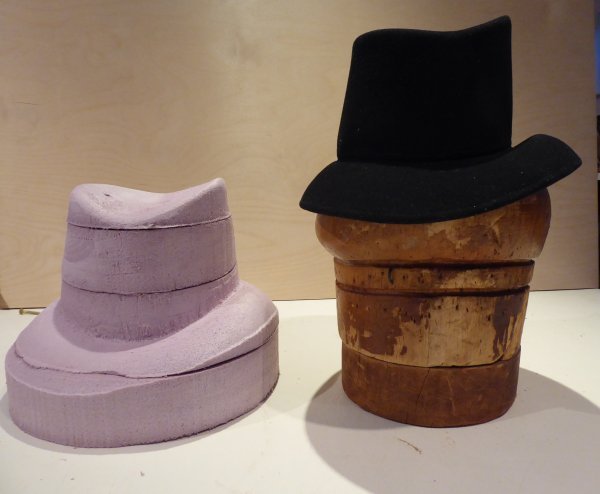 The original hat (sitting on another hat block) and the first iteration of the hat block. Because the .stl did not save as the same size as the original, we had to guess at the desired size when we imported it. Oops, the first prototype was larger than we wanted.
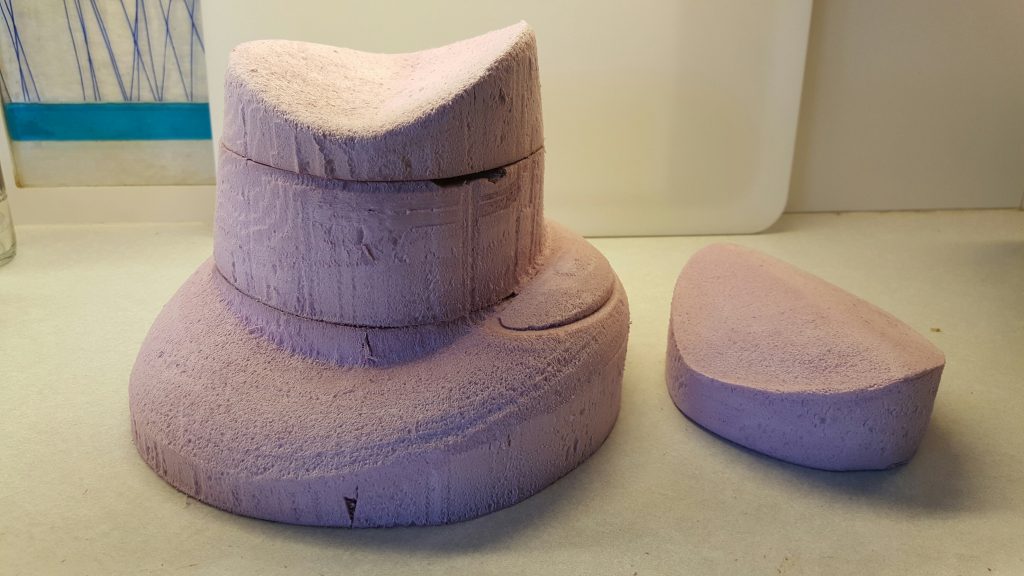 The prototype resized to be slightly smaller than the original hat to compensate for the thickness of the material draped over the hat block. With the resizing in all three axes, the number of slices was reduced from 4 to three. At the right is the “tolliker” which is placed on top of the hat to weight the material in place.
Once this prototyped is approved, the final hat block will be machined out of a suitable wood.
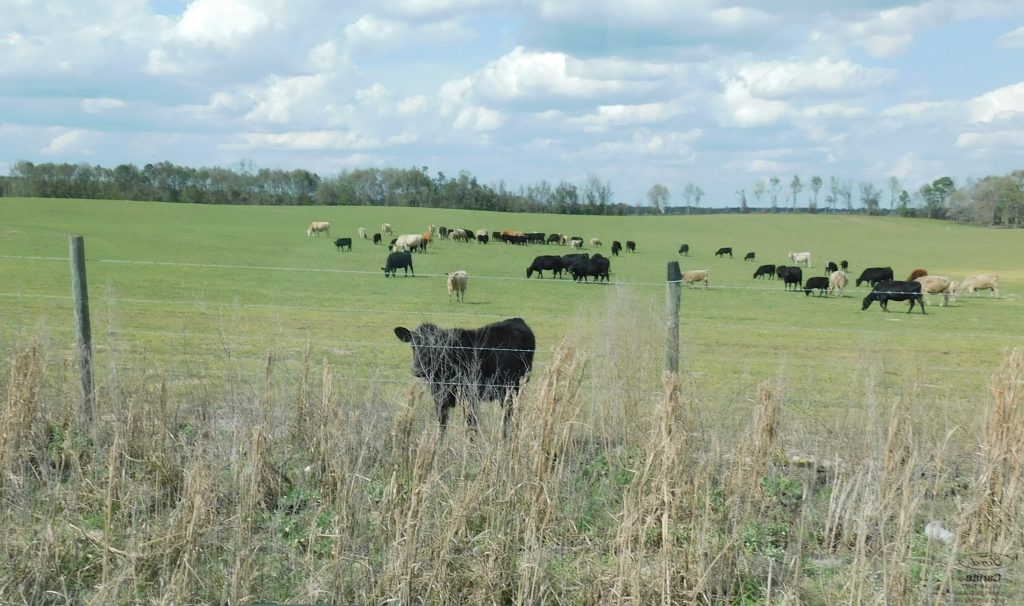
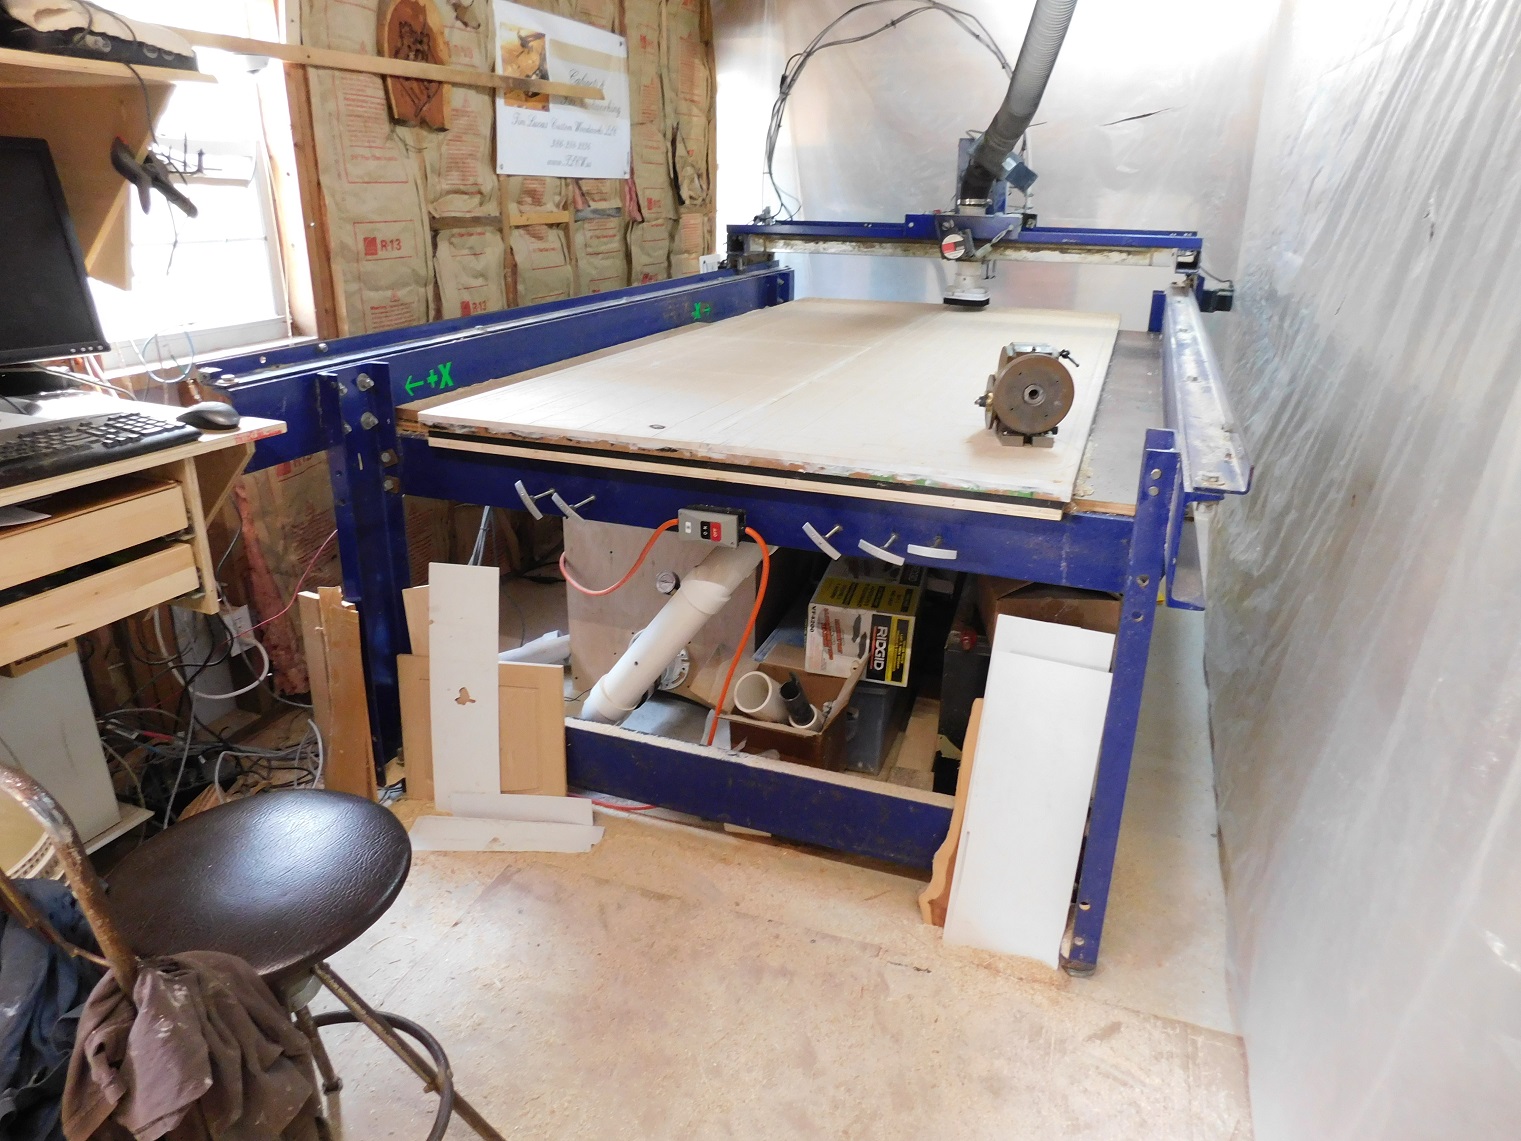
The next stop on my Dirty Digital Jobs tour was outside of Bell, Florida to visit Tim Lucas, owner of Tim Lucas Custom Woodworks. It’s the first time I had met Tim, but had read his posts on the ShopBot Forum, so I felt like I knew him already. It was a beautiful drive, with lots of cows grazing in the fields along the way.
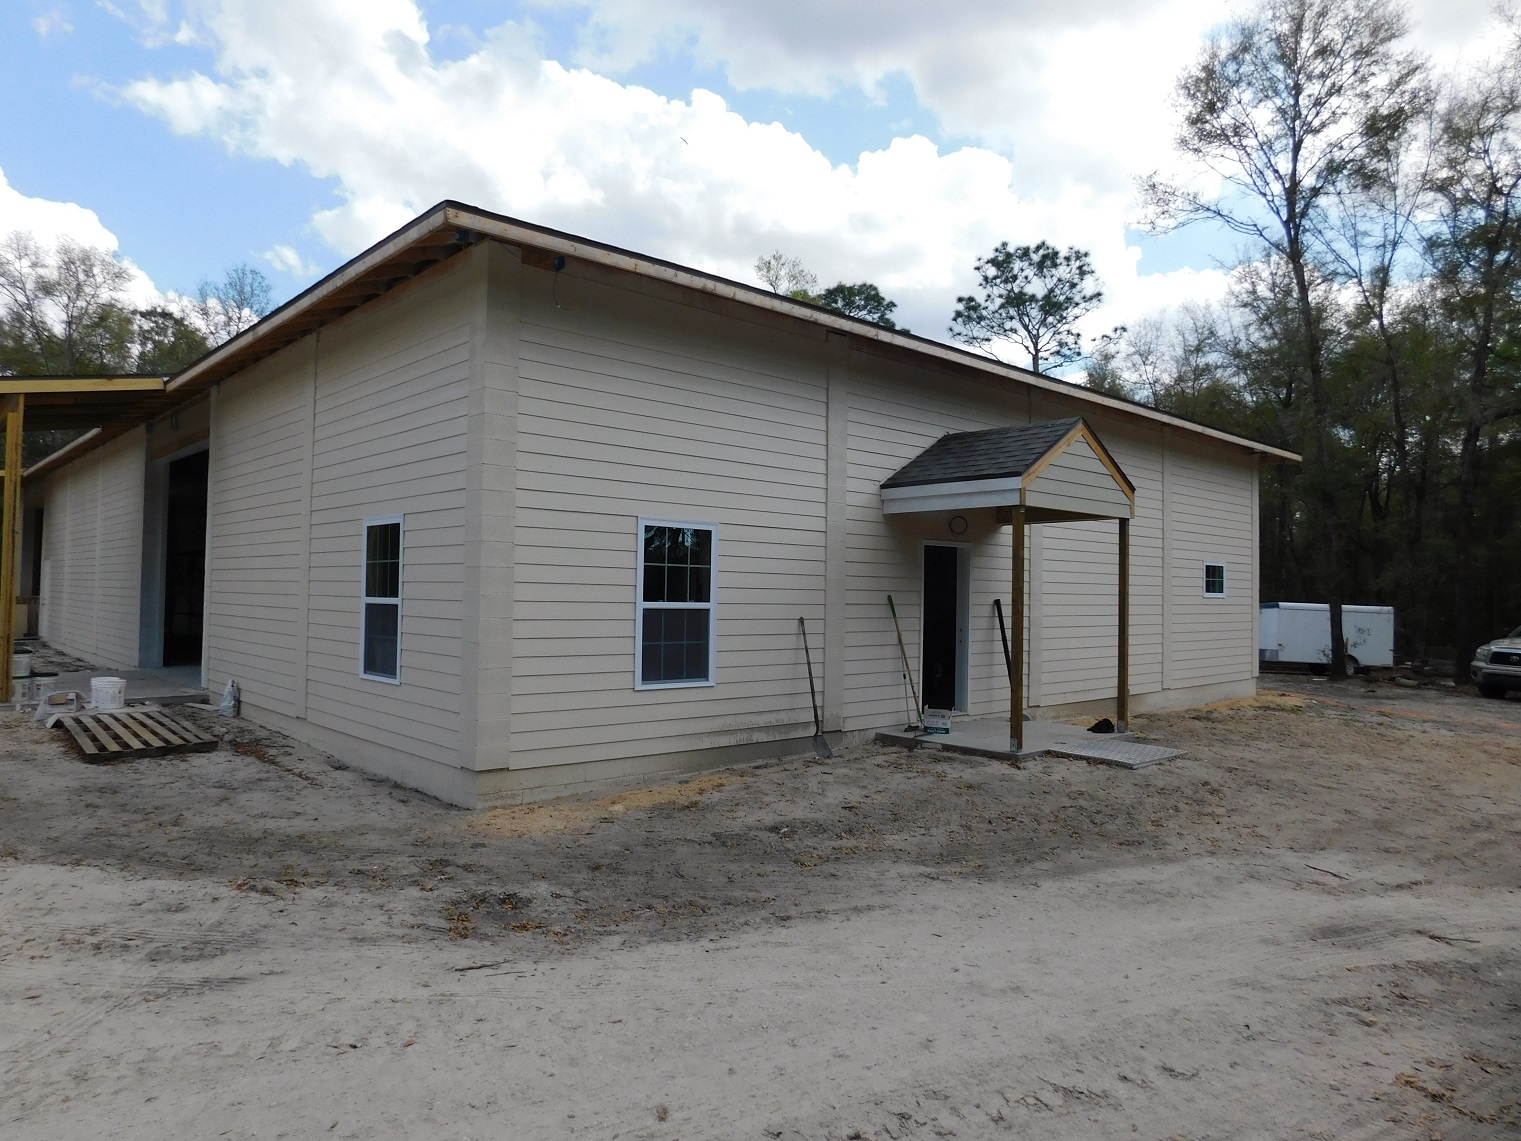
The first thing I noticed when I drove up his long driveway was the BIG new shop! Those of you that follow the ShopBot forum might remember this thread that Tim started when he was looking for ideas for building his new shop. Tim did a beautiful job on it—well thought out and all open space, with no columns or posts to get in the way.
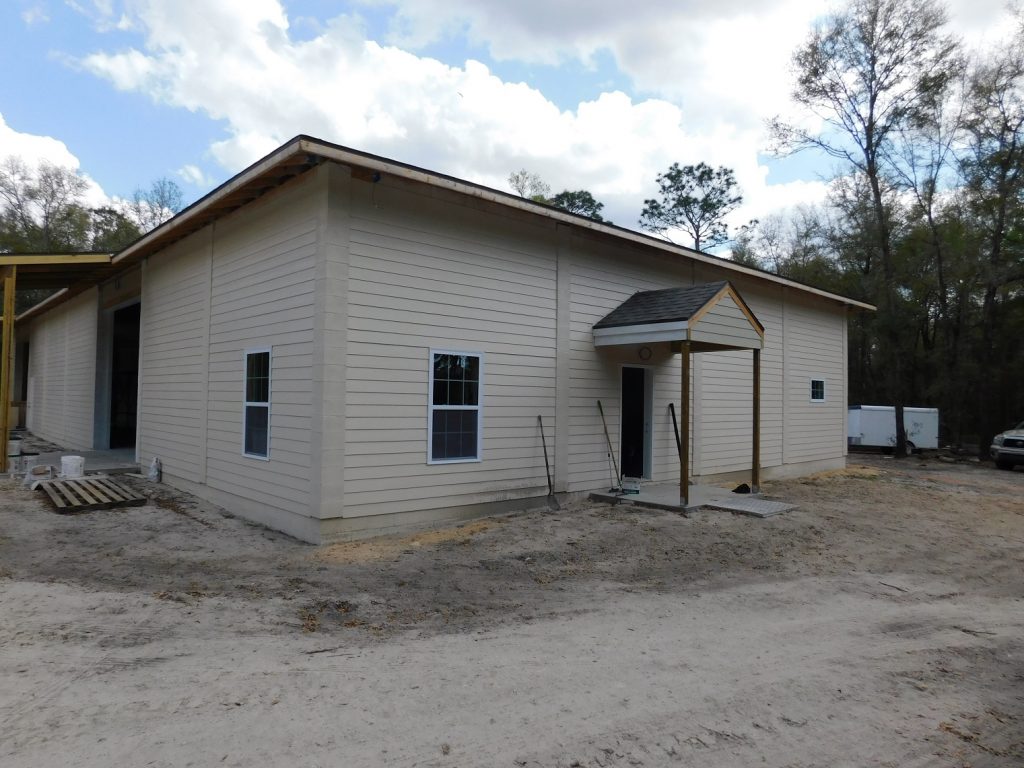

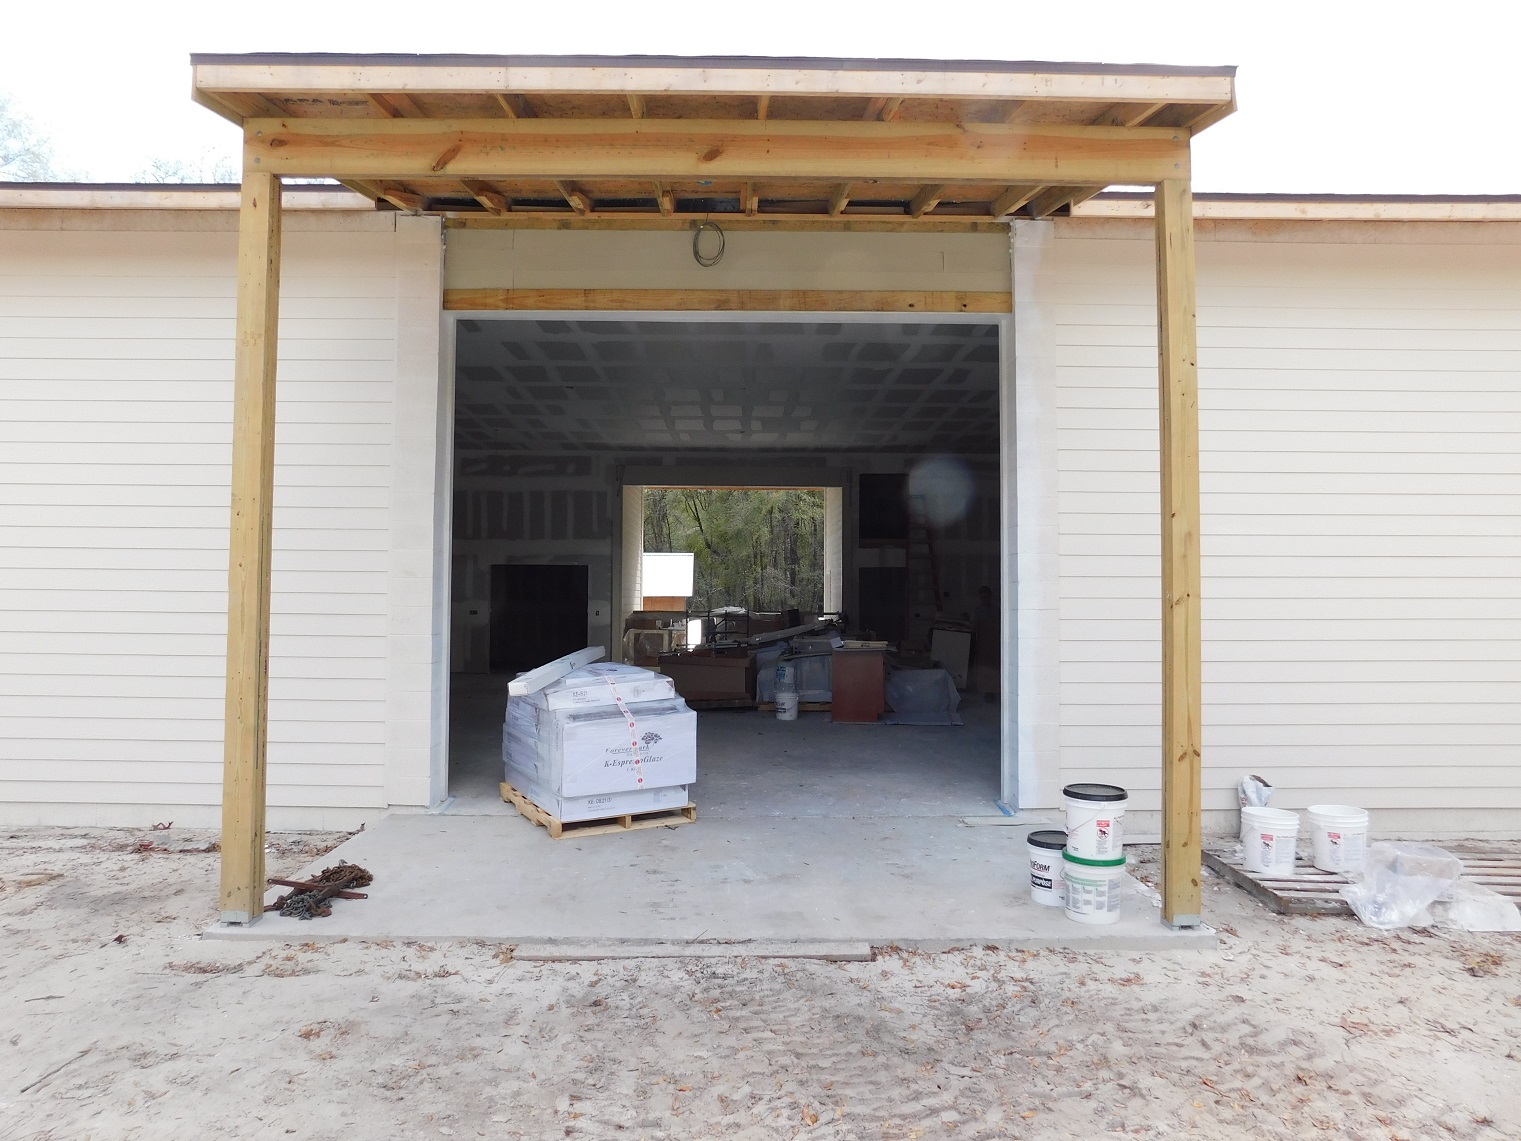
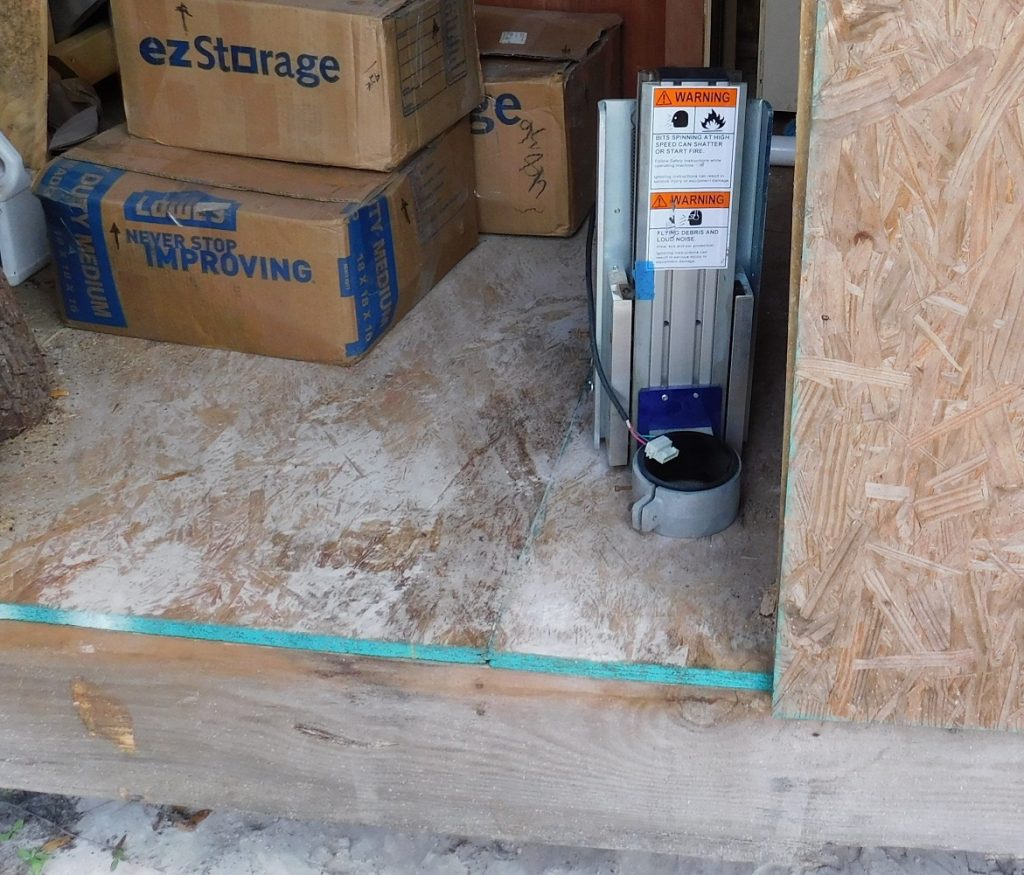
Anyone with their own shop will testify that material handing is one of the biggest problems. Just getting material in and out of the shop can take lots of time and can be hard on your back. Tim’s new shop has doors on both sides that are 12′ tall and 14′ wide, with a roof over them to keep materials dry. The entrance you can see on the other side is in an alcove–so that you can get out of a vehicle in the pouring rain and not get wet!
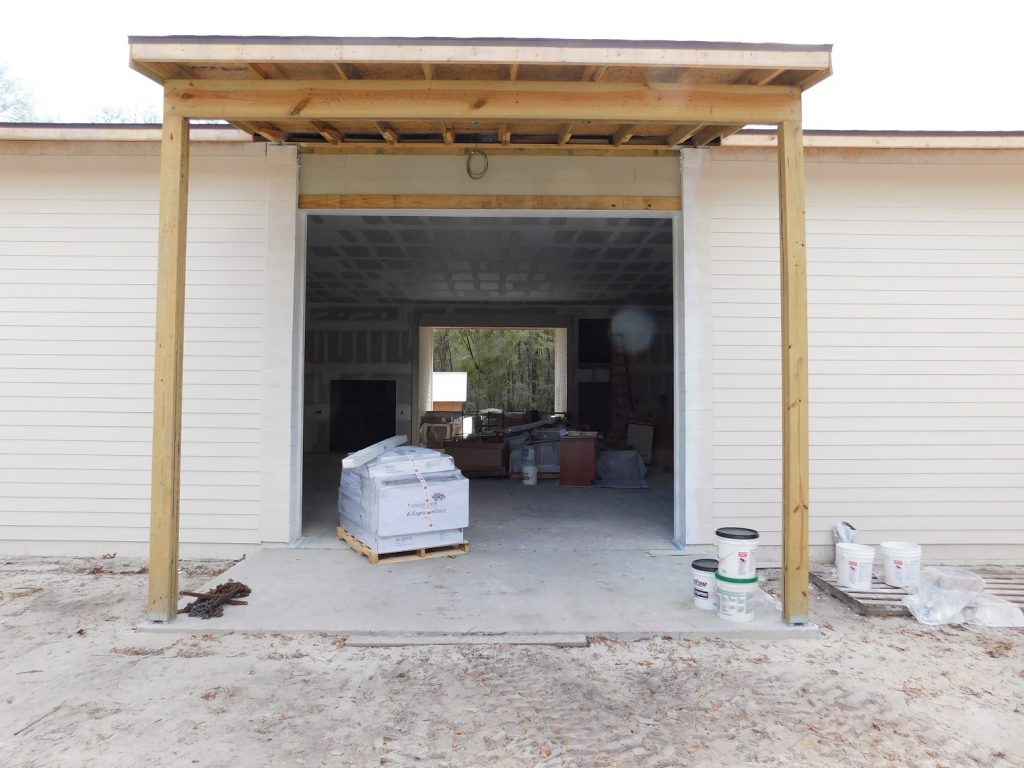
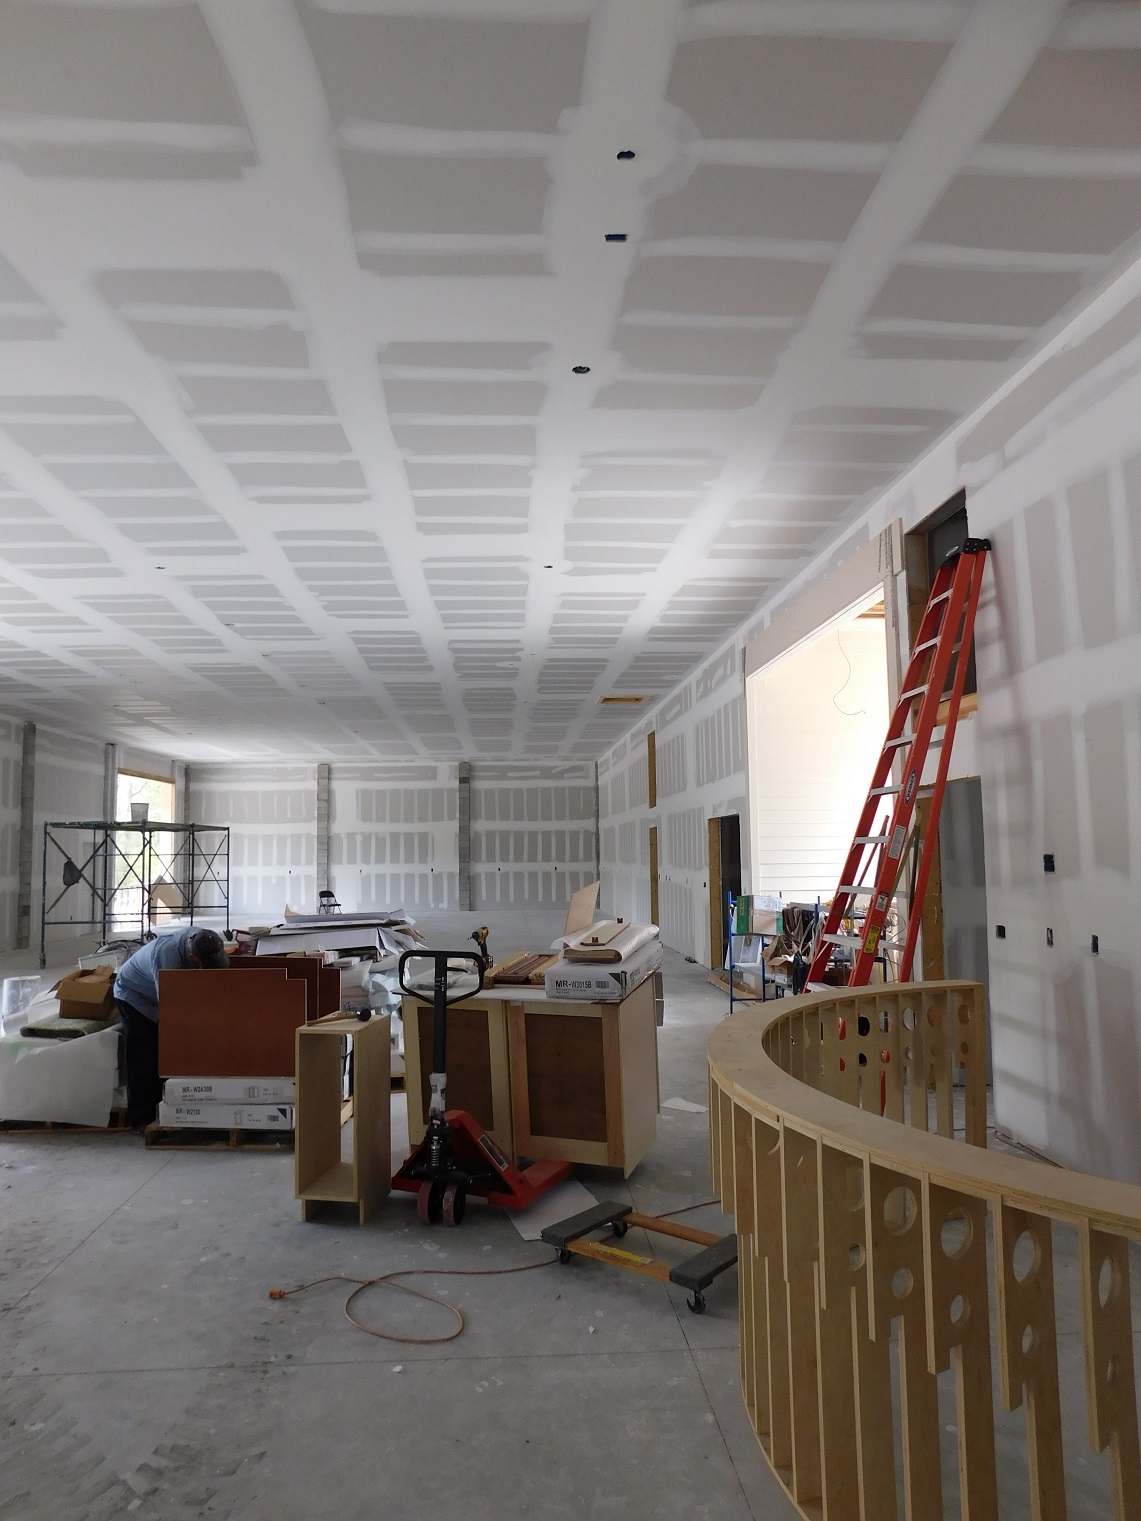
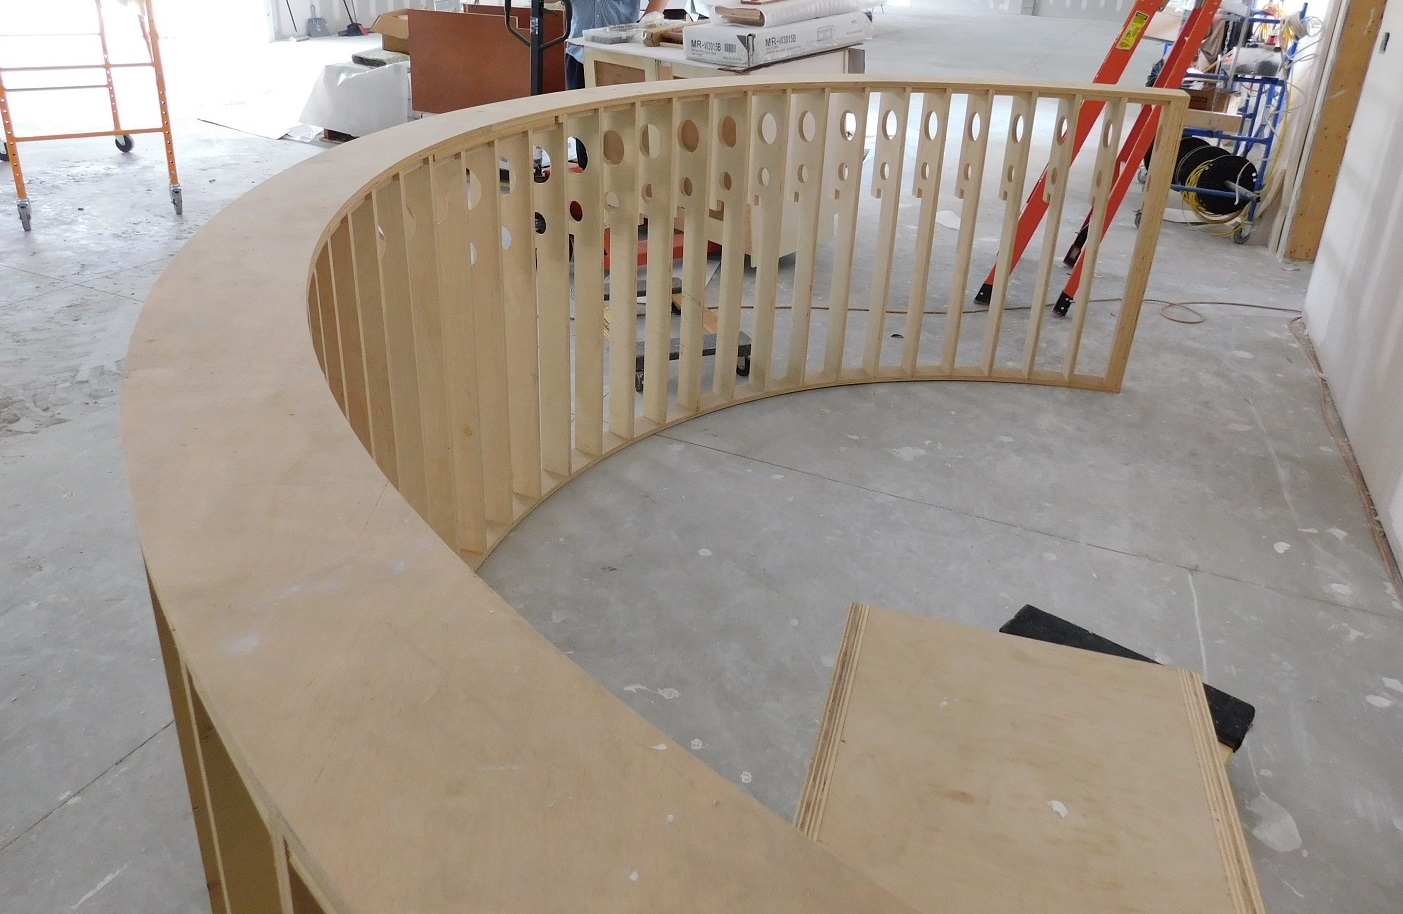
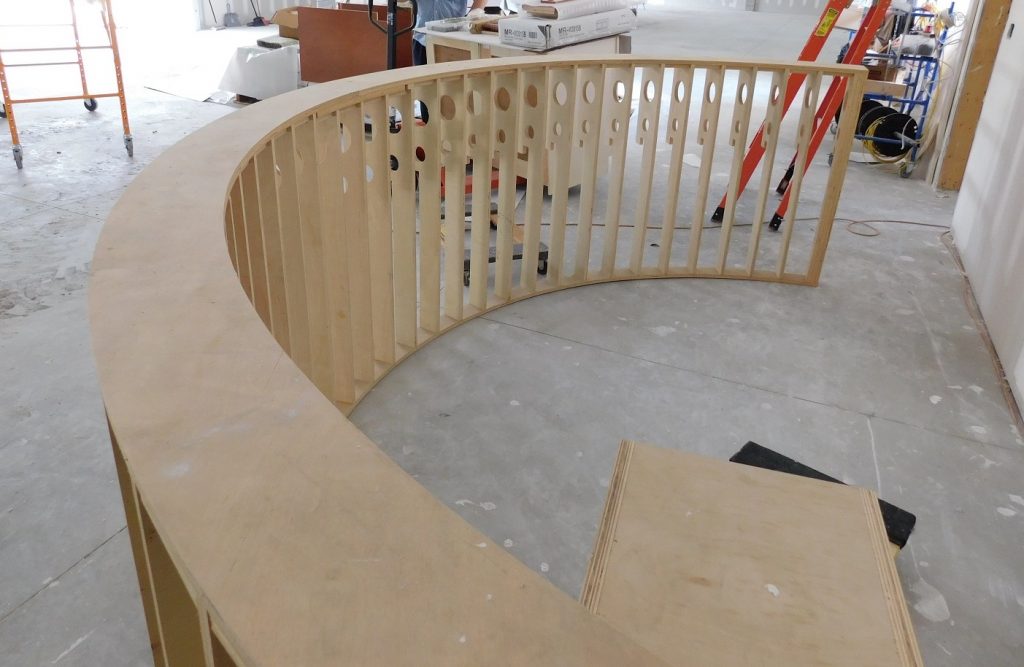
This new shop is ALMOST finished, with the last bit of drywall finishing left to do before painting and final details. Tim’s already put the space to use to assemble a two-part curved desk for his church. All the parts were ShopBot cut, allowing him to add holes for wiring and lighting in all the uprights. He couldn’t have assembled a piece this size in his old shop!
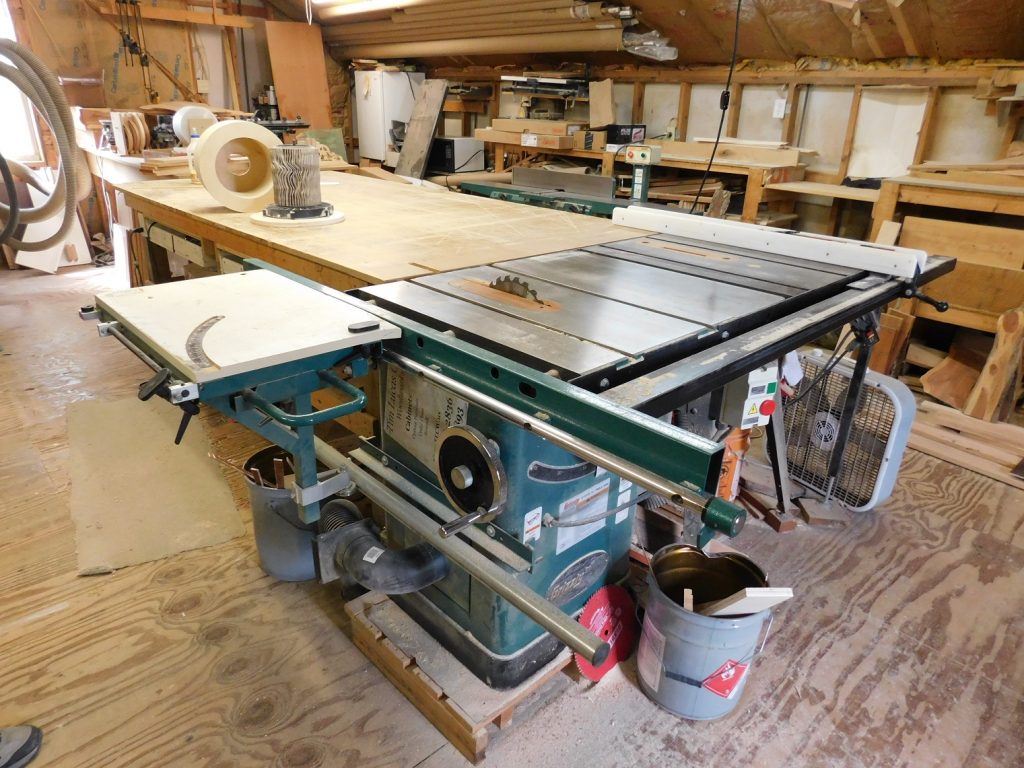
Next we moved over to Tim’s old shop, and I could see why he was so excited about the new shop. The first thing I noticed is that there’s just an single entrance door that all his materials had to be hand carried through! Right inside that door is his PRT ShopBot that he bought second hand about 4 years ago.

Tim uses eCabinets and the ShopBot link to design and cut his custom cabinet parts and to do his drawings. He’s discovered that with some cleverness and a little cheating, that he can design just about anything in eCabinets and convince the software that it’s a cabinet!

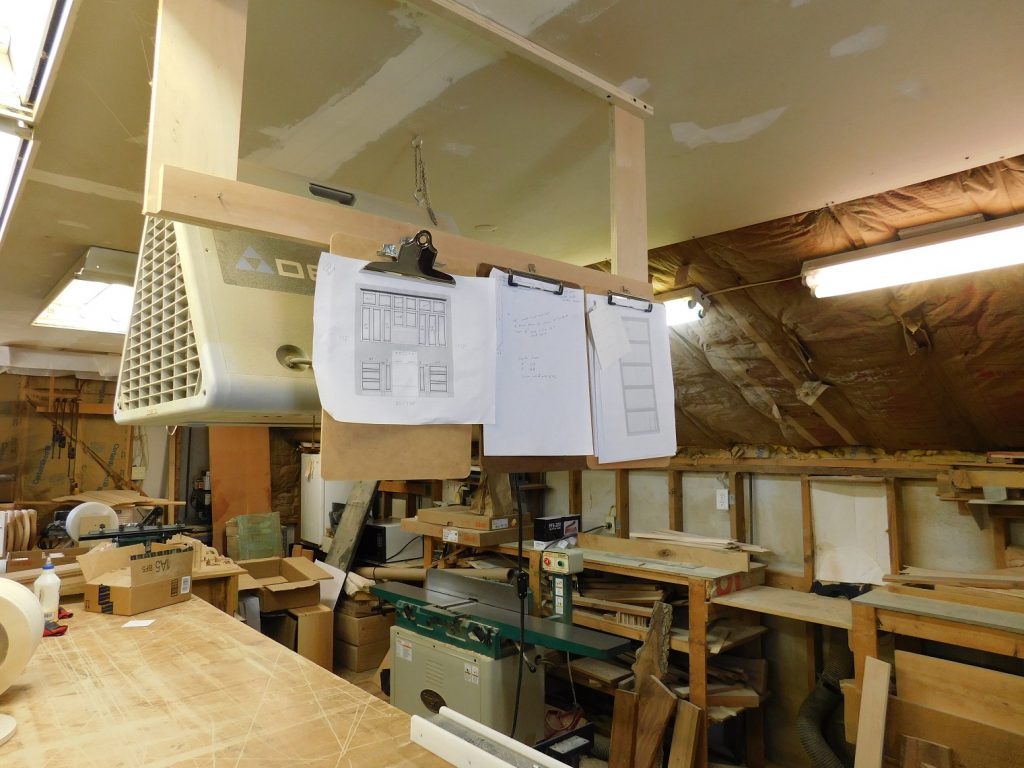
To get to his more traditional cabinetmaking tools and his work area, you have to go up some stairs to the second floor. Everything he cuts on his ShopBot has to be carried up those stairs for assembly, and then back down again!

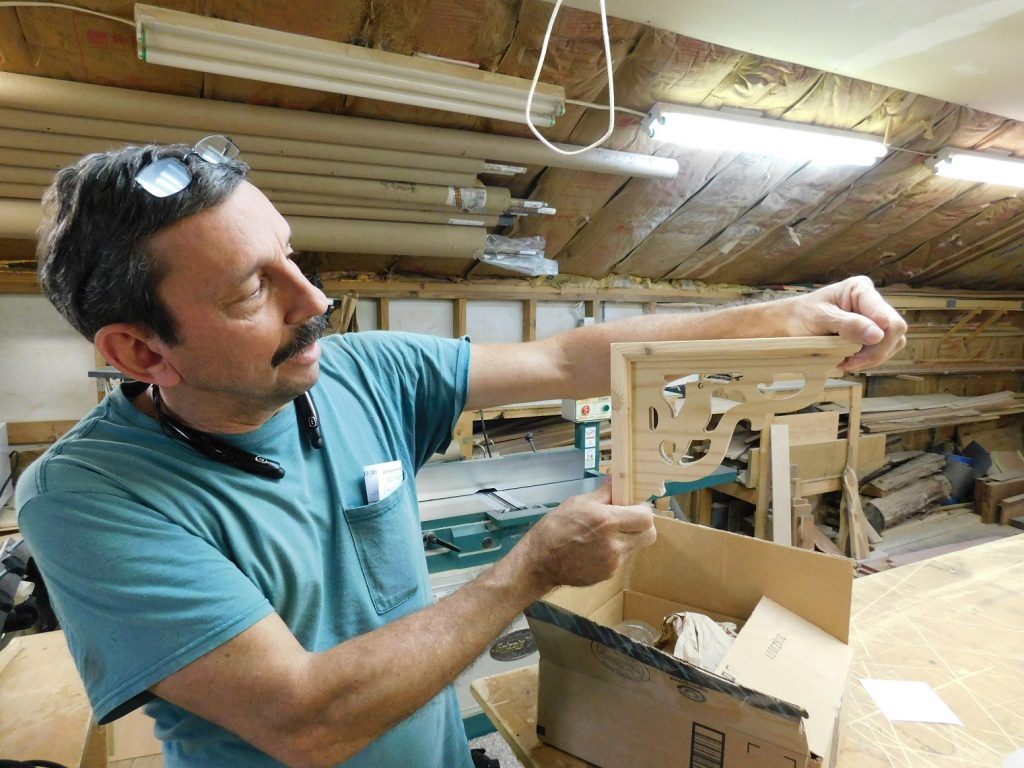
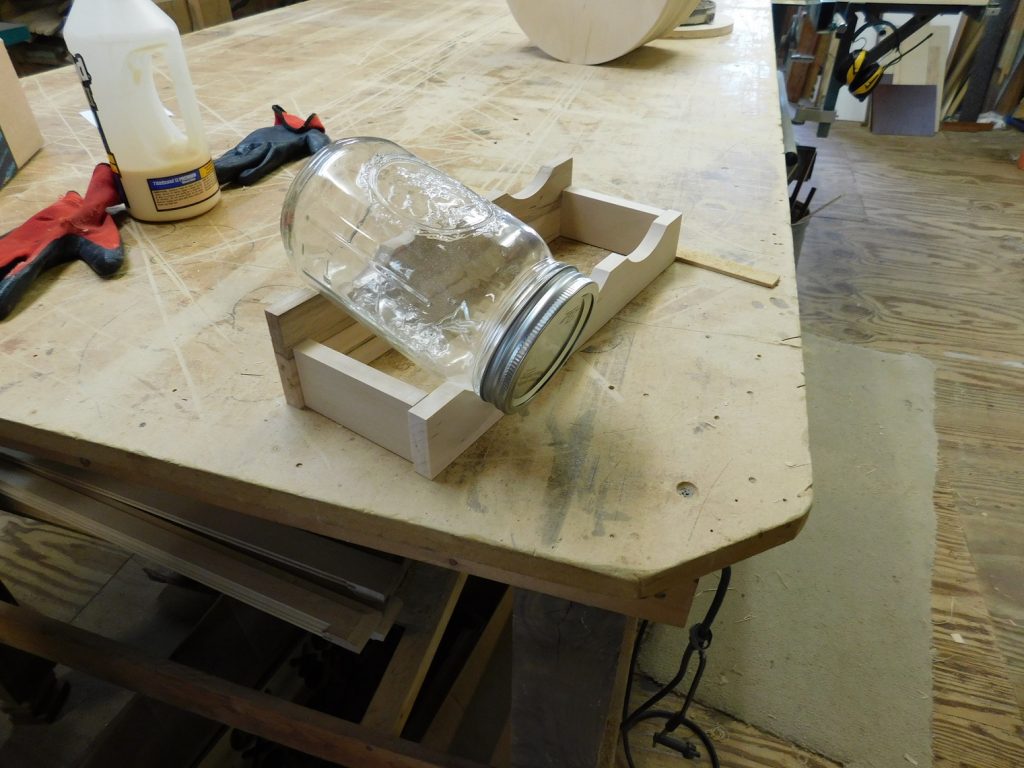
Along with installing manufactured cabinets, Tim builds custom cabinets and furniture (and lots of other things) for himself and for others. He showed me several of them including a corbel with a bird cut into it, and a rack for starting seeds in Mason jars.
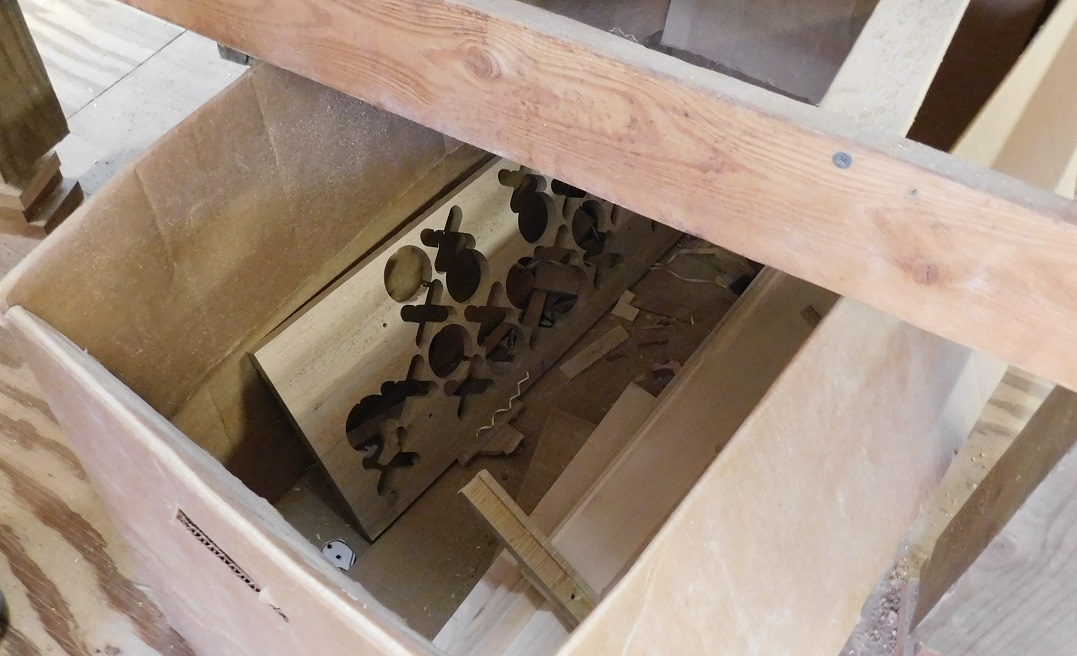
Sometimes the easiest way to find out what sorts of things people do is to become an archeologist and look in the trash bin… Tim also cuts Tic-Tac-Toe sets!

Tim has decided that since he has to dismantle is ShopBot to get it out the door and into the new shop, that it would be a good time to do some upgrades. He found a deal on a control box, hardened rails, and an updated Z that will go on the ShopBot when it is reassembled in its new home
Even though moving is always a pretty big disruption, I really envy Tim for having such a great new space. He’ll not only have a ton of room to work in, but also an opportunity to re-think his workflow to make things even more efficient!
|
|