My name is Lexus Pickett, and I’m Weston Mohawk, and we are with the Renaissance Academy Woodworkers. We are both juniors in high school that are interested in computer aided manufacturing.
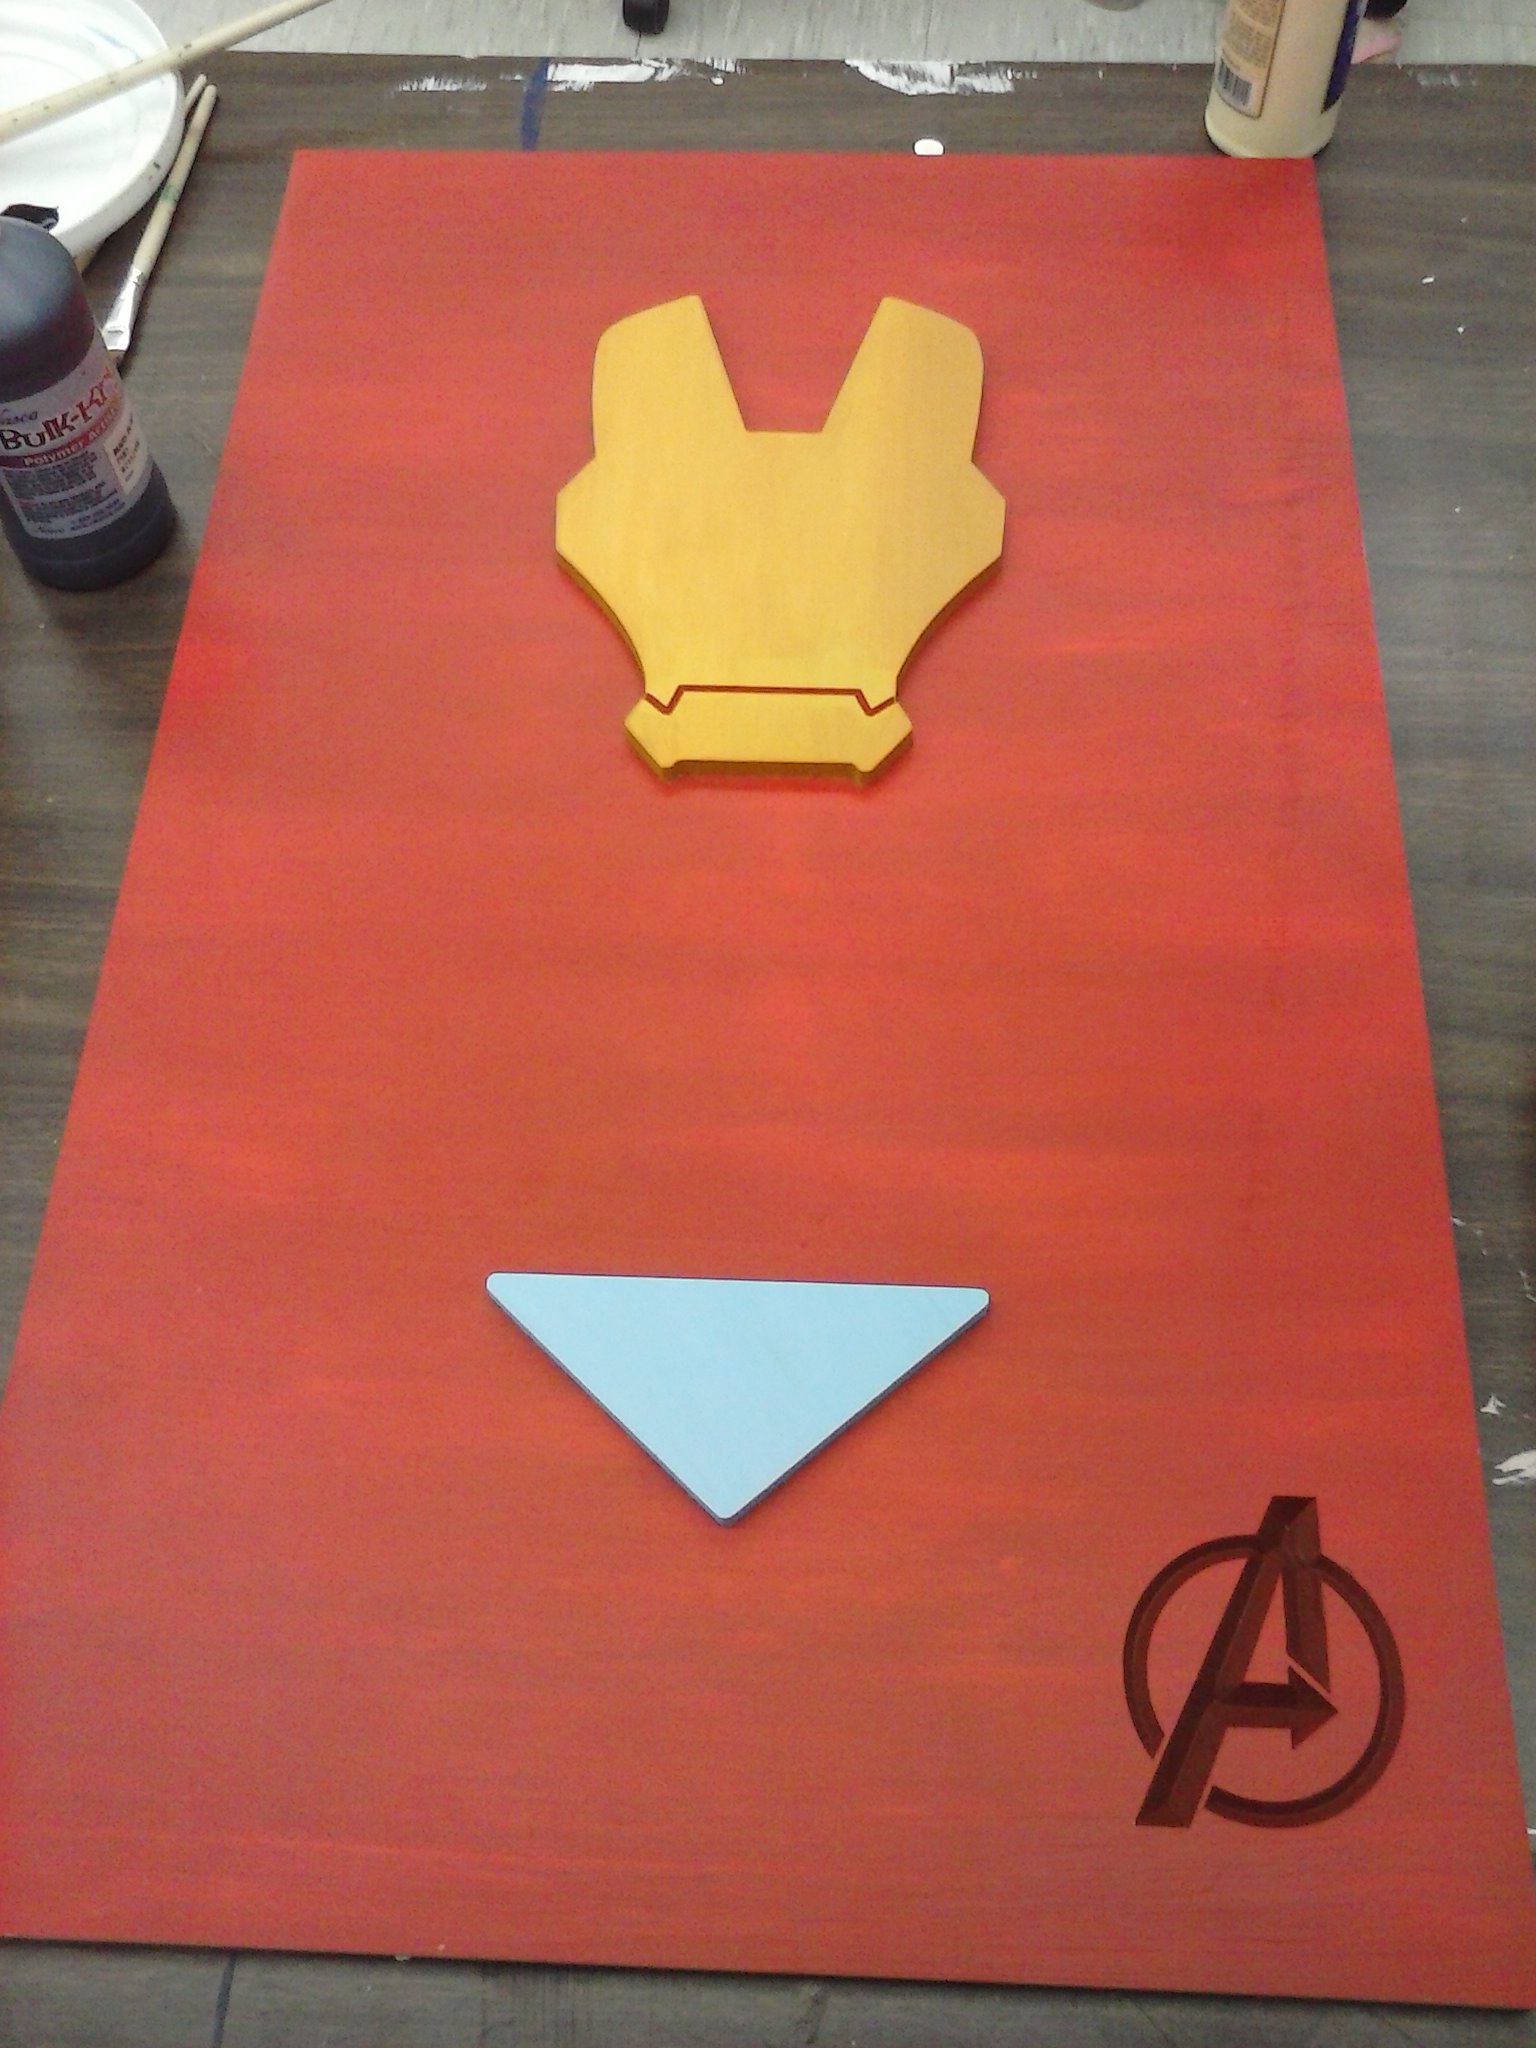
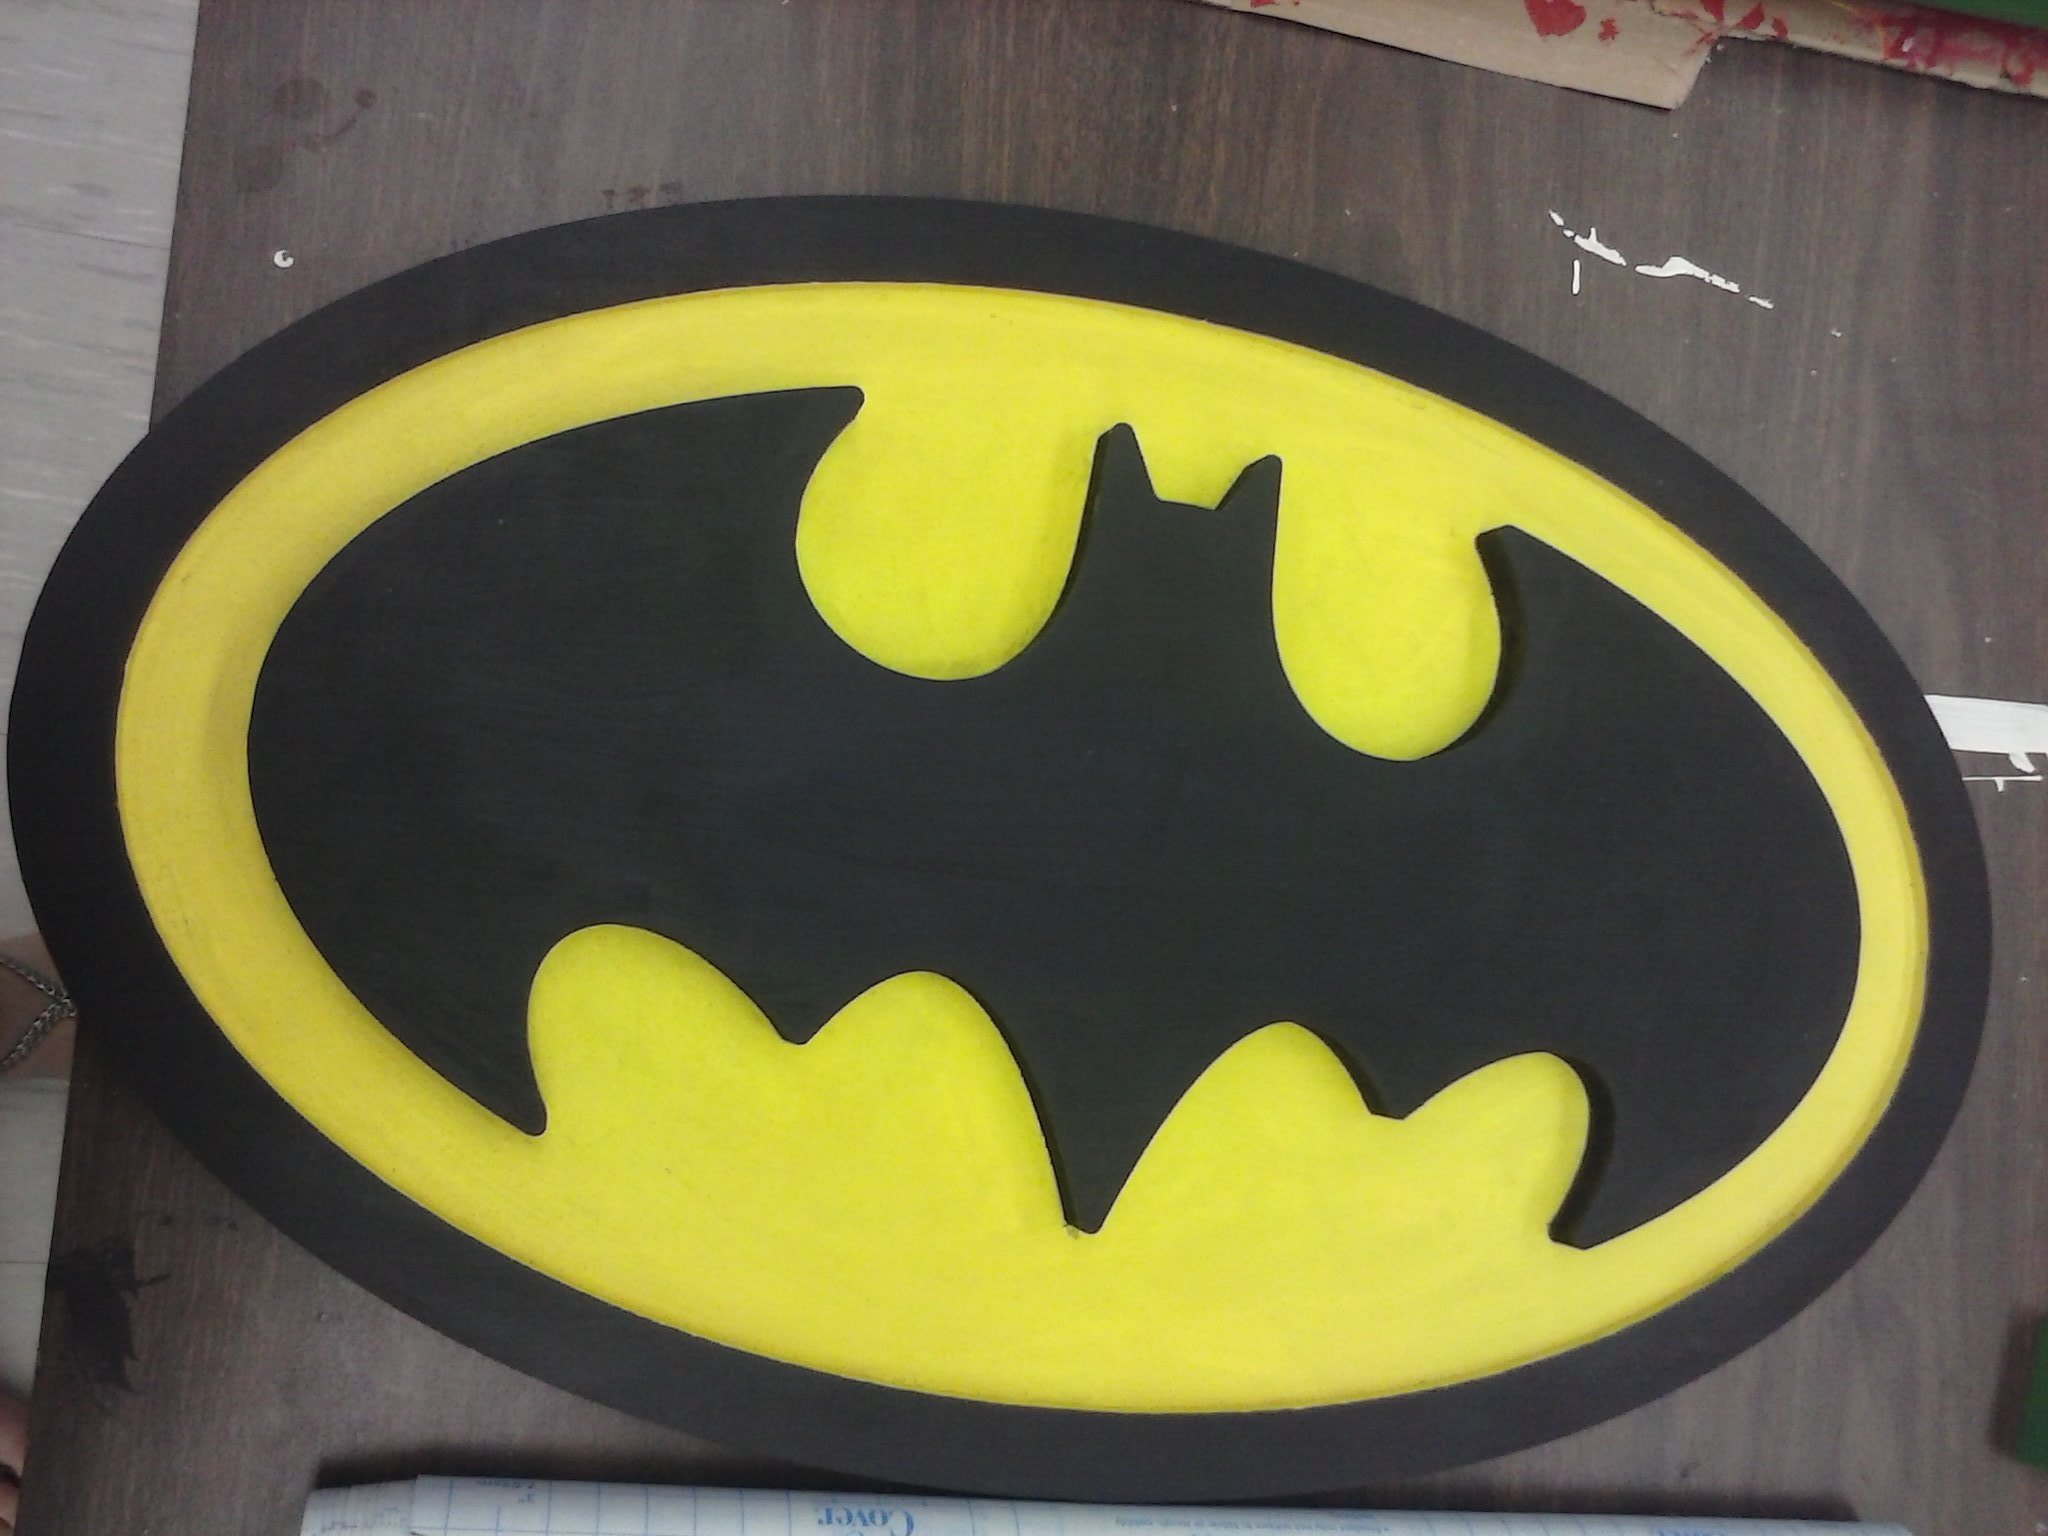
Now that we know the skills of using pockets and profiles, we are all making our own project. First we had to find a simple design with big parts that we would be able to pocket out.
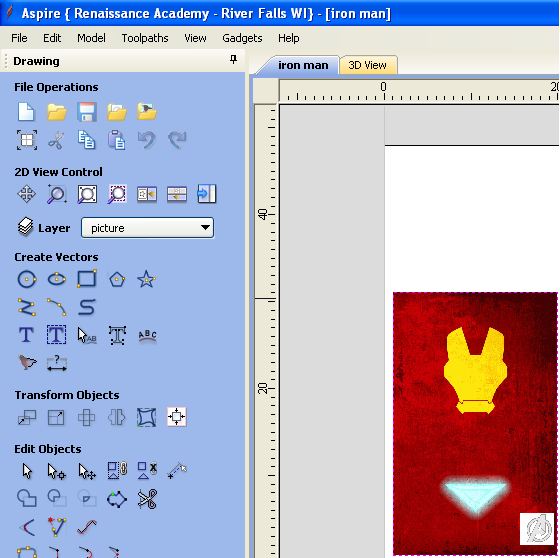
Next, we had to create the trace bitmap. With some peoples designs the tracing tool didn’t create clean, crisp shapes, so we went in and either found a picture similar to the certain shape, or used the draw/shape tool. Once we got the desired sketch of the design, we had to copy the pieces that we wanted to pocket and profile so we could make the male inlay pieces. After we did all that, we made a profile outline to where we wanted the board to be cut out. The pieces that we copied then had to be pasted into the area outside of the profile outline.

We then had to create the toolpath for each piece. The pieces inside of the outline that we copied became female pockets. The same pieces, outside of the outline, became the male inlay parts. Some people have parts that are v-carved (check out our first two blogs for more information on V-Carving). We made a profile for the outline of our board for the final cut-out.
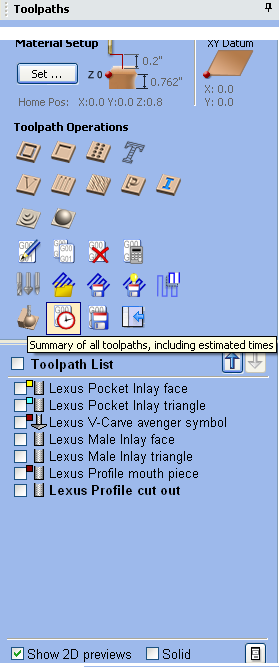
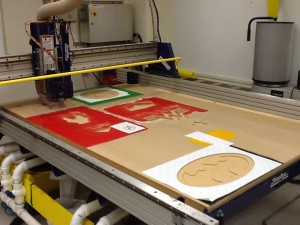
After we all made our toolpaths, Mr. Stapleton put all of them onto a flash drive and put as many of our designs as he could onto one sheet of MDF. He then recreated the toolpaths, putting all the female pockets into one toolpath, the male inlay pieces into one, and the v-carves into another. Then we proceeded to write the measurements onto a printed copy of all the toolpaths.

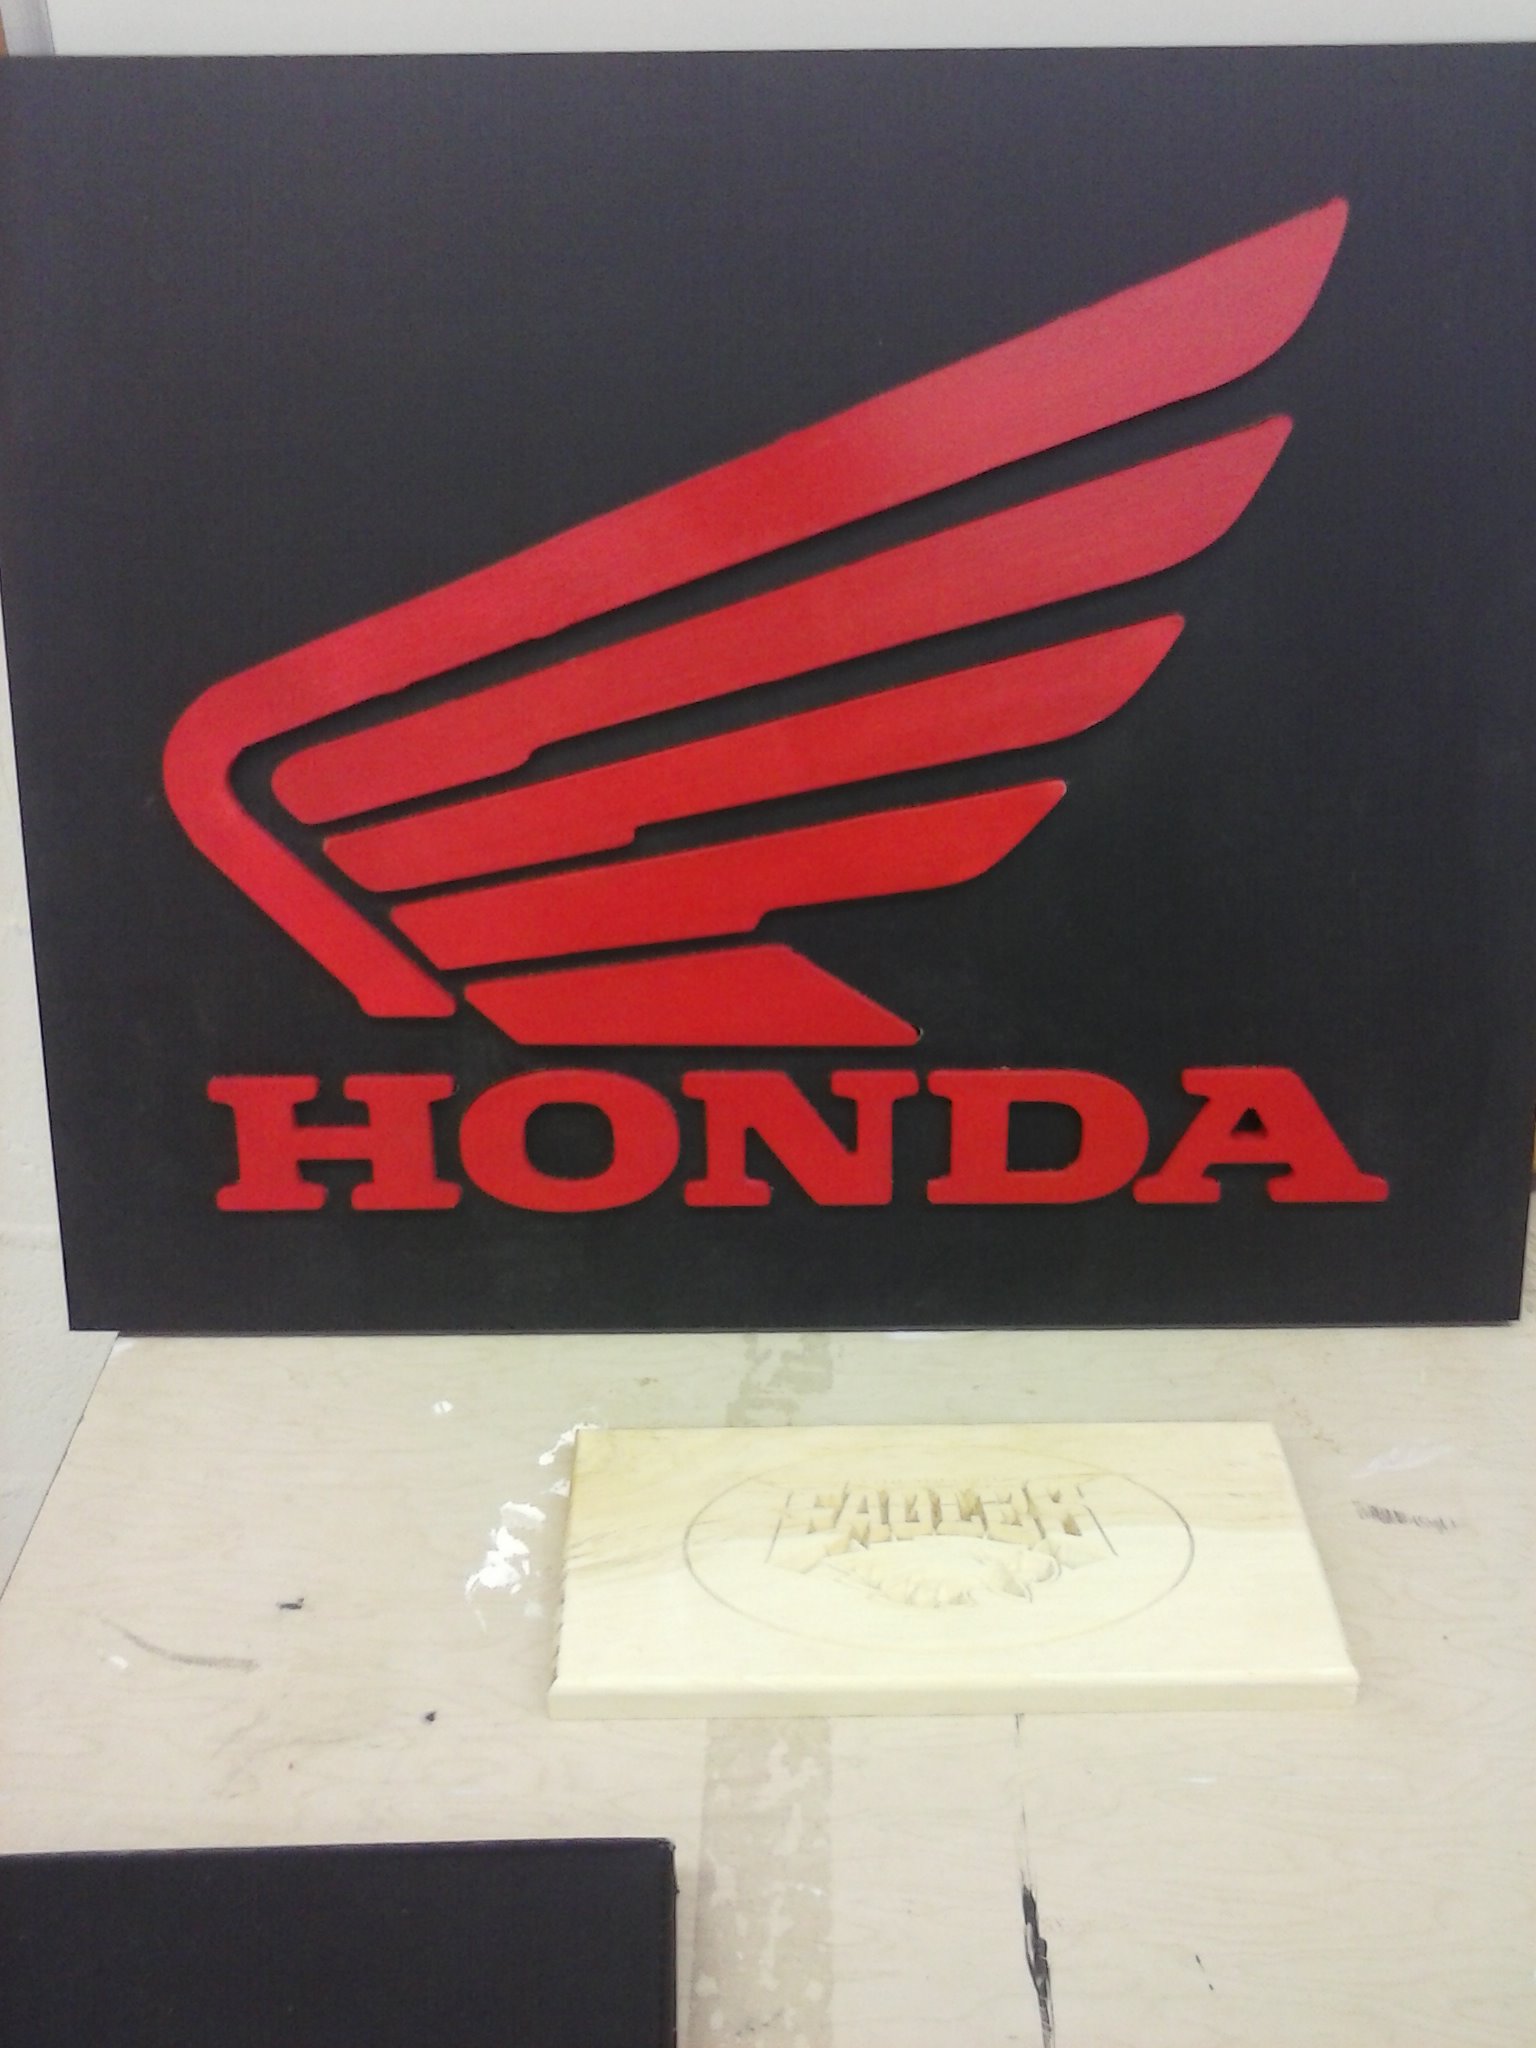
Next we painted the base color of our projects, using the measurements we took to figure out where to paint. After we got on all the coats of paint that we needed, we let the board dry overnight. The next day we masked the areas that were going to be v-carved and progressed to run the machine.
Before we removed the MDF from the CNC table, we made sure all the male pieces fit into the female pockets. When everything was all cut out and was made sure it fit, we lightly sanded the edges and painted whatever needed to be painted. We then put all the pieces into place with glue.

Leave a Reply