My name is Lexus Pickett, and I’m Weston Mohawk, and we are with the Renaissance Academy Woodworkers. We are both juniors in high school that are interested in computer aided manufacturing.
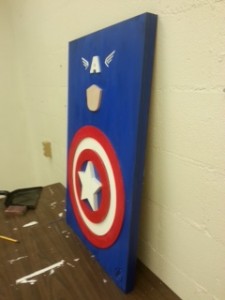
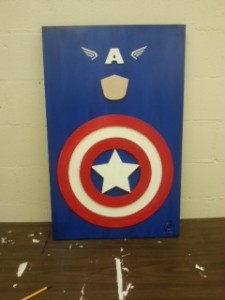
We have now started a new project, learning how to use pocketing and profiling. As a class we have begun a project using a Captain America design.
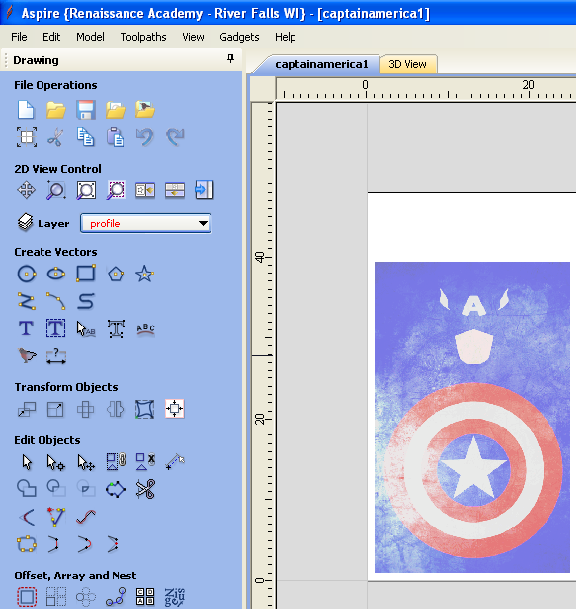
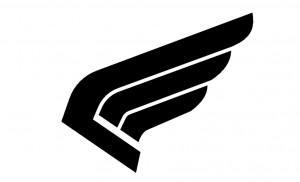
The first thing we did was import the picture, then we used the trace bitmap tool to get the shape of the mouth/ chin piece. The “A”, the helmet wings, and the shield didn’t trace well so we had do take things a step further to get what we wanted. First, we found a different image for the helmet wings. We then traced that bitmap and placed the wings where we wanted them.
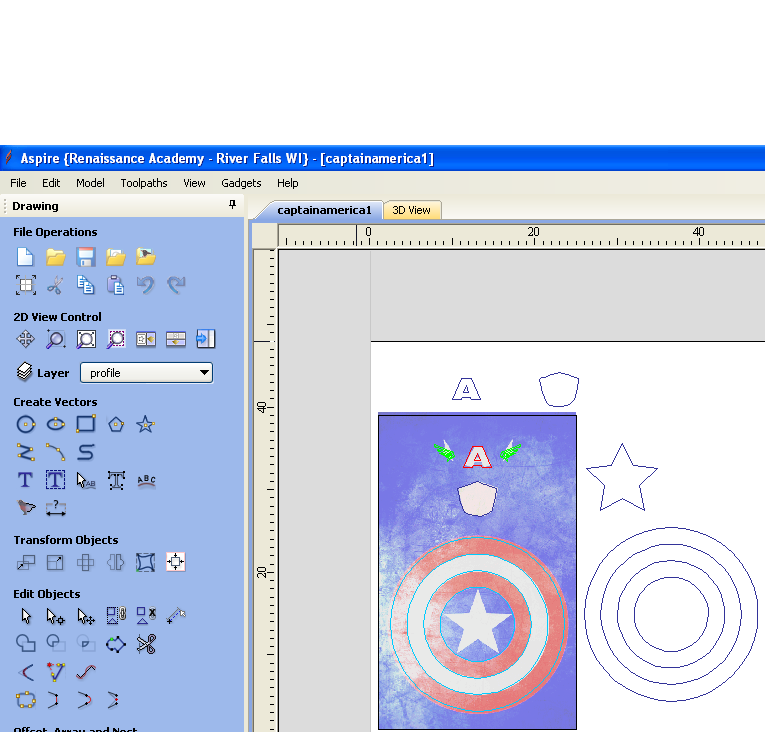
For the “A”, we just used the text tool and found a font close to the original “A”. Next we created a circle that was about the same size as the inner one of the shield. Then, using the offset tool, we made the outer circles of the shield, offsetting each circle by 2 inches. Next we had to create the male inlay parts by copying and pasting the female pockets.
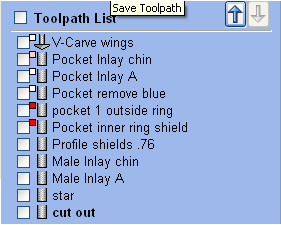
Then we proceeded to create the toolpaths. For the parts inside of the profile cut out, we made pocketed toolpaths. For the pieces that were to fit into the pockets, we used the inlay toolpath.
Before we put the board down to cut, we pre-painted the background of the board and masked off the area where the wings were going to be V-carved.
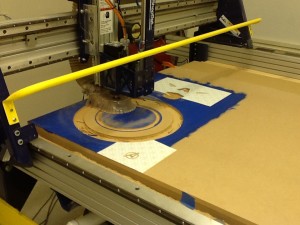
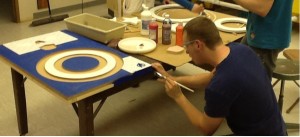
After everything was calculated and previewed we began to run the machine and cut out the pieces. When the machine was done cutting and profiling, we test fitted the pieces and they did not fit. Because of the fact that the shield parts did not fit, we had to cut out completely new pieces. After everything was cut the right size, we painted everything and put it all together.
Leave a Reply