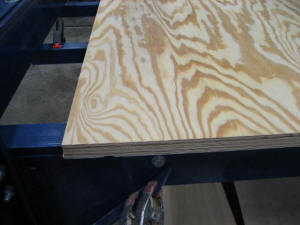
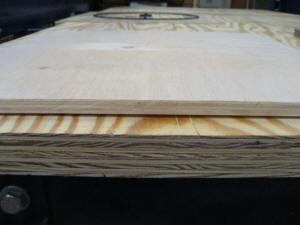
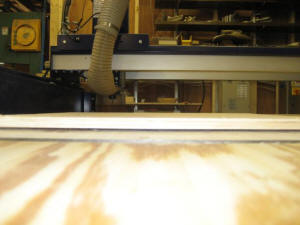
I have had my PRTalpha96 for a little more than year now and am still learning how to do things and improving techniques I have been using for a while now. I would like to share with you how and why I have moved from a full table, four-zone vacuum system to a pretty simple vacuum system. As you might recall from one of my earlier articles, I was cutting full sheets of ply for another shop and had some trouble holding down some of the bowed pieces. I solved most of that problem by adding a second Fein Turbo III vacuum to double the volume of air that I could move, but I still had some sheets that needed screws to keep them from moving. Also you may recall that I make toys and other small parts. The full table vacuum system has not worked out perfectly for me with the very small parts I want to cut. With all of that said, here is how I have made the next step in my trek down the learning path of hold down: I removed the plumbing from under my machine’s table, as well as the sheets of ply bolted to it. This left me with a machine without any bed at all, just the steel cross members. I laid a sheet of .75” ply on the machine and positioned it so I could move the tool past it in every direction. Next it was bolted to the cross member exactly as shown in the ShopBot assembly manual. After this, I surfaced the table to remove most of the high spots and spread about a half gallon of Tightbond II over the surface. I placed another sheet of .75” ply on the glue-covered surface and installed two screws to keep both sheets registered. Next, lots of weight was placed on top. The next day after removing the weight and screws, I surfaced the table to be perfectly flat to the tool. A couple of coats of sanding sealer were applied and sanded after drying. Now I have a flat and glass-smooth table 1.5” thick.
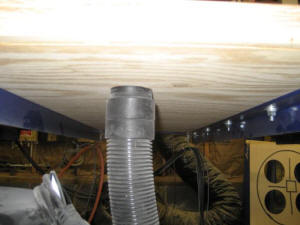
In order to connect the vacuum to my table, I cut a hole through the 1.5” ply table that would allow the hose from the vacuum to fit tight from the bottom.
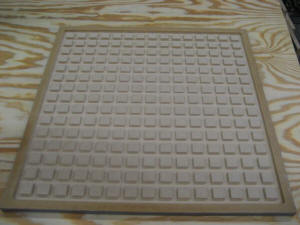
To use this type of vacuum setup I will need to create jigs or fixtures so I can focus the vacuum to the parts I am trying to hold. Pictured here is an example of a small Brady Vac plenum created from Trupan. This plenum was created by using the Brady Vac utility available as a download from the ShopBot Labs web page.
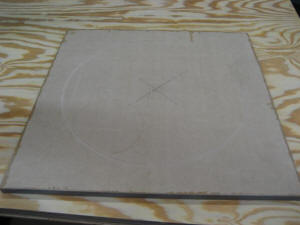
In addition, I make another type of fixture to hold parts that are either very small or difficult to hold with the Brady Vac system. The advantage of this fixture is that all of the vacuum is directed to my part and I get no leaks around the edges or cutter kerf.
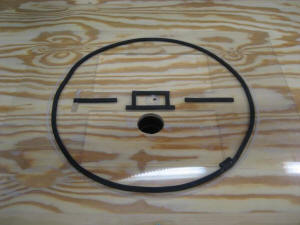
In the case of cutting many circles measuring 18.5” in diameter with a 1.35” hole in the center, I found the Brady Vac system worked very well until I ran across a sheet of .5” ply that had a very pronounced bow to it.
No matter how I tried, I could not get the vacuum to hold the part down on the Brady Vac plenum. With the fixture made to hold only this circle, I was able to hold the same plywood tight and was able to finish cutting this job.
All of this further proved that there is no right or wrong way to hold your parts. You will have to evaluate the types of jobs you run on your machine and decide what method works best for you. I try real hard to not use any screws in any of my parts. Others have used screws from day one and find it works just fine for them. Don’t forget to consider the high-vacuum, low-volume pump that is used with pods or pucks. Now that I have a nonporous table that is smooth, I will be able to use double-sided pucks to hold even smaller parts. My shop sits about 550’ above sea level so I will get better results in my vacuum system than someone at a much higher elevation.
Be sure to watch for my next article as I will show you how I did all of the above cutting without opening any CAD or drawing software! Everything was done from the ShopBot control software.
Ed