
If you’re like me you hate the paper tags that transportation services give you to identify your bags when you travel. Recently I decided to make myself some that were more durable and would look WAY cooler.
I dug around in the shop and found some machinable circuit board blanks that were left over from a couple of projects. Unlike traditional FR-4 circuit board blanks that are designed for chemical etching and have a fiberglass backing, the machinable FR-1 blanks have a paper and resin backing that is easier on bits… and your lungs! The ones I had were single-sided (with copper on only one side) and were 2” x 3”, but they are available in larger sizes and with copper on both sides.
![]()
I was going to machine my tags on a Handibot® Smart Power Tool which I had mounted to an mdf baseplate, so my first decision was how to hold the blank securely to the mdf while machining. There are lots of options, but the simplest was to use double-stick tape. It holds well, but can leave some sticky residue on the back of the blank. Fortunately, a layer of masking tape or vinyl applicator’s tape on the back of the blank will peel off cleanly.
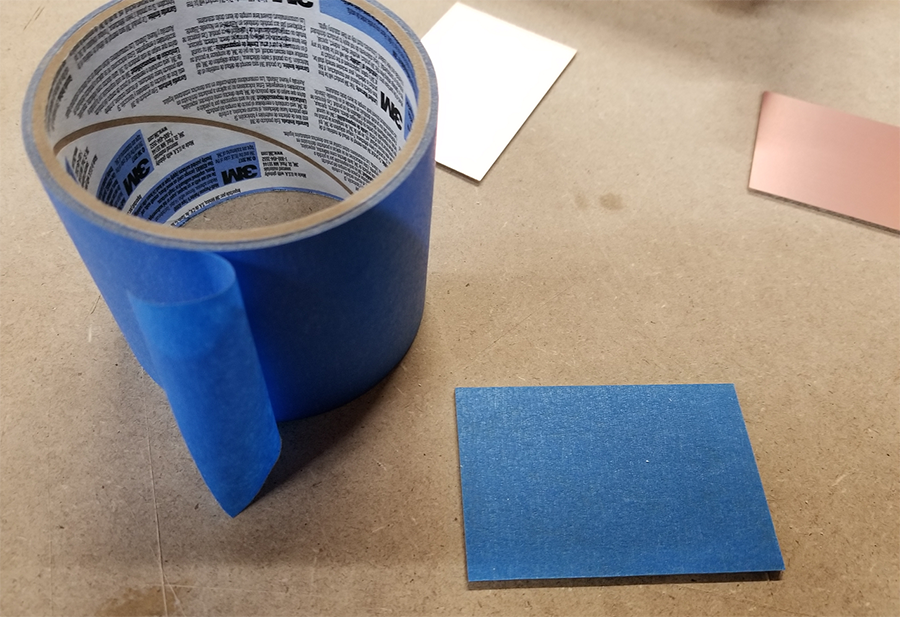
I haven’t had much luck with double-stick Scotch tape so I generally use carpet tape, available at just about any hardware store. Since I want the blank to be flat and secure I covered the whole taped blank with the double-stick, but you can certainly use less if you want.
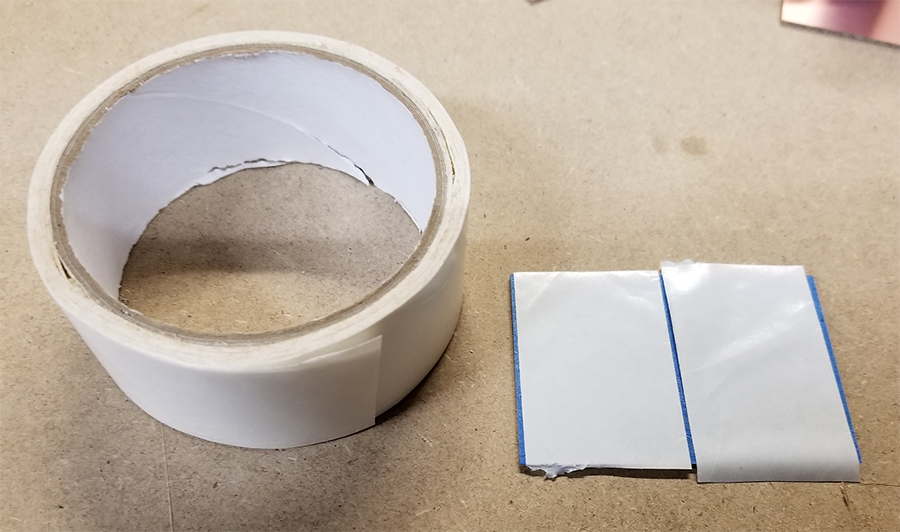
After squeegeeing everything flat, the last prep step is to peel the backing off the double-stick tape and place it in the correct location for machining. I had already made some marks on my machining surface that marked the 0,0 corner, and aligned the blank with those marks and stuck it down securely.
Design Decisions:
I had three decisions to make:
- What size and type bit to use? I knew the bit needed to be pretty small, but wasn’t sure if I wanted to use a V-bit or a straight bit. A V-bit can make nice sharp corners, but the blanks are too thin to use a V-carving toolpath strategy and in a blank this thin, any variation in flatness would be pretty noticeable. I decided on a 1/32” straight bit from Precise Bits with a down-spiral geometry to keep from pulling the copper layer up
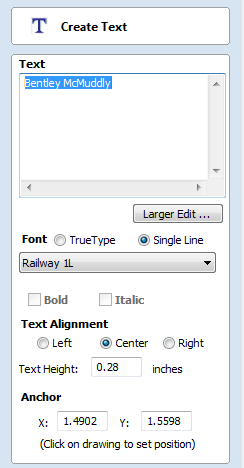
- What font? Since I wasn’t going to be using a v-carving toolpath, a single line font made the most sense—and my go-to single line font in VCarve is Railway 1L
- What shape tag? I wanted to keep it simple and decided on a rectangle with rounded corners and a hole near a corner for a ring. I wanted a couple of tags that would be almost the full size of the blank, but also wanted some with just a name and phone number. With a little fiddling two of those would fit on each blank.
Draw and Toolpath:
I started a new drawing with a 2”x3” workspace that was 0.06” thick, the size of my circuit board blanks. I created two tag blanks with a bit of space between them, drew a corner hole that fit the rings I had, and entered the text for each tag. It took a little fiddling to get the text sized and positioned correctly, but once it was done I created two toolpaths.

The first was the text which I cut 0.02” deep to cut through the copper layer, using a Profile strategy with the On The Line option. To cut the tags and holes I also used a profile strategy, this time with the Outside option. VCarve is smart enough to understand when something is “Inside” something else, so the hole was cut on its inside while the tag was cut on the outside. To make it easier on my tiny 1/32” bit this cutout was done it 2 passes, using a spiral plunge to ease into the cut and minimize the load on the bit.

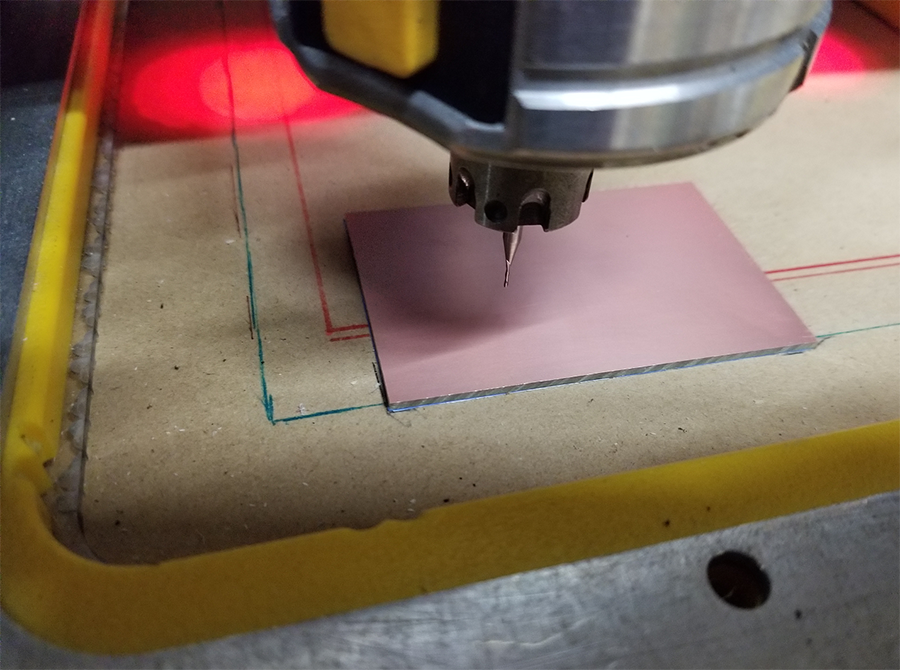
The preview looked good so it was time to cut!

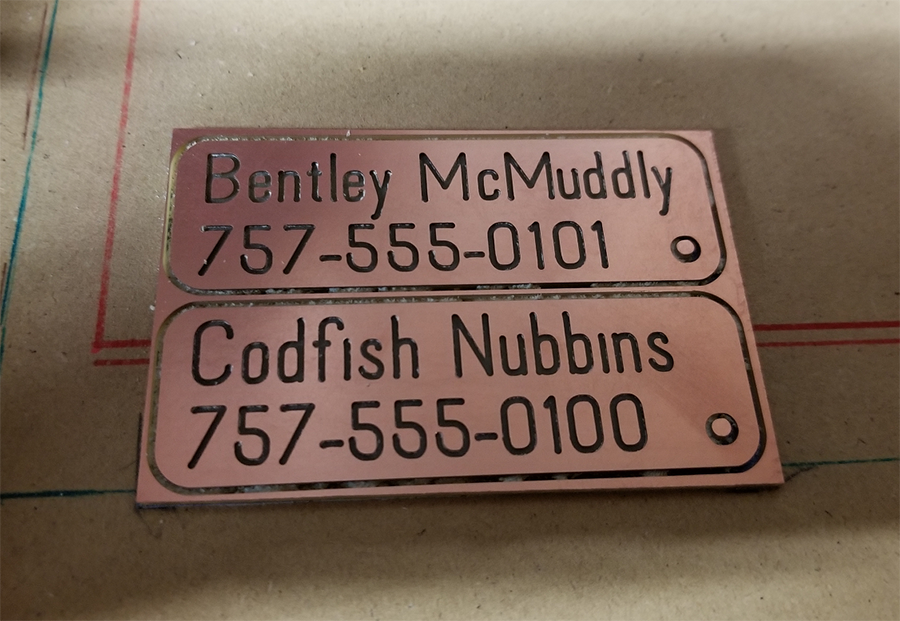
When the cutting was finished I popped them loose from the mdf and was really happy with how they turned out. The cuts turned out really smooth, with just a quick pass with some 220 grit sandpaper to ease any sharp edges just a bit.
Supplies:
I get the circuit board blanks from Inventables, but they are available from lots of places these days (even Amazon). Just make sure that you get FR-1 blanks that are made for machining.
There are many places to get small bits, but my go-to place is Precise Bits. They have a large selection of bits and collets, but I’ve also heard good things about Driilman1 on eBay.