Whether it takes place at ShopBot, or on site, a 2 – 3 Day Professional Development workshop gives teachers a chance to hone their skills with digital fabrication machines. Educators starting at all levels, from newby to someone with a year or more experience running their ShopBot CNC router, end up with new techniques that they can introduce into their lesson plans and curriculum.
After leading Digital Fabrication for Educators (DFFE) workshops at ShopBot in May and June of 2017, I flew to Spokane, WA to work with teachers from two high schools in Mead, WA. Both are Project Lead the Way schools, so two of the teachers were well-versed in Inventor 3D Rendering CAD software. They also have laser cutters and 3D printers at their disposal. The other teachers were not so computer-savvy, but were experienced woodworkers and builders. All of the teachers, Spokane natives, were passionate about exposing the kids to the possibilities available in CTE and STEM programs.
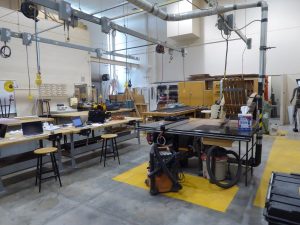
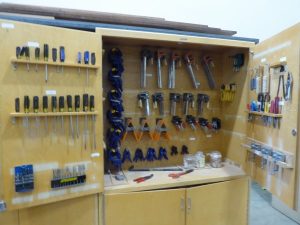
The wood shop at Mt. Spokane High is beautifully organized where everything has its place. Bill Patrick, the lead teacher at Mt. Spokane, also teaches an after-school welding class to expose the kids to another skill. Girls and boys participate, although it’s still about 75% boys.
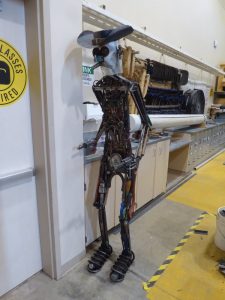
Bill Patrick welded this Cowboy from old tools salvaged from a shop being shut down
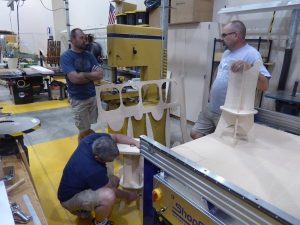
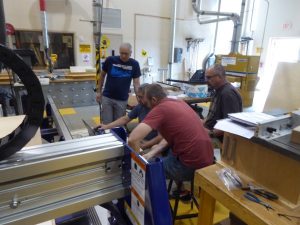
There is a list of topics to be covered during each Workshop, but the order of presentation flows according to the skills and interests of the participants. A “newby” with virtually no experience in CAD/CAM and running a tool can work alongside someone who has had a CNC router for 12 years, but now wants to move into designing and machining in 3D. At Mt. Spokane, the session started with a tune up of their newly assembled PRS standard with a 2.2 HP spindle. With the ShopBot Troubleshooting guide in hand, a few wires were switched around, a few set screws tightened, and a few bearings and proximity switch targets were adjusted until the ShopBot was running smoothly. The first group VCarve Pro CAD/CAM project was a file to surface the sacrificial board with the 1.25” surfacing bit.
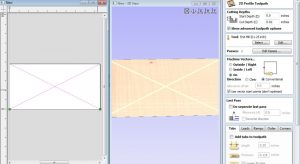
The first step for surfacing the ShopBot table is to run a “cross check” across the sacrificial board to determine what depth to machine the entire table.
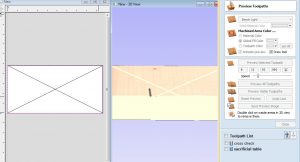
Then, a pocketing routine (raster) levels the sacrificial board.
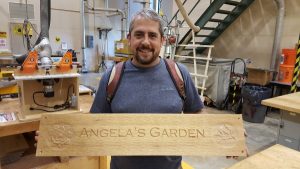
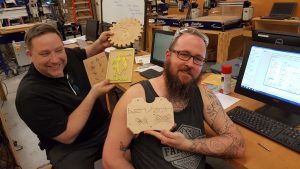
The first set of personal projects were signs VCarved in a piece of Melamine found in the scrap bin. Each person designed their own, then we machined them with the 60 degree V bit found in the ShopBot starter bit kit. Because each font was different, the look of each sign varied even though the 60V bit and the Engraving toolpath was the same.
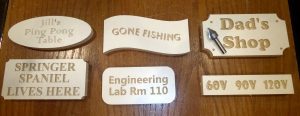
A variety of signs created as a first project at Mt. Spokane High School. Five of the signs were all carved with a 60 V bit (displayed on the sign for Dad’s Shop.) The different in cutting depth and look is related to the different fonts used in the design of the sign.
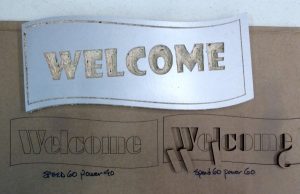
Mt. Spokane also ordered the signmaker’s bit kit (second 60V bit swapped out for a 120V), so we had the opportunity to see how the same font would look machined with a different V bit (60V, 90V and 120V.) Since VCarve Pro uses the geometry of the bit to determine how deep to plunge the bit to fill the space of the design, letters carved with a 90V bit are shallower than those carved with a 60V bit. When using a 120V bit, the carving is shallower still.
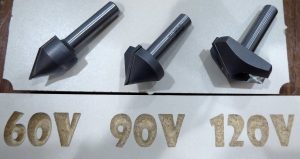
The same font will be carved at a different depth with a different V bit. While a 60 V is a better choice for small, detailed engraving, a 120 V is the better choice when letters are large. The light from the letters will reflect out to the viewer rather than into the recesses of the carving. A 90 V bit can be used for engraving, and also for mitering the edge of the material to make a mitered box.
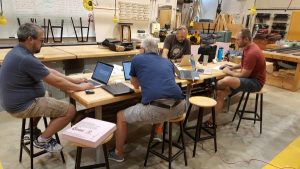
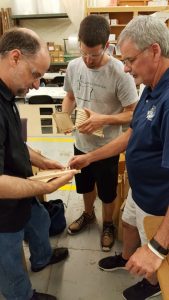
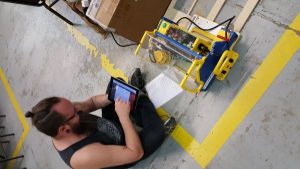
By midmorning on Day 2, each teacher was deep into following their own path. While we would gather for a brief lesson on a particular topic, my role became that of a guide helping each teacher pursue their particular goal.
Too busy working to break for lunch.
On Day 3, I left the teachers deep in conversation in how they would organize their classes for the next year. How about: give each student a sheet of plywood, and score them on the designs they create as well as how efficiently they use their material?
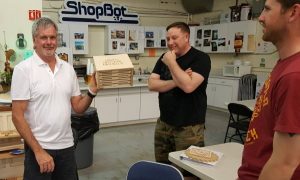
Teachers discussing how to integrate the Step Stool Project downloaded from the ShopBot website into their classes for next school year.
Peruse the photos below to see some of the projects created during the DFFE workshops, both in Washington and at ShopBot. The July Workshop is filled, but check the Events page on the ShopBot website for more dates to be added in the Fall.
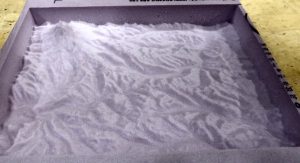
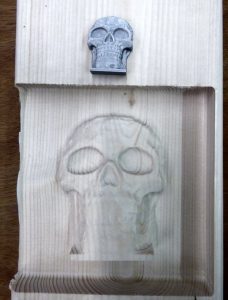
This topographic map of the Mt. Ranier region in Washington State was generated as an .stl file, then imported into VCarve Pro and machined with a .125” ball nose bit. Because the material was insulation foam, there was no need to run a roughing pass.
Sign incorporating V Carving and 3D medallions from ClipArt in VCarve Pro
One of the topics is to show how the same design (2D or 3D) can be machined or printed on multiple digital fabrication tools.
ShopBot 2017: Same .stl file printed on a 3D printer and machined in wood on a ShopBot CNC router. It took longer to 3D print than to machine on the ShopBot.
Same 2D design file Engraved on a ShopBot and cut on laser cutter. Keeping a record of the results is a valuable lesson.
Teachers from Oregon used their Perkins grant for Professional Development to return to ShopBot after having used it in the classroom for a year. They reversed-engineered a spring-joint-box designed by Randy Johnson
Spring box completed and VCarved on the Handibot. No need to shop for a birthday present.
New users from Fanshawe School of Art and Design (Canada) got experience on the laser cutter and ShopBot.
Trying out the Handibot
Leave a Reply