Carnegie Science Center is a popular spot for a play date, where children and adults can experience science first hand. It is also home to a Chevron FabLab, a digital fabrication laboratory for innovation and invention. The Carnegie FabLab holds camps and programs for children 8 – 18. Its mobile lab brings in depth digital fabrication experiences to schools and events.
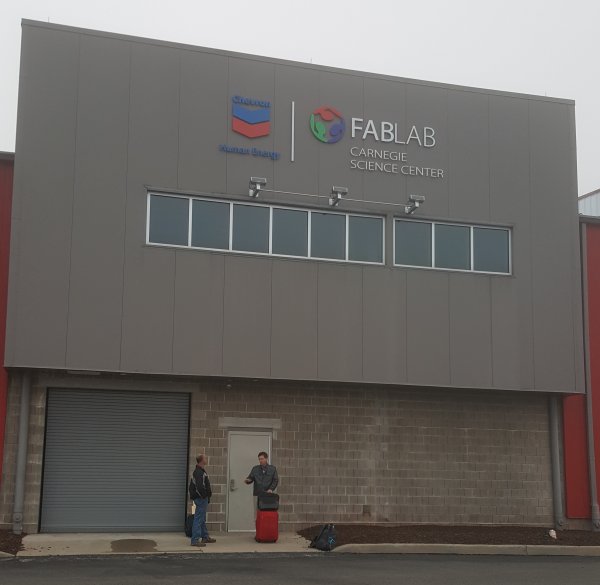
Early morning outside the FabLab
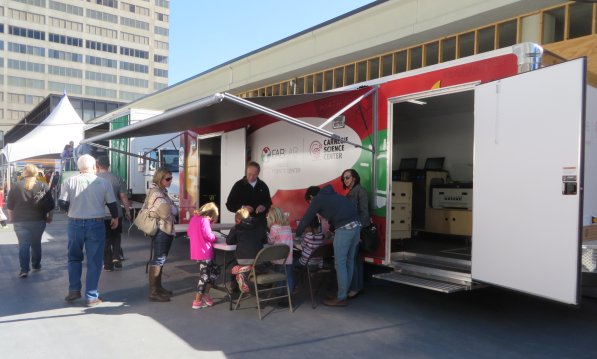
The Carnegie Science Center mobile lab at Maker Faire Pittsburgh 2015.
One of the programs that Carnegie runs is their Teaching Excellence Academy. In November, Sallye Coyle from ShopBot led a session in Digital Fabrication for Educators.
Digital Fabrication for Educators:
ShopBot CNC, Laser cutter, and 3D printer
Date: Thursday, Nov. 17 and Friday, Nov. 18;
9 am – 3 pm daily, with an optional open lab on Friday from 3 – 5 pm
Cost: $200 for two-day workshop
Audience: K—12 teachers and administrators
Fab Lab Carnegie Science Center welcomes Sallye Coyle from ShopBot as a guest educator for this two-day intensive training. For teachers or administrators with digital makerspaces in their schools, or those who are putting together makerspaces, this training is essential. Educators will gain experience with 3D scanning and printing, designing for the laser, vinyl cutter and ShopBot. Participants will be immersed in multi-platform CNC projects, experiencing first-hand the design and engineering cycle used in digital fabrication. With an optional open lab on Friday afternoon, participants will be able to move deeper into creative design for CNC machines and have some fun in the process.
A major focus of the workshop was to show that the work flow is the same for all the digital fabrication tools: use a form of CAD (computer-aided-design) software to get the “what and where” into the computer, set the “how” for the digital fab tool* and look desired, and then let the computer control the machine while it does its work. Since the large format (4’x8’) ShopBot PRSalpha CNC tool is often the most intimidating tool in a lab, we started there. To give everyone a sample of the entire process, we used VCarve Pro, the CAD/CAM software shipped with a ShopBot, to:
- design a sign
- toolpath it to engrave the lettering with a V-Bit
- generate the code for the ShopBot to follow
- set up the ShopBot run the file
Creating the Files
Then it was time for everyone to create their own files. First, the attendees had to measure the size of the various scraps of material they had to work with so they could input the data into the CAD software. Some chose simpler designs with text only, others downloaded bitmaps from the internet and traced them. Toolpathing options included engraving with a V-bit, and using an endmill bit to pocket or to profile along the vectors to cut out the designs. Giving the attendees time to design their own pieces rather than follow a set tutorial is labor intensive for the instructors, but it also allows the attendees to work through their questions while an expert is there to help them. They can also learn from other people’s techniques and mistakes.
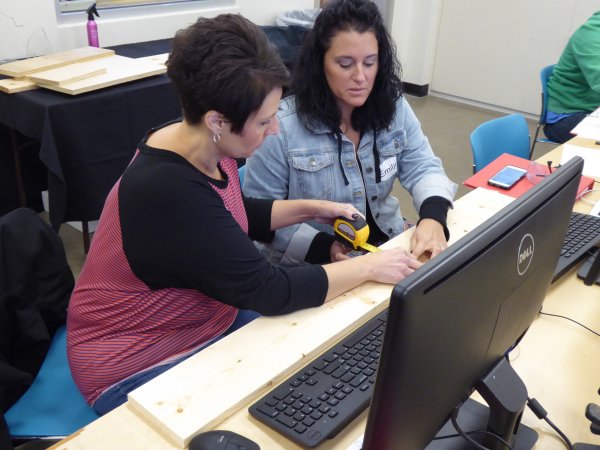
Tracy and Emily from New Castle High School measure their material to prepare for creating their CAD files. They will each claim half of the material for themselves.
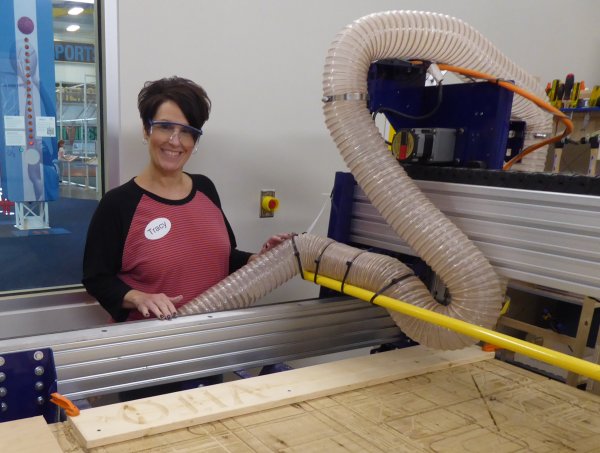
Tracy’s sign is complete. Her hold down technique was to mark in the CAD file where it was safe to put a hold down screw through the board into the ShopBot table.
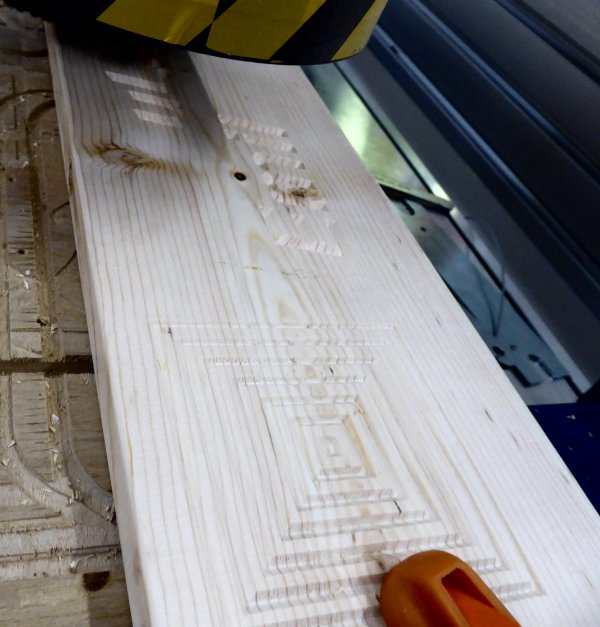
Emily’s work is on the same board, and required a bit more creative hold down technique since she did not want holes in her creation. She used Tracy’s hold down screws at one end, and a clamp at the other. Since the best place for a clamp was on top of one of her designs, she machined the concentric squares pictured above with a clamp in an out-of-the-way location. With the ShopBot shut down, she then moved the clamp to rest on the machined part and ran the remaining toolpaths.
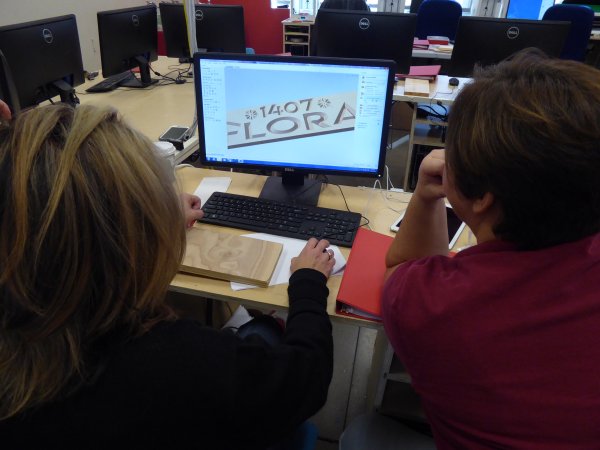
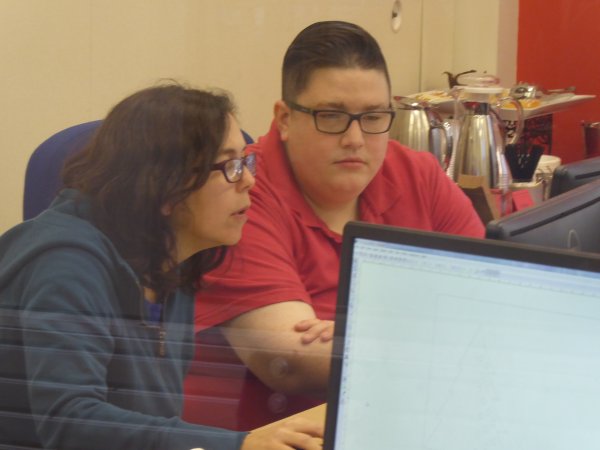
Liz from Carnegie and Raquel, and art teacher who supports STEAM at her high school, simulate Raquel’s design on the screen.
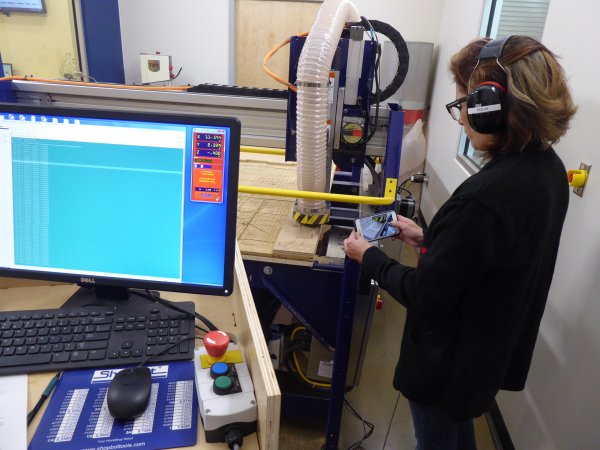
Raquel photographing the ShopBot in action.
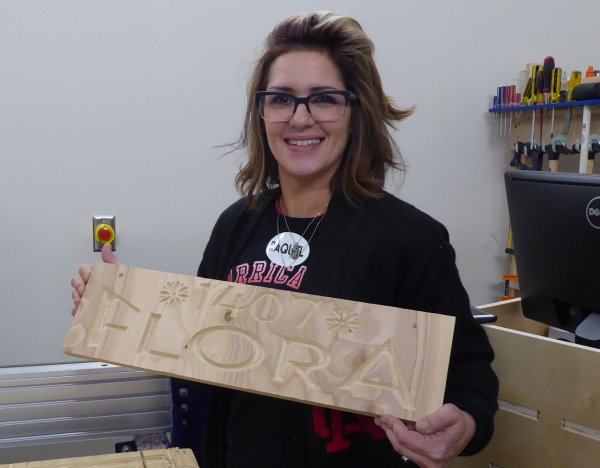
Success!!! Raquel commented that she will now be spending all of her spare time using the CNC in the FabLab at New Castle High School.
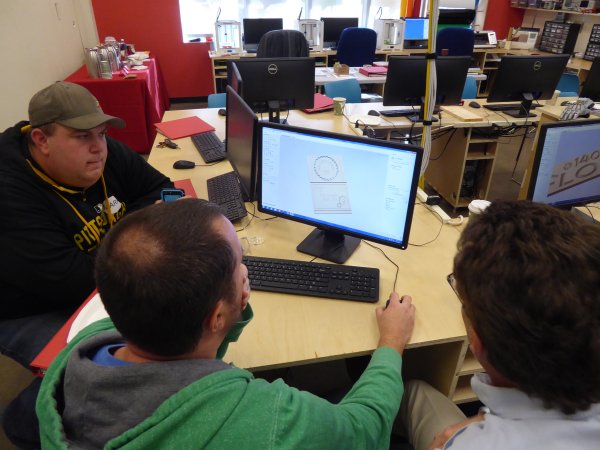
Randy from ShopBot (right) helps Mark and Eric with their VCarve files. Although they use Inventor for CAD software as part of the PLTW program at their school, Mark and Eric found VCarve to be easy to design in, and terrific for creating the toolpaths for their 2D and 3D design files.
Mark and Eric have an older CNC (not a ShopBot) with a router in their school. They loved the quiet of the spindle on the ShopBot PRSalpha in the FabLab.
While some were waiting for their turn to run their ShopBot project, Steve from Carnegie introduced the laser cutter and vinyl cutter. Using Inkscape, a free graphic software, the group designed a seasonal project that could be cut out of thin wood. Sallye pointed out that the 2D design files (.dxf, .eps, .ai, .svg, etc.) can be transferred into and out of VCarve to other graphic or engineering based CAD programs.
Steve from Carnegie helping Aimee with her files.
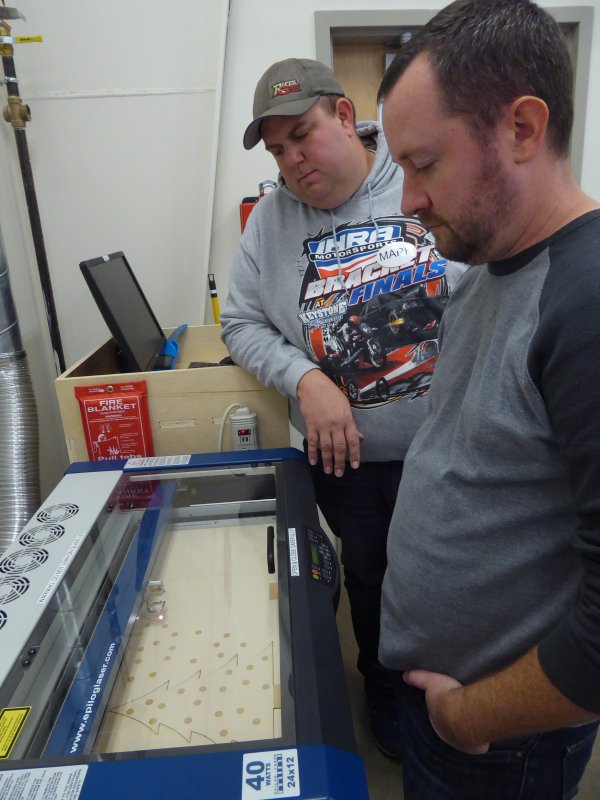
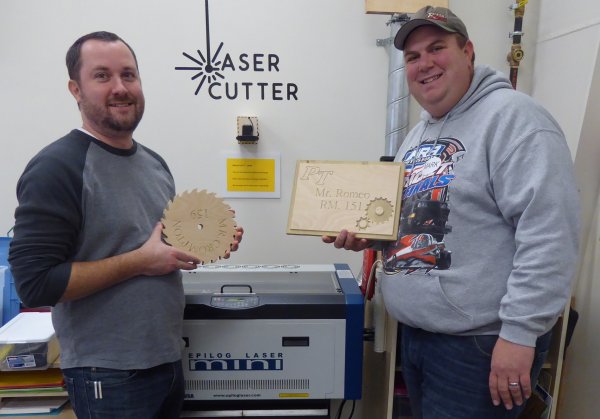
Mark and Eric using the laser with thin wood. The laser etches (rasters) some parts of the design, then cuts through the thin wood by following the vector lines.
The second day, the attendees worked on bringing 3D designs to life and preparing them for machining on the ShopBot. Since we had a Handibot visiting for the PD and the Camp ShopBot to follow, we decided to machine the 3D files on the little CNC machine. Attendees downloaded 3D files (.stl) from the web that would normally be printed on a 3D printer, and brought them through VCarve to create roughing and finish passes. Here is a link to the blog that describes the technique.
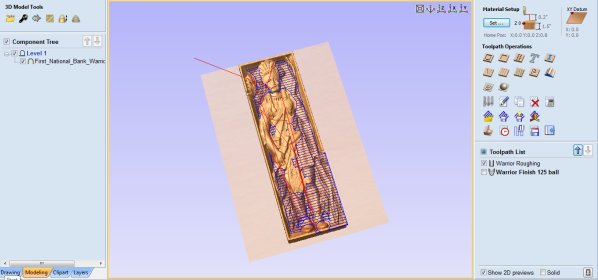
3D file (.std) downloaded from the web and imported into VCarve Pro for toolpathing. The roughing pass removes excess material in multiple passes, then the finish pass moves a ball nose bit simultaneously in 3 axes to create the smooth finish. The size of the ball nose bit affects detail (resolution) and time to machine the file.
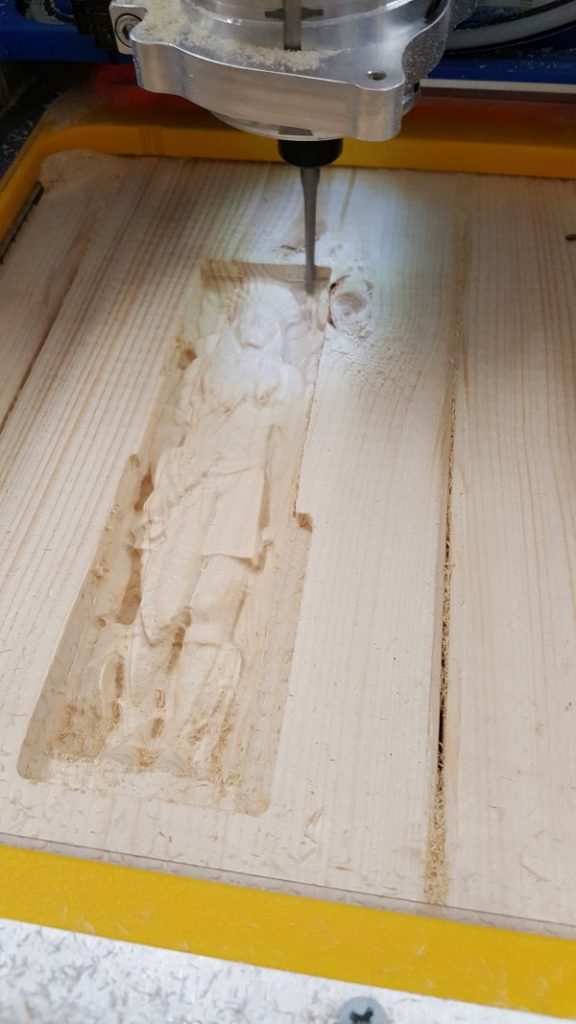
Finish pass with a .125” ball nose bit. Handibot can machine wood, plastic and aluminum in addition to the machinable wax that some of the smaller CNC mills are limited to.
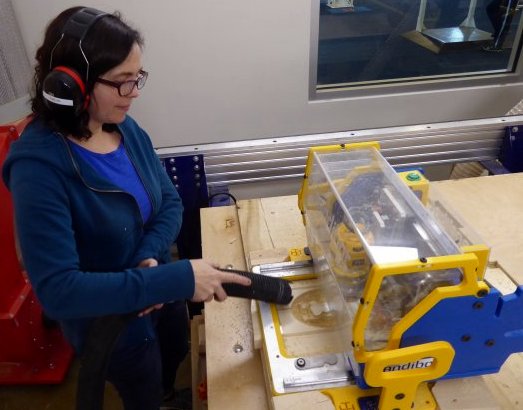
Roughing out the Aimee’s Reindeer Dog. We removed the dust skirt from the router head to watch the progress of the file, so Aimee is vacuuming as she goes. The 2″ x 6″ board is held in place side-to-side (X axis) by a jig that Randy and George whipped up in the AM. A screw through a hole in the frame of the Handibot and into the 2 x 6 holds the board in place on the Y axis.
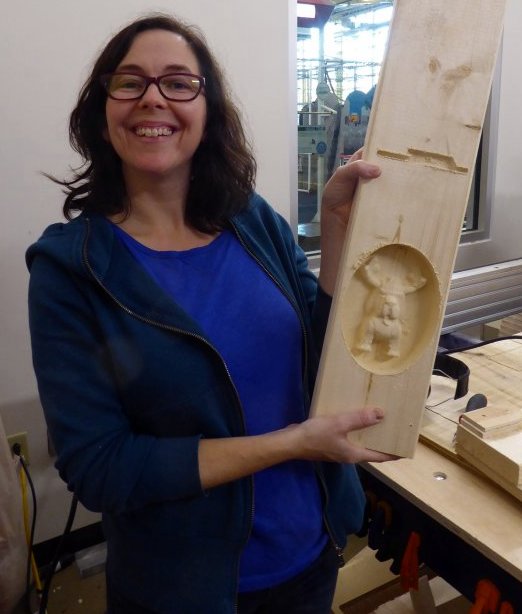
Aimee with her finished Reindeer Dog. Both roughing and finish pass were done with a .25″ ball nose bit. Early on in the workshop, Aimee confided to Liz that they didn’t have a CNC machine at her K-8 school, and would never be getting one. The smile on her face after using the Handibot suggests she might rethink that.
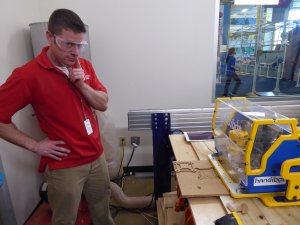
Jon, who runs the Carnegie Mobile Lab, and Liz, FabLab Manager, were intrigued by many of the features of the Handibot. Its resolution is so good that it is the perfect CNC machine for making PCB’s. Since the Handibot uses the same CAD/CAM software as the bigger ShopBots, making a circuit board and making a podium is just a matter of changing the size of the bit and the material. One of the apps for FabMo, Handibot’s Control software, allows children to draw on a touch screen and have it immediately translate to drawing with a pen or carving.
In this Handibot How-To video from August, Brian Owen shows how to cut a custom circuit board:
When Jon asked if the Handibot could be used to cut the cardboard for their Quadcopter project, we grabbed a .0625” bit from the mini mill inventory, imported an Inkscape file into VCarve, and set it to profile to cut through the cardboard. Jon added the motors, soldered in the circuitry, and flew the quadcoptor. He saw potential for using a Handibot rather than a laser to cut the parts on site at a school: easier to transport, no fumes to vent, and more fun for the kids to watch. Cost is a factor, too: 4 Handibots would be cheaper than a single laser cutter.
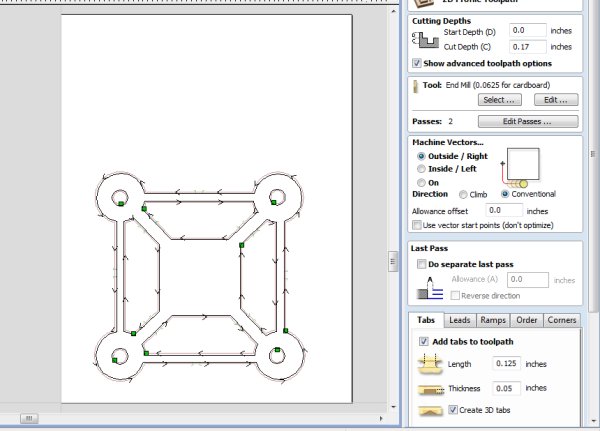
VCarve file for the base of the Quadcopter. Tabs were added to the profile pass to keep the parts from shifting while machining.
Handibot cutting a second quadcopter body. The weight of the Handibot holds the material in place while machining. A second layer of cardboard serves as the “sacrificial layer” to protect the surface under the Handibot.
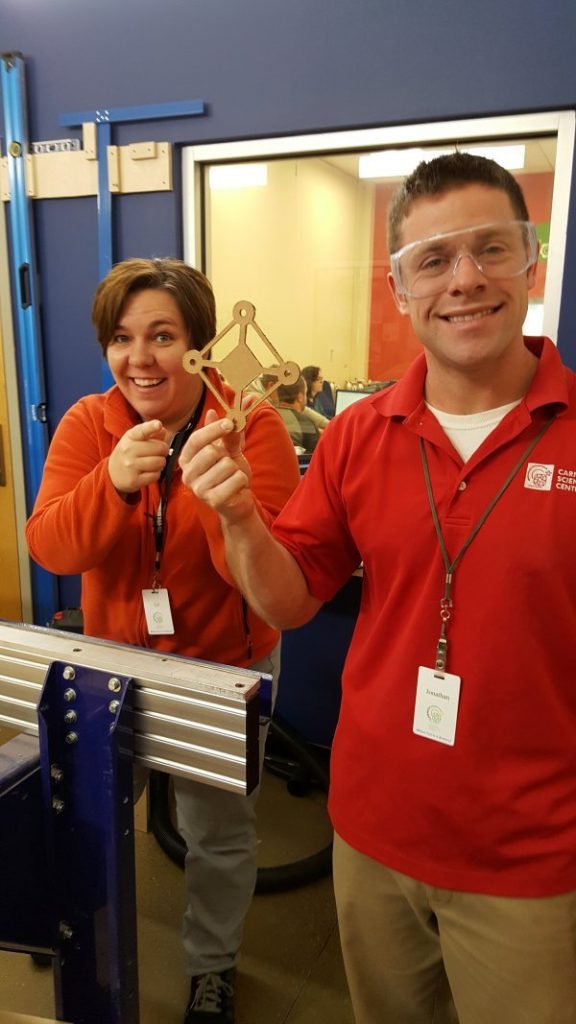
Wow, look at that! Less than two minutes to cut, and you dont have to cut down the cardboard first!
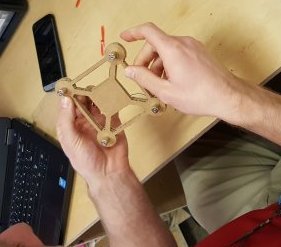
Fitting motors into the frame.
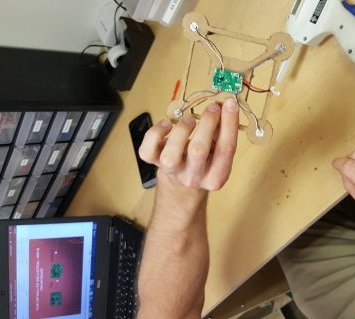
Adding electronics. Propellors are 3D printed.
Success!
*The digital fab tools the Carnegie Science Center FabLab has available include two CNC machines (ShopBot and Roland), a laser cutter (Epilog), 3D printers (Ultimaker), vinyl cutter (Roland) and a full electronics station. The Mobile Lab has a ShopBot Buddy with an 110v Desktop spindle, laser cutter (s), 3D printers, vinyl cutter, a mini mill and an electronics station. For those who are unfamiliar with how the various digital fabrication tools work, here is a chart that compares the various tools.