I meet the nicest kids as a robotics coach.
My robotics club was recently invited to attend a post-season tournament at the Dalton School in New York City and we wanted to do something special for our hosts; we had already met the students from Dalton Robotics twice this year and were very friendly because we had competed together as alliance partners. Since this was going to be their inaugural tournament, we decided that we would surprise them with a commemorative trophy!
We had some usable scrap pieces of cast acrylic sheet and MDF laying around the back of my classroom and we started designing the project by making a few simple sketches on paper:


We thought that v-carving the interlocking triangle-circle-star logo of the FIRST Robotics organization (http://www.usfirst.org/) into acrylic would look pretty good and we could easily insert the acrylic into an MDF base. One of my students then suggested that the trophy would look a lot nicer if the acrylic was edge lit with LEDs so we decided to add that into our design!
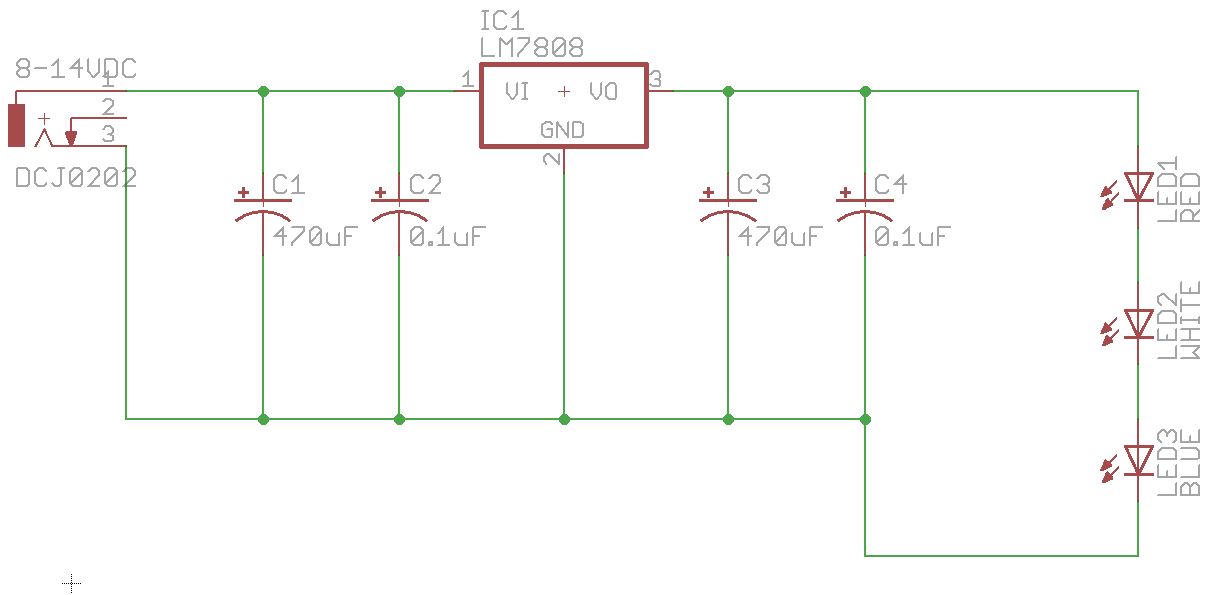
We settled on using three high-brightness 0.5W surface mounted LEDs soldered onto small pieces of circuit board and included an LM7808 voltage regulator to provide about 100 mA of current. Luckily, the combined forward voltage drop for the three LEDs was just about 8VDC so we didn’t need a current limiting resistor to drive the lights.
The circuit we built for the trophy was as follows: (we didn’t need so many capacitors for the LM7808 but my kids wanted to add them anyway for symmetry!)
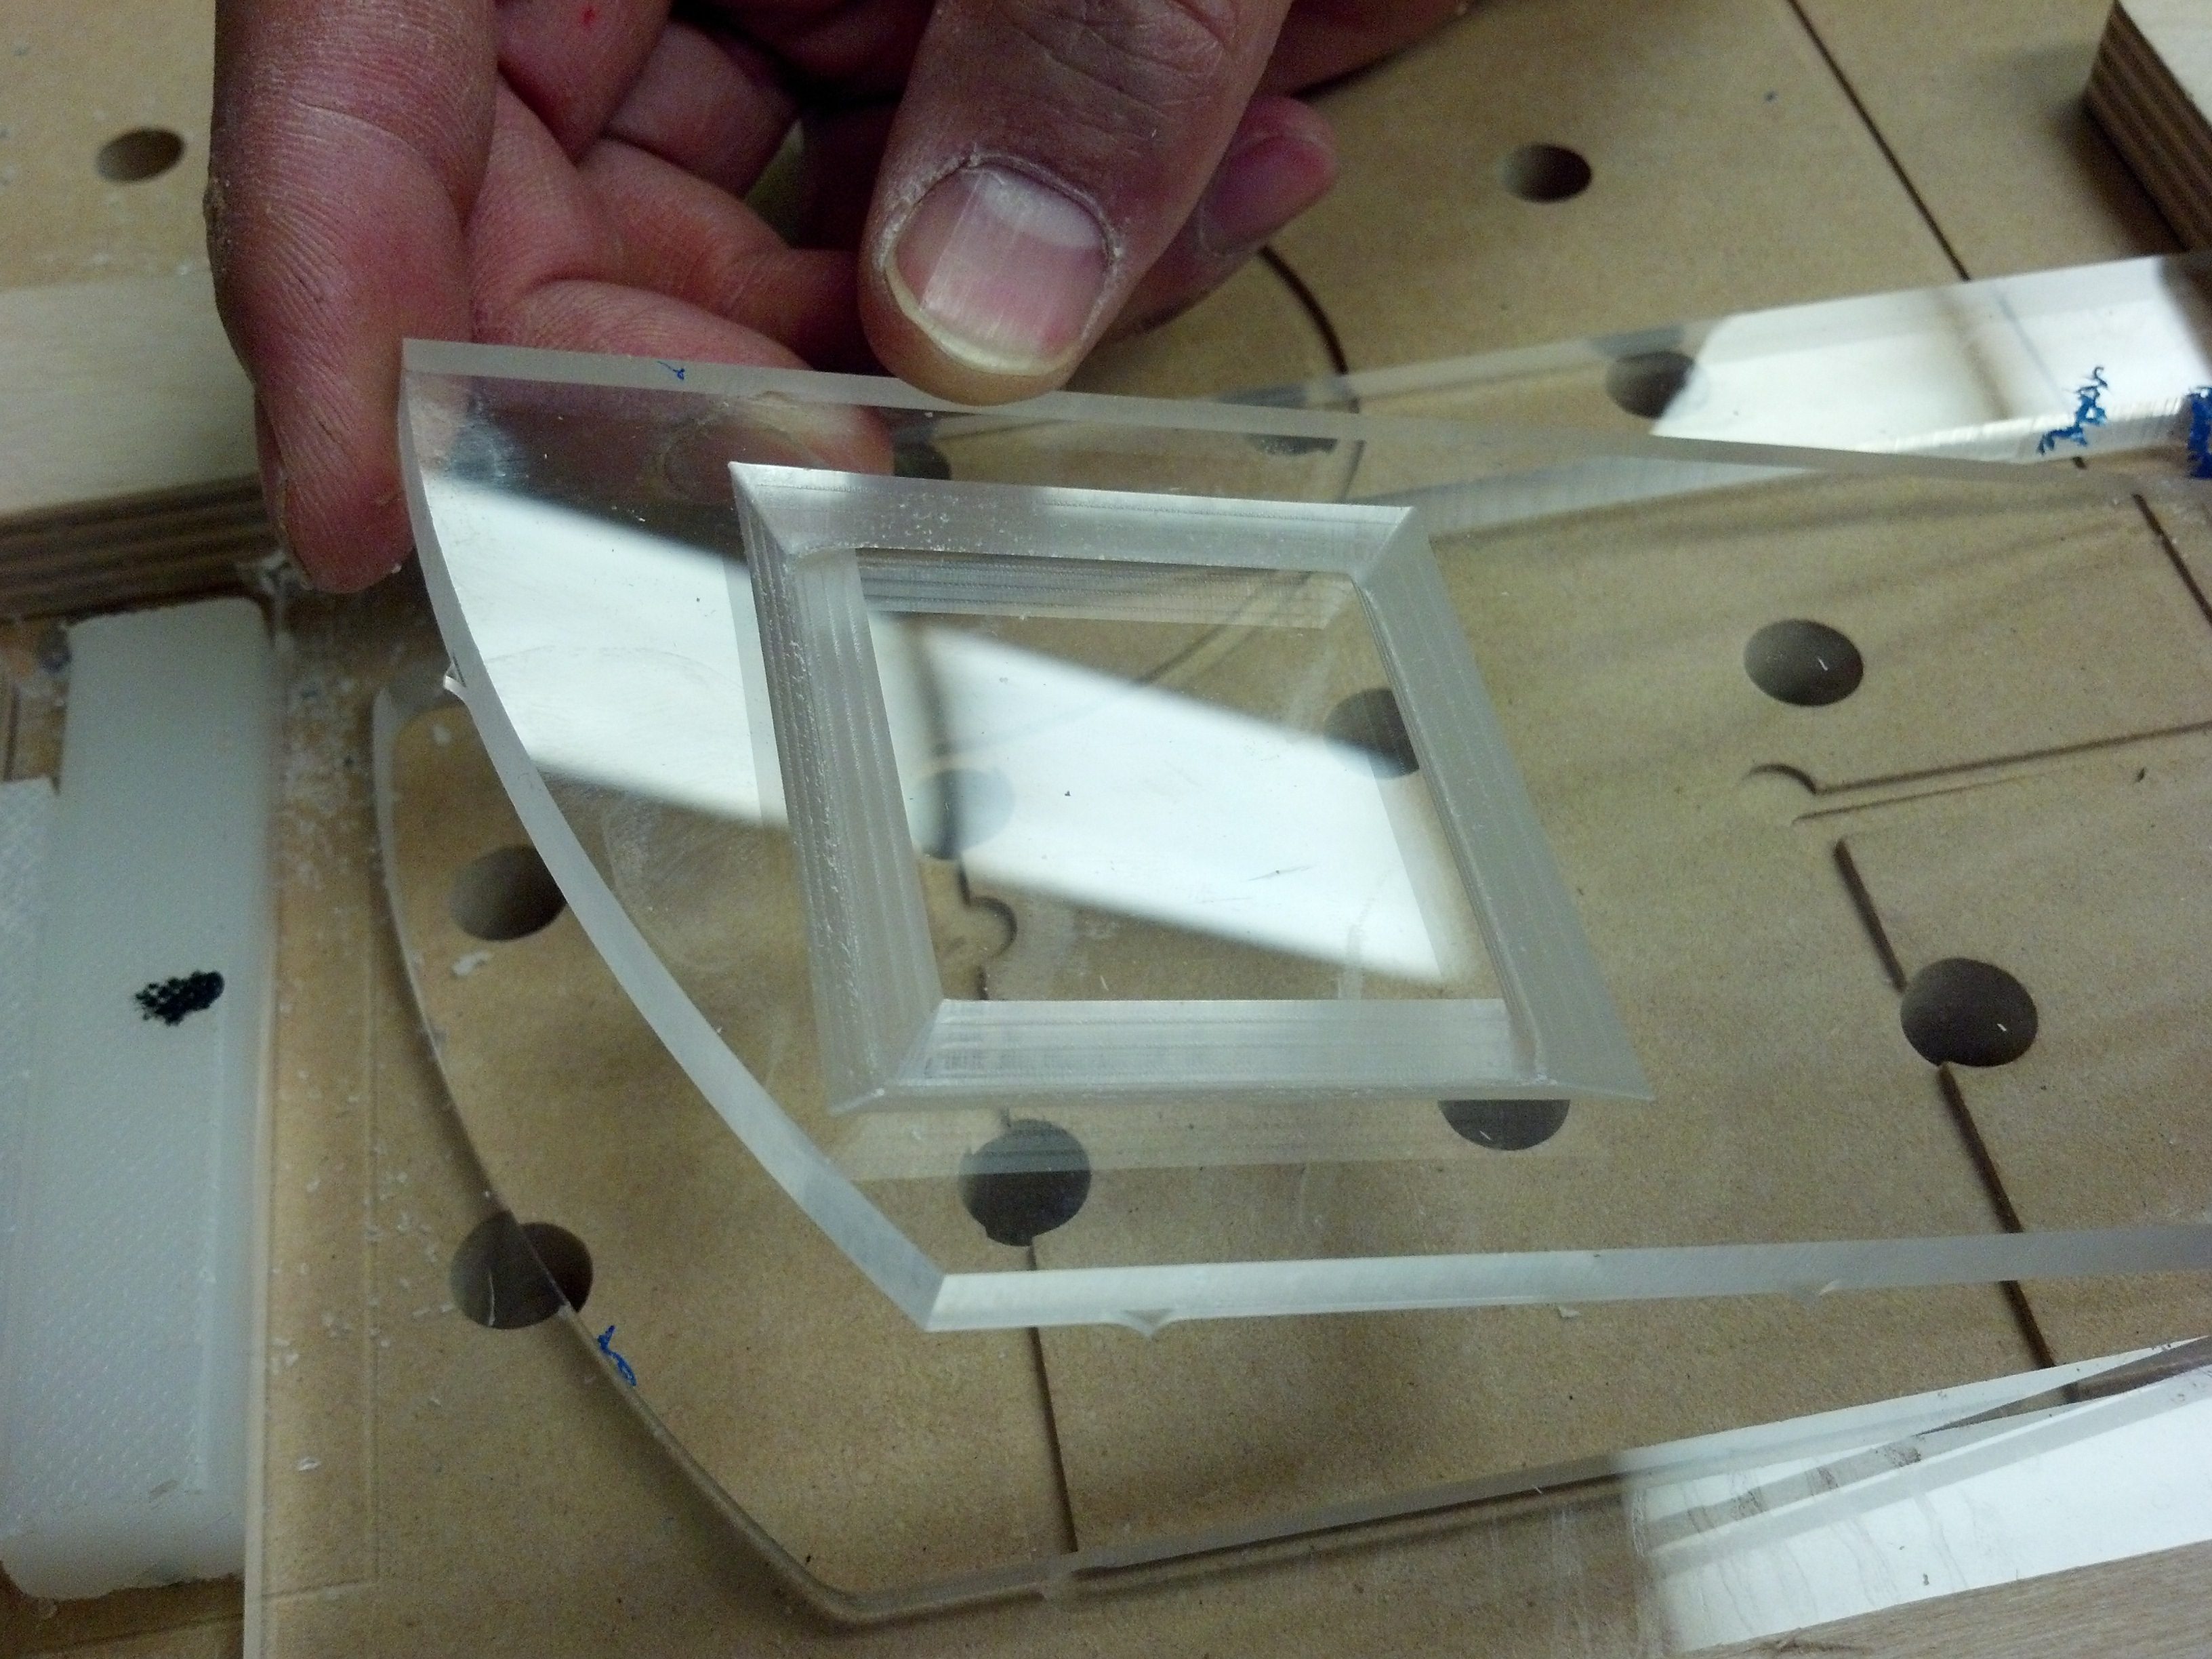
At this point, we were ready to start designing in PartWorks 3.5 and to set-up to cut parts. We decided to v-carve our acrylic pieces first so that we could test fit them into our base:
After all the acrylics were done, we created a semi-hollow two-layer base so that we could hide the electronics:

After installing the electronics and tacking everything in place with some hot-melt glue, we did a quick test of the lighting system using a spare wall transformer rated at 9VDC/500mA; the LM7808 took care of the excess voltage nicely and everything was operating within design specifications!

The next step was to button up the trophy base by attaching the top cover with some hot-melt glue and slapping on a nice coat of paint:

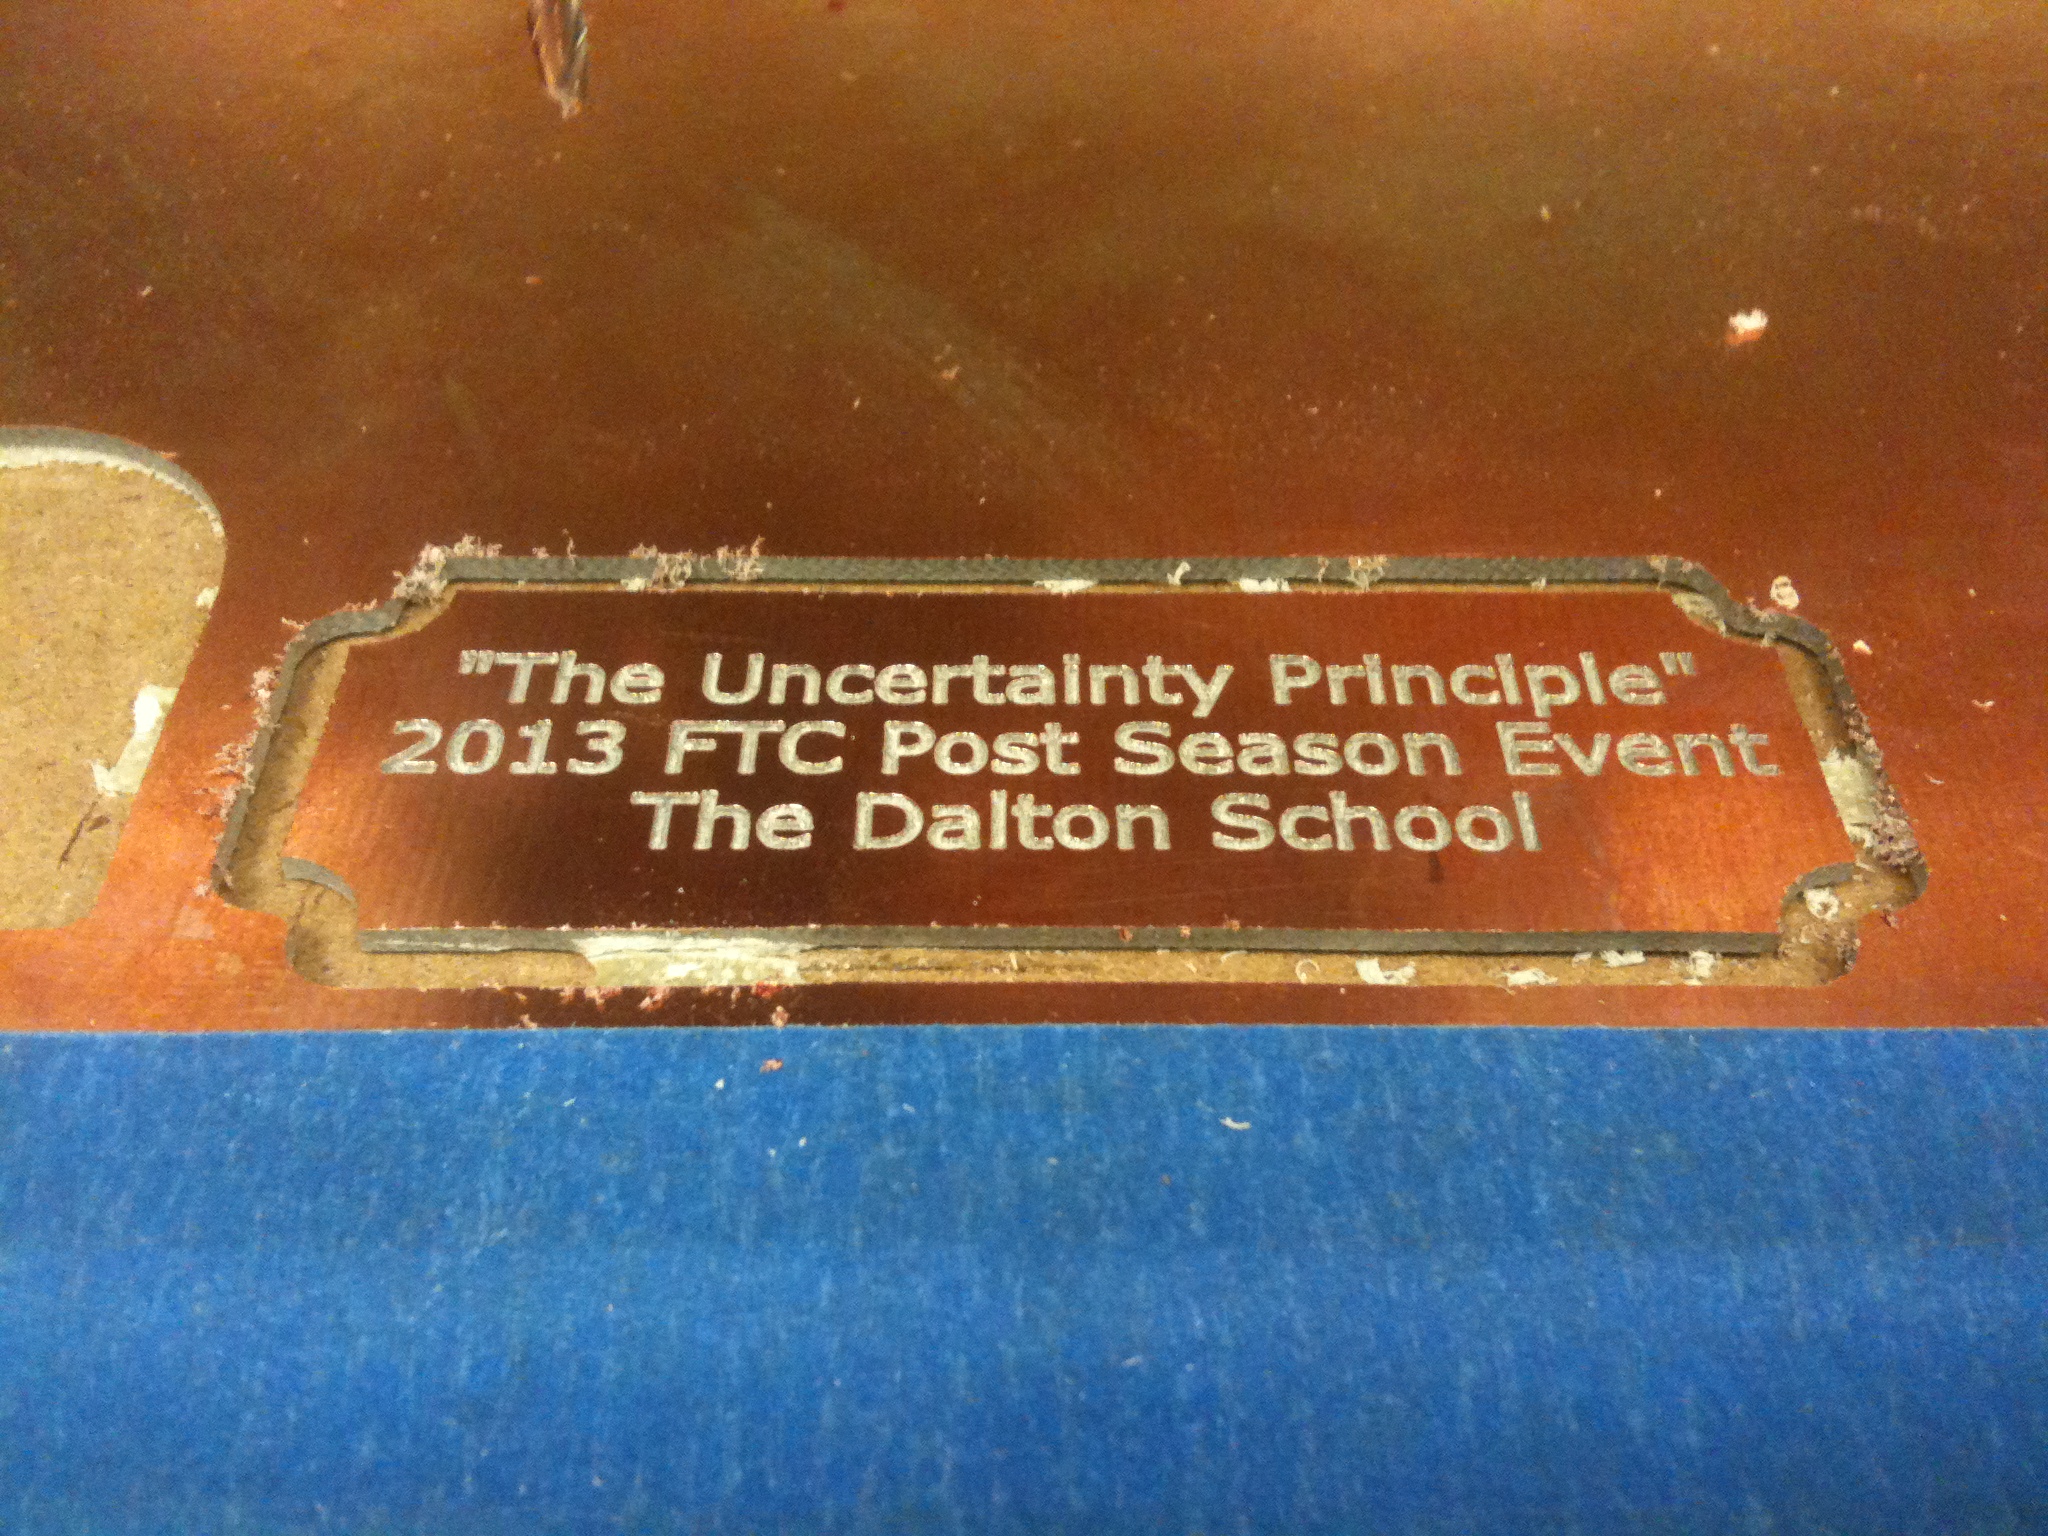
We also engraved a small commemorative plaque into copper-clad circuit board material as a nice finishing touch:
The students and mentors for the Dalton Robotics team were impressed by our work and appreciated the effort:

 acrylic piece after taking this photo...")
My robotics club did well at the event and we took home the tournament trophy that Dalton had prepared. My kids ate all the candy that was stuffed inside during the ride home and are looking forward to going back next year.

So what do you think? Have you made trophies using your ShopBot? I’m really interested in hearing about your work!
All the best,
Jack
Leave a Reply