The MakerBot furniture has been in place for about a month, so it’s time to talk about the nuts and bolts of getting the parts cut, the furniture assembled, and delivered to the 21st floor of an office building in Brooklyn.
Fabrication:
Since we had pockets of varying depths to cut we couldn’t use a compression bit…the upspiral part at the bottom of the bit would have pealed up the face veneer. We also didn’t want to hassle with cutting the pockets with a down spiral and then switching to a compression bit for the rest of each sheet. We decided to use our old standby, a 2-flute straight bit from Centurion. We generally try to use a 3/8″ bit but there were lots of holes and pockets that a 3/8″ bit wouldn’t fit into so 1/4″ bit was chosen. The ApplyPly cut beautifully, requiring just a minimum of edge sanding with 180 grit paper on exposed edges.
The prefinished maple faces looked great but the ply was a struggle to work with. Even this beautiful ply varied a little in thickness between sheets, and even though we could adjust the toolpaths a little using the Allowance feature in Partworks, nothing could be sanded after assembly. This meant that any exposed edge (and there were lots of them!) had to be sanded for fit and finish before the final assembly. It would have been much easier to assemble the pieces and then sand to fair everything up and then have the pieces finished, but the plywood edges were to be left unfinished so everything would have had to have been dis-assembled before finishing anyway…probably a toss-up?
Here’s a time-lapse of the cutting that Anne and Gary put together from webcam images
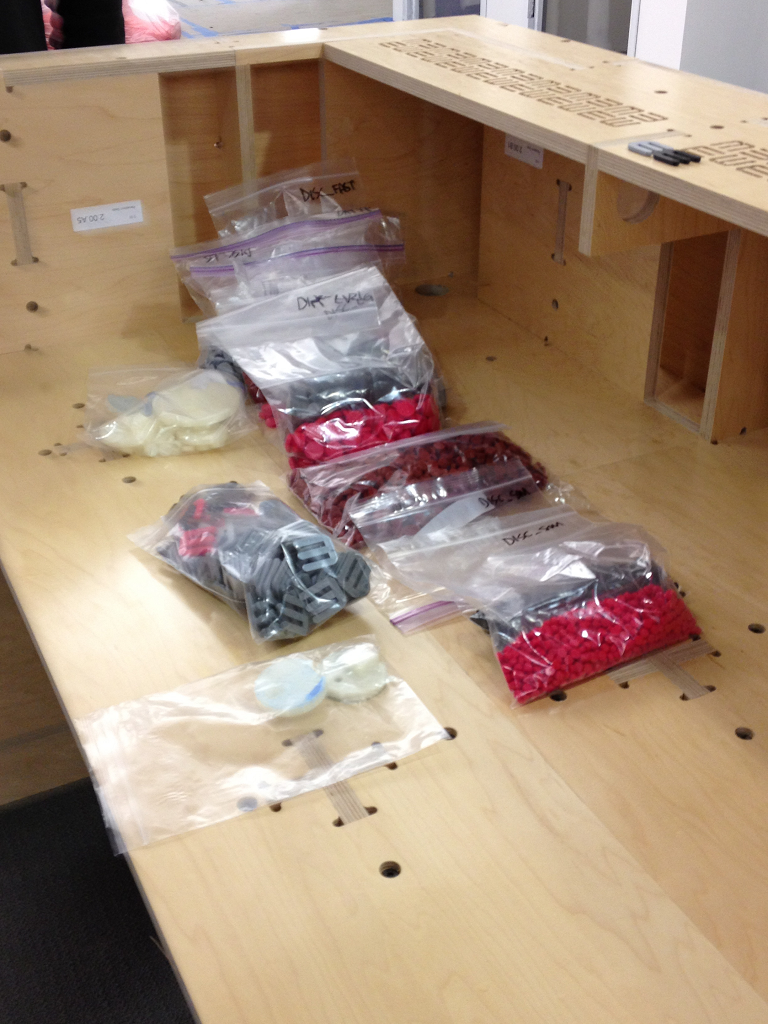
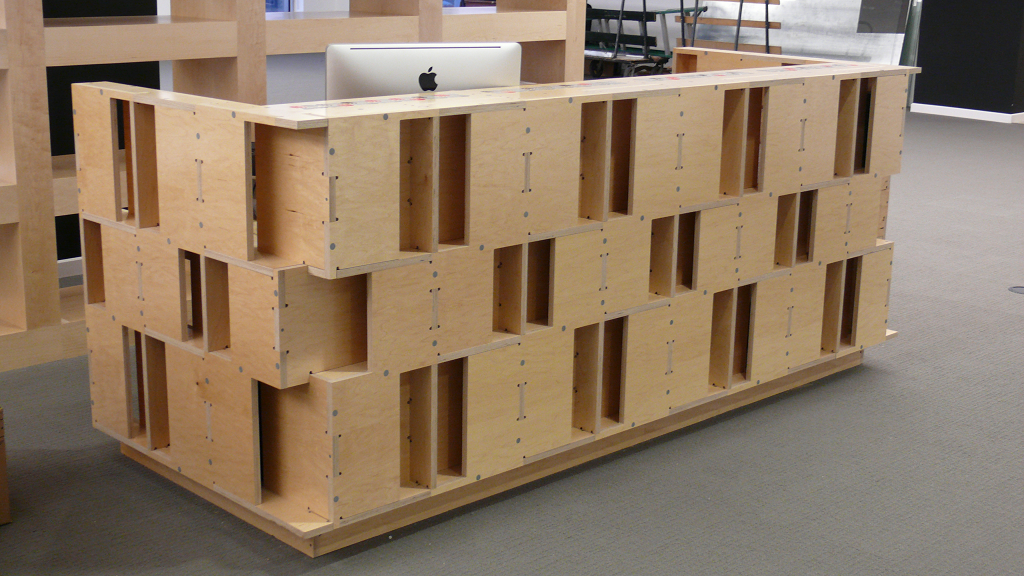
The furniture was assembled using “decorative screws” that we get from Stafast. They have a medium course thread, somewhere between a drywall screw and a lag screw, with a flat head with a 4mm or 5/32″ hex bits. They’re less than $.10 each before shipping in quantities of 1000, though shipping can get pricey if you just order a few. These are the ones we used BW0750UHD .
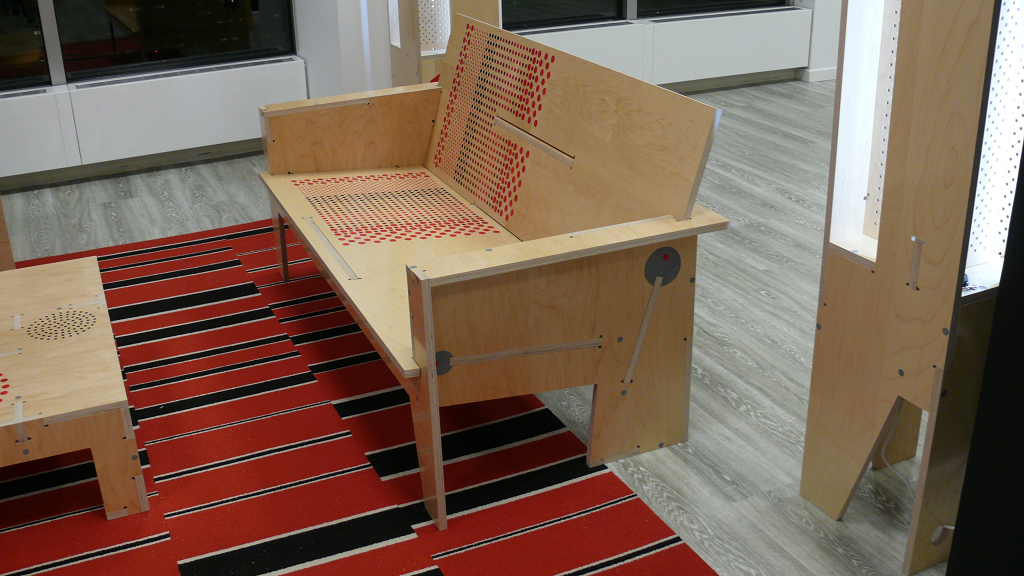
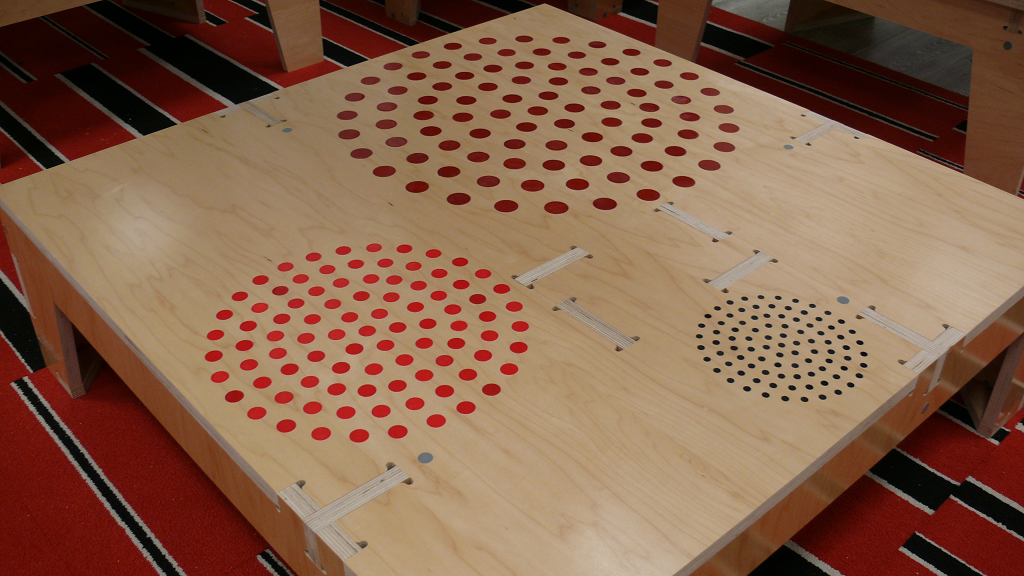
The heads of all these fasteners were covered with 3d-printed plugs, along with LOTS of decorative inlays. We bought a MakerBot Replicator to prototype the 3d features, but the final inlays, plugs, and other 3d printed pieces were fabricated in MakerBot’s “botfarm” and installed on-site.
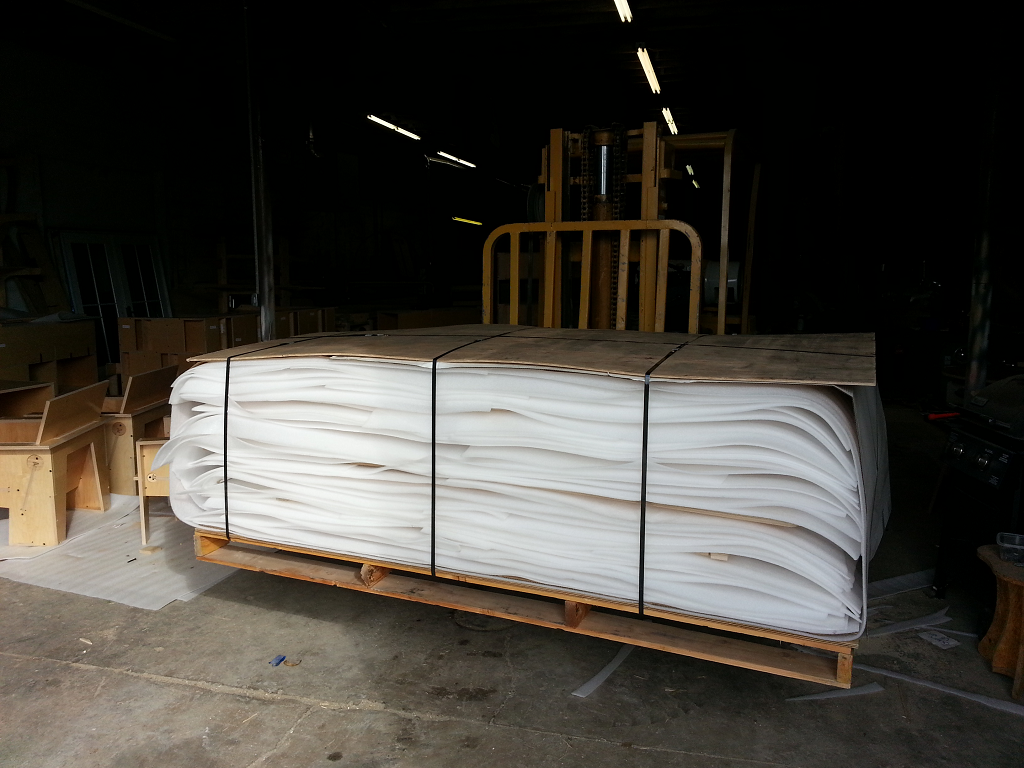
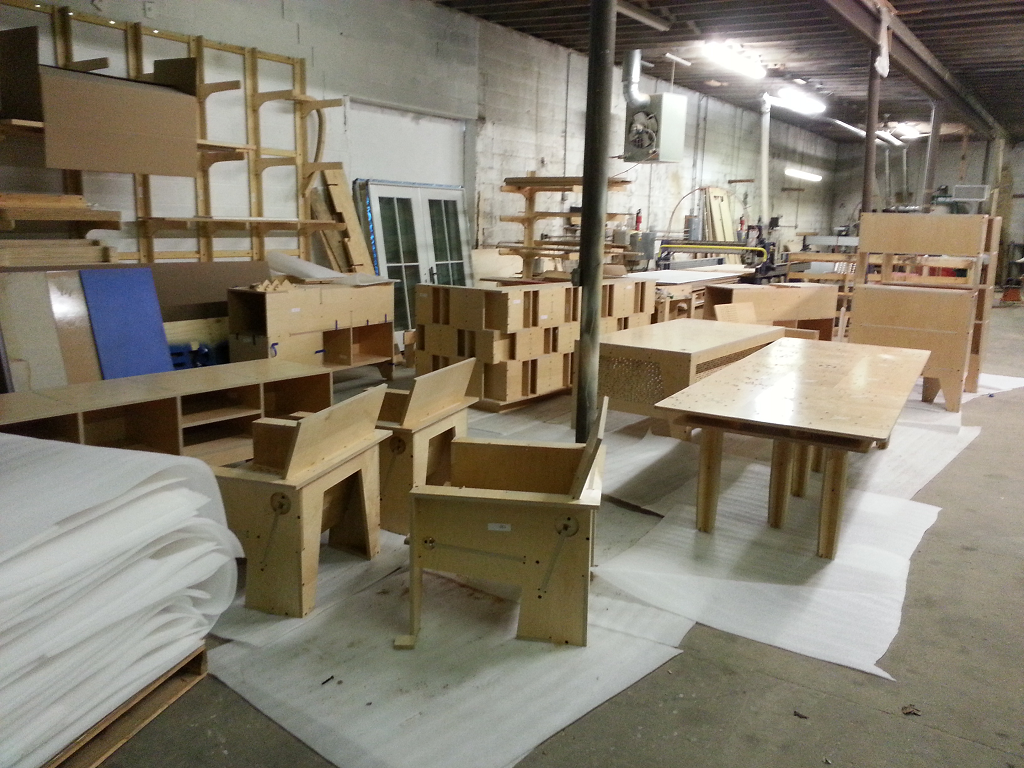
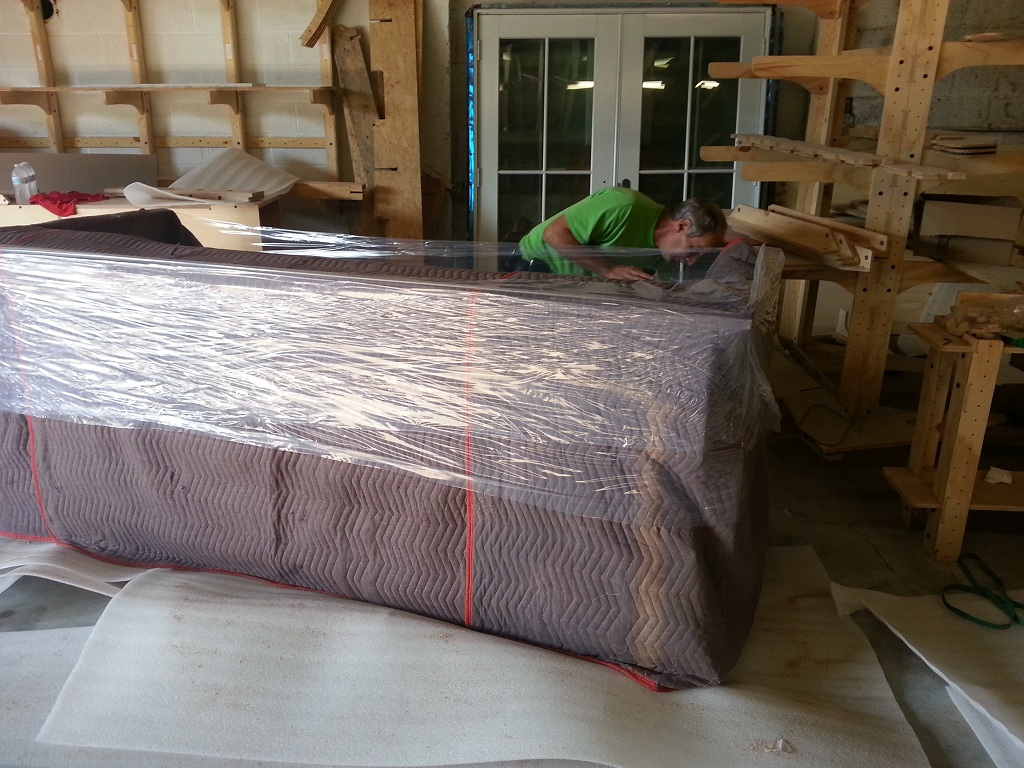
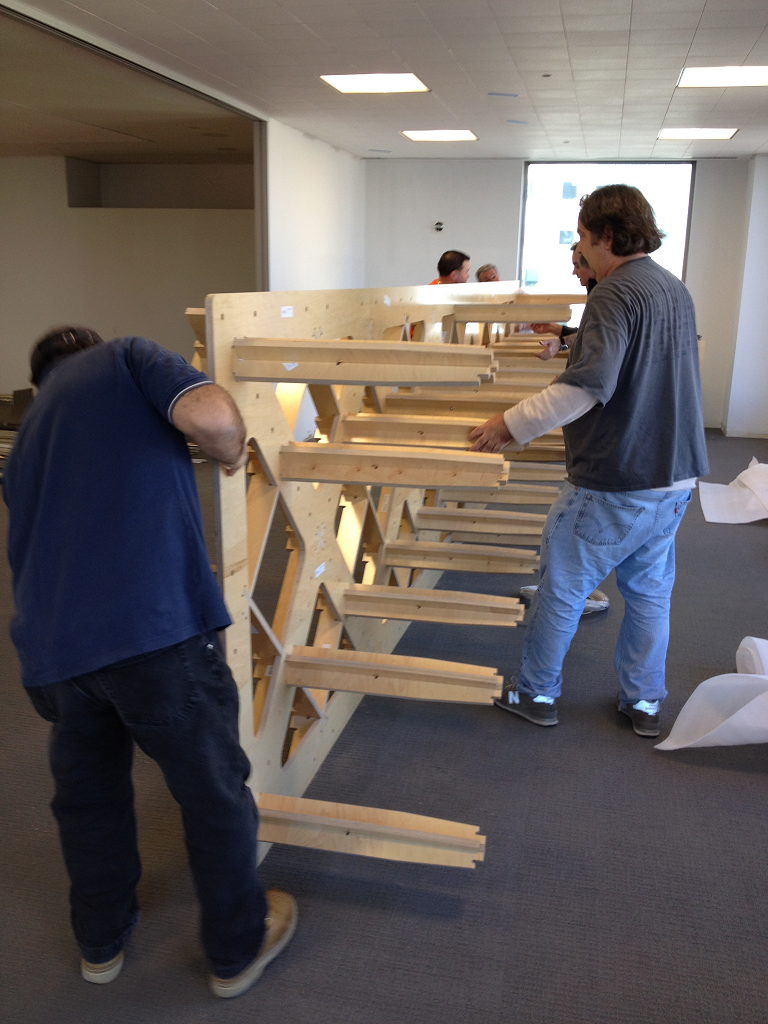
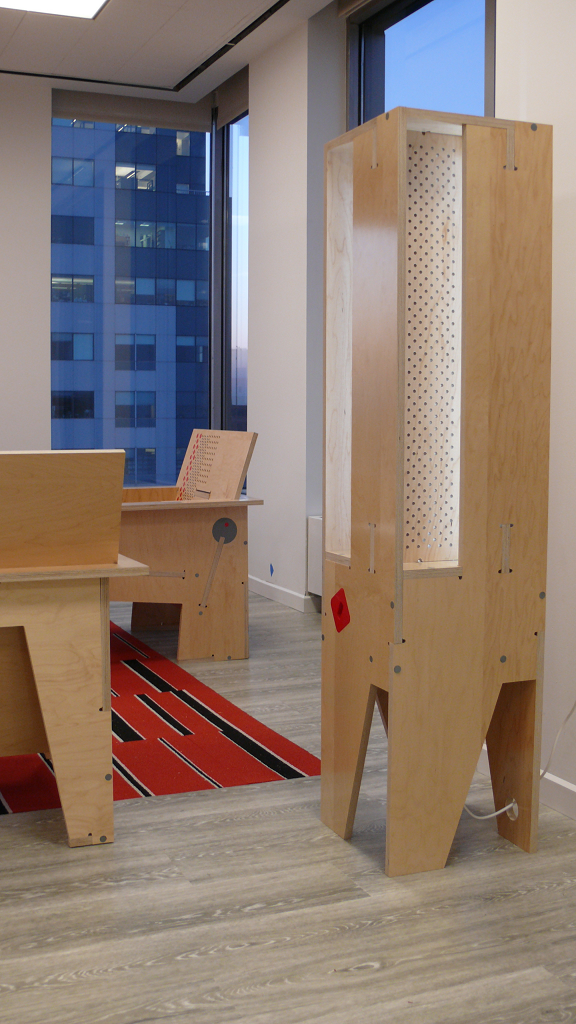
All the pieces were assembled in the shop, except for the 21′ conference table and two of the lamps that were waiting for led strip lights. As parts were cut and furniture assembled they were protected with 1/4″ x 48″ foam from Uline. We used 3 rolls by the time it was all finished.
It was pretty crowded in the shop for a while!
Delivery:
One thing I was pretty sure of from the outset was that I didn’t have any interest in delivering a truck load of furniture into Brooklyn! The logical solution was to hire a moving company..it’s their job to carefully get furniture from one place to another. The guys did a great job of wrapping the assembled parts and carefully getting them into the truck, and the pallet of parts for the pieces that had to be assembled on site just barely fit through the doors!
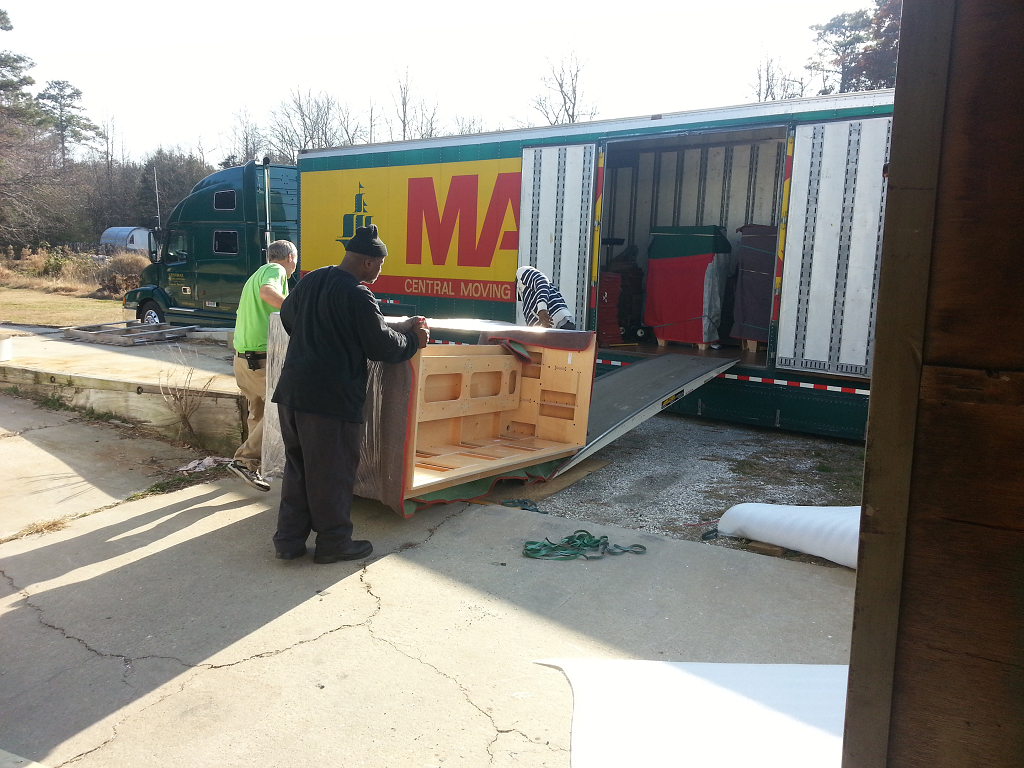
Anne, Gary, and I traveled to Brooklyn a week later and the movers carefully brought everything up the freight elevator and put it in place. All that was left was assembling a 21′ conference table which was too big for the freight elevator, and installing all the 3d printed elements. Fortunately that job fell to Anne and Gary…I headed back home!
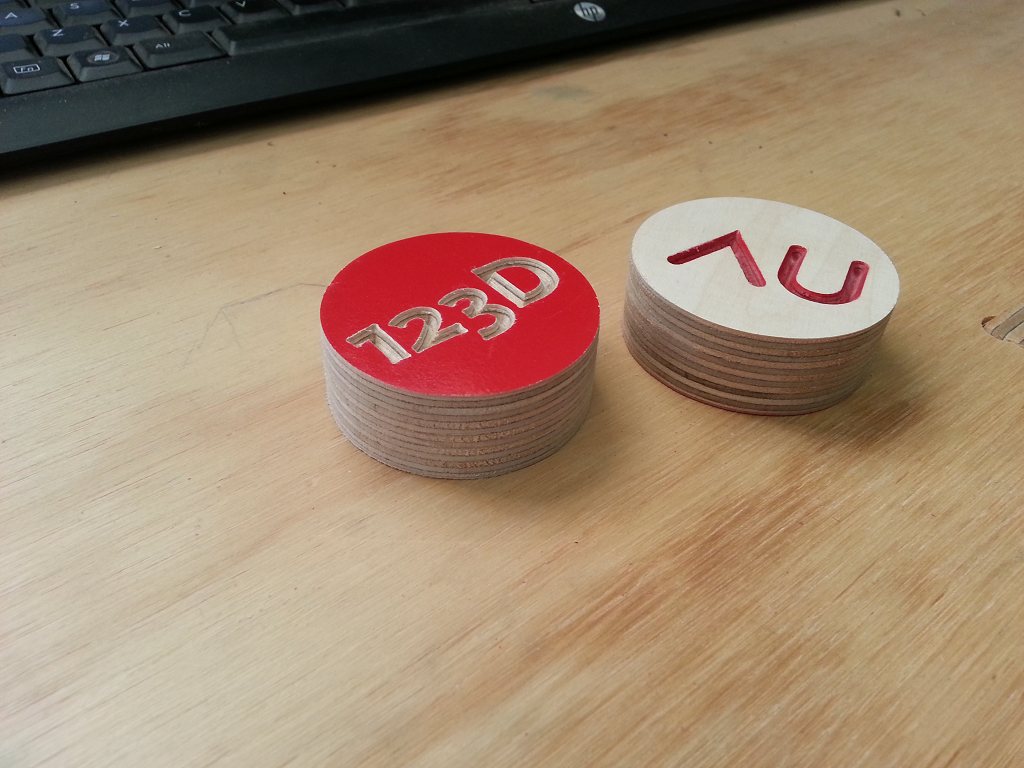
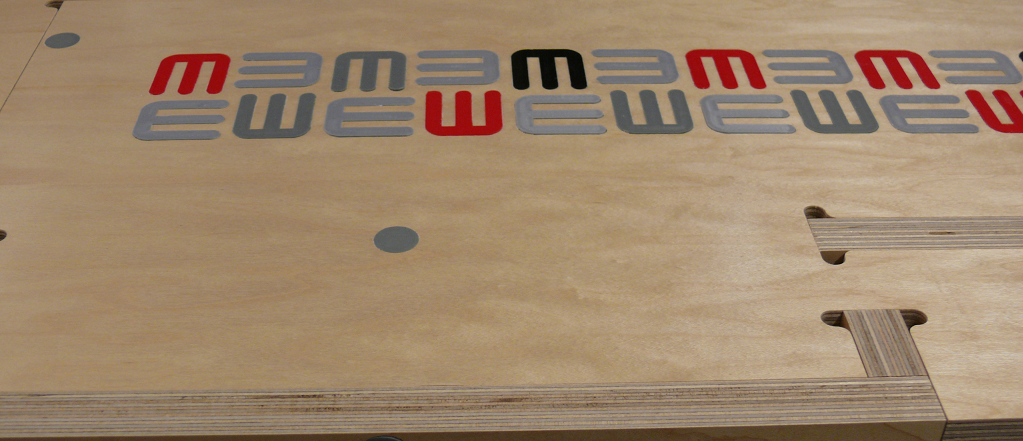
As you can imagine there was quite a bit of scrap left over and it was so pretty that I hated to throw any of it away. When we were invited to participate in Autodesk University during the cutting, one of Autodesk’s requests was that we make some checker pieces for gaming tables designed and fabricated by ShopBot stars Jeffery and Jillian of Because We Can. This is what we came up with, fabricated out of the Appleply scraps.
Done!
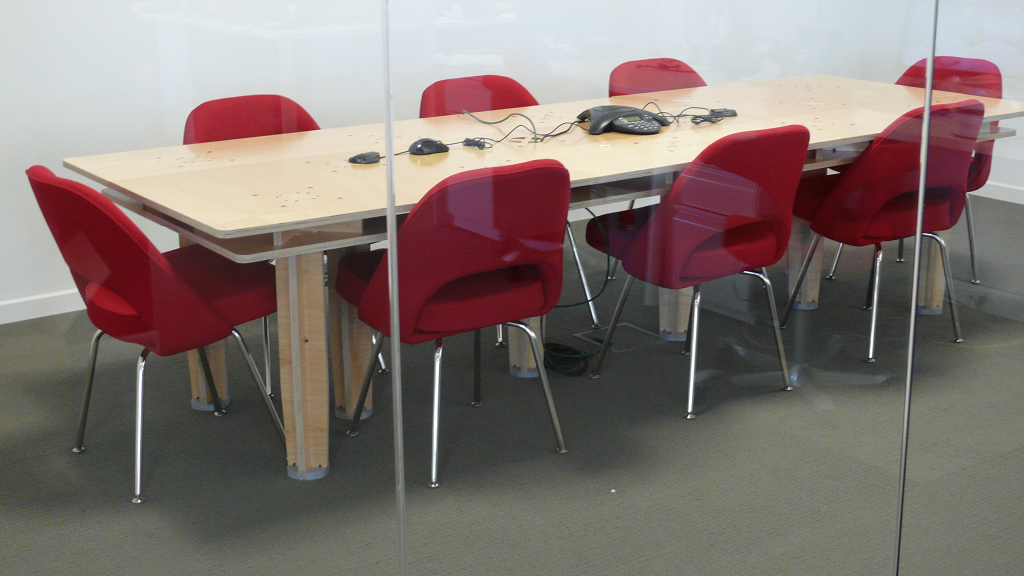
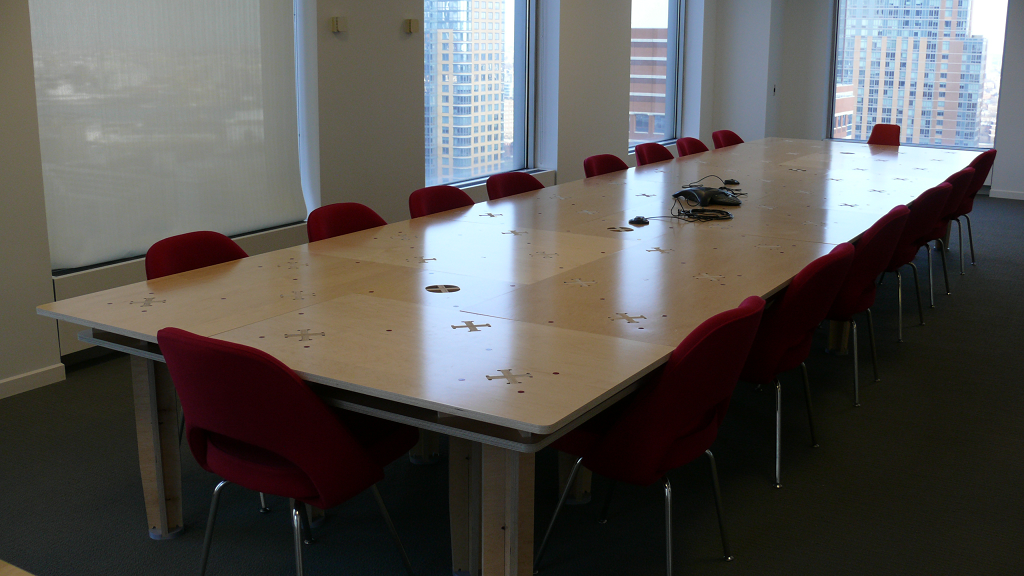
Here are some pictures of the finished pieces…they really look great in place! Some more information on the whole process can be found on Anne and Gary’s atFAB website
Leave a Reply