In mid-July, 14 people with an interest in education came to ShopBot for 2 ½ days of training. Unlike most regular trainings offered at ShopBot, we also had two other types of digital fabrication tools that are commonly found in FabLabs and MakerSpaces: an Epilog 60W minihelix laser and a Dremel 3D printer (a HUGE THANKS to both companies for lending their machines!). The overall purpose of the event was for people to experience how to use digital fabrication tools in education and cross-platform training, and allowed ShopBot to get valuable feedback from educators who are already using digital fabrication in their schools and after-school programs.
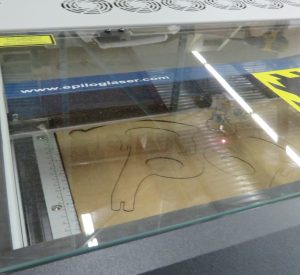
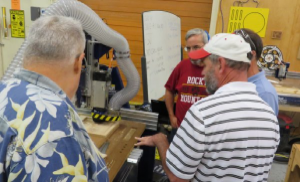
ShopBot employees entranced by the Epilog laser
Dremel 3D Printer
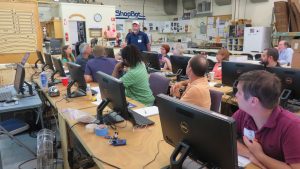
While everyone attending had a focus on education, the range of experience was vast: there were “newbies” who had little or no experience with digital fabrication tools, to those who had extensive experience on laser cutters or 3D printers only, to experienced ShopBot users who worked primarily in 2D machining of signs or simple projects. Two attendees were experienced FabLab “gurus”, and were able to share their expertise as well as work on projects that they never have time to do during their day to day lives. The schedule included lectures and demonstrations on a number of topics, as well as open time built in so that the attendees could work on a project of their interest with support from the extended ShopBot family.
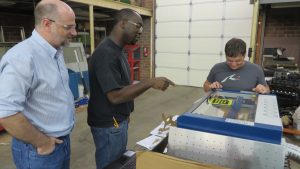
Despite these difference, all the telltale signs of a ShopBot workshop were there: everyone introduced themselves and joined the ShopBot employees for lunch, after which founder & CEO Ted Hall told of the history and philosophy of ShopBot. Those who had limited experience with actually running a ShopBot were stepped through changing a bit and running a file before they began their own project. Sallye made a few mistakes in running a file in order to create some teaching moments.
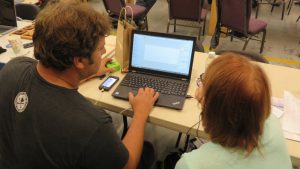
Introductions Thursday morning
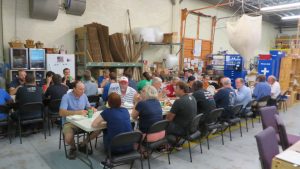
Lunch with the ShopBot employees

Ted Talks
Open Design Time
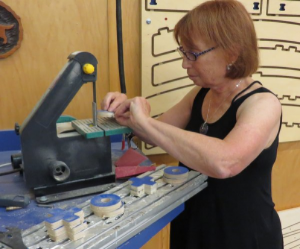
The open time for attendees to work on their own projects extended from Thursday evening, throughout Friday, and even continued for several hours after the official end time of the class on Saturday afternoon. The one-on-one format was people-intensive, with Sallye Coyle, Chris Burns, Randy Johnson, Brian Owen and Al Nyonteh all staying late to work with individuals on their own projects. Chris Carter and Maria Melo Bento, experienced FabLab gurus, helped supervise the laser for both attendees and ShopBot employees. Jimmy Luciderme, ShopBot’s intern from France, and ShopBot’s Marketing Team adopted the 3D printer. It was chaotic but really fun.The topics for lectures included an introduction to VCarve Pro and running a ShopBot file, an explanation of design file types (2D, 3D); and how to prepare files originally intended for one machine (i.e., ShopBot) and send them to another machine (the laser). Brian Owen presented a lesson in how to download a topographic map from the Internet and create a 3D file for machining in Aspire, and David Preiss gave a presentation on Fusion 360, a parametric program offered by AutoDesk. Chris Burns gave examples of projects he uses when doing trainings in schools. Sallye included handouts in ShopBot-specific tutorials that addressed topics in Common Core and Next Generation Science Standards, as well as integrating digital fabrication projects into life skills that go beyond the actual project itself.
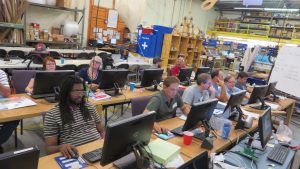
Newbies working together:
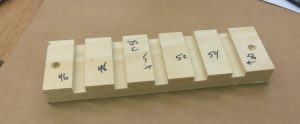
Bryan from a high school in Hawaii is awaiting his ShopBot, and was attending the class in order to get a jumpstart in advance of the school year. Barb is based in Baltimore, and is a member of a TIES (www.TIESTEACH.org) team that travels around the country to install full digital fabrication labs in schools (see ShopBot blog for some stories of the installs). She is very good at the administrative and organizational levels, but wanted to know more about actually using the machines that are being installed. Since both were very new to the CAD/CAM/ShopBot experience, they worked together to understand the entire process. They found the TicTacToe game created by TJ Christiansen, and downloaded the design files from the ShopBot website. To personalize the project, they scaled down the original design to fit the material available, and learned that it is really important to test the design files on screen before cutting them out on the ShopBot. Fortunately, it was relatively easy to cut another set of Xs and Os.
Maya changes a bit on the tool
Bryan following the step-by-step instructions

Tic Tac Toe created by TJ Christiansen
Bryan and Barb working together to customize the design files
Pocketing the board
Sanding, version 1: too big for board
Smaller Xs and Os, recut to fit board
Emphasis: Prototyping
Peter and Michael G came from SOCOM (Special Operations Command) in Tampa, where there is a full FabLab. As civilian contractors, they are tasked with prototyping equipment for use with the military, and with training military personnel to use the digital fabrication equipment and electronics available in the Lab. Peter has a background in 3D printing, and Michael is comfortable with a laser, but neither have logged many hours on the lab’s 4’ x 8’ ShopBot PRSalpha.
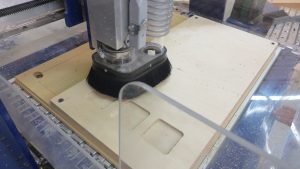
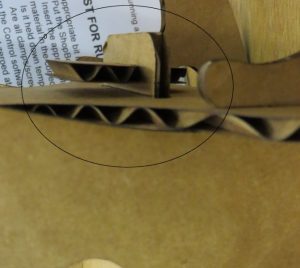
Peter decided on a rocking chair for his young daughter. While he didn’t find CAD plans online, he found pictures of one he liked, and used VCarve to trace the photographs and lay out the parts on the screen. Having decided on plywood with a nominal thickness of .5”, he used a sample board machined on the ShopBot to determine the actual size that the slots should be. Then, he copied the layout to another layer in VCarve, scaled it down so the slots were the same as the available cardboard, and cut them out on the laser cutter. The laser model showed that some of the slots were in the wrong place, so he was able to fix the design before he cut it on the Production ShopBot with Automatic Tool Changer and a vacuum holding down the table.
Sample board cut with the same bit (.25″ down spiral) and strategy (climb or conventional) that will be used for cutting the final parts. The center slot reflects the nominal thickness of the material (.5″) while the slots to either side are .02″ smaller or larger, respectively. When the sample board was tested on the actual plywood, the .46″ slot was too tight and the .48″ slot a bit too loose. So the slots in the design were set to .47″ thick.
The available cardboard measured .17″ thick, so the laser layer was scaled down to 36% of the original (0.17/0.47 = .36, or 36%).
The slot in the bottom of the chair where the key piece that holds the chair together is too far away from the back
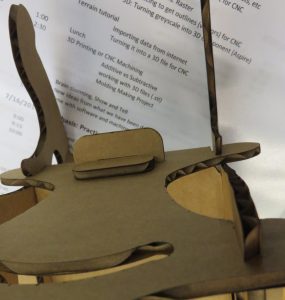
The slot has been moved so tab fits tightly against the back of the chair
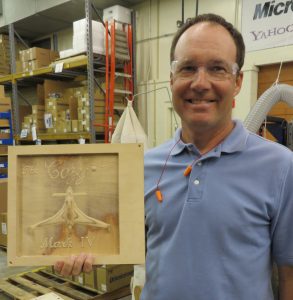
Peter with model of chair cut on the laser
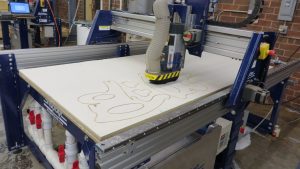
Full-sized chair being cut on ShopBots production tool with ATC and vacuum hold-down
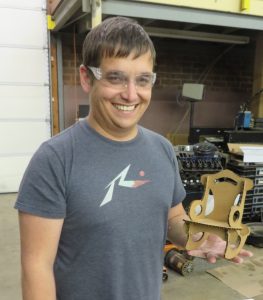
Emphasis: Inlay and pocketing: Michael G was familiar with the laser, but also wanted more experience with how to prepare models for the ShopBot. He found two types of material that were coated with a color (blue and red), and had white under them. The navy blue material was half the thickness of the red material. He created a model of the American flag with the exact dimensions that he found on the internet, experimented with toolpaths for pocketing and creating inlays, and machined an American flag.
Michael and Mike watching the Desktop machine away the red to reveal the pocket for the inlay and the white stripes of the flag
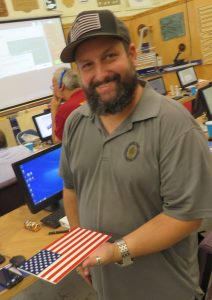
Big smiles at the finished product, with the white stars V-Carved into the blue field, and the blue field inlayed into the red/white stripes
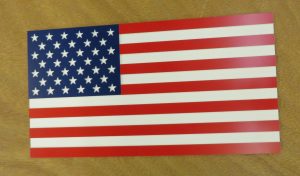
Close-up of the flag
Simple Projects that Create Enthusiasm
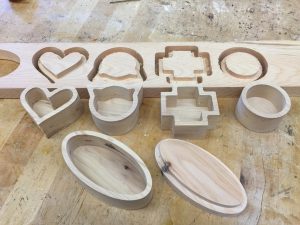
Chris Burns has years of experience with ShopBot, and he brought to the training a couple of projects that demonstrate the ease of use of the VCarve CAD/CAM software and the power of the ShopBot. His example of how to create simple 2D drawings of shapes, then toolpath them to machine boxes and lids from inexpensive 2 x 4’s and 1 x 4’s caught the eye of Sarah, who is adding CNC machining to her traditional woodworking program. Not only did those who followed his tutorial get some cool boxes, but they learned important considerations in tooling, such as cutting length of the bit and how its diameter interacts with actual area machined (a rotating bit cannot get further into the corner than the radius of the bit…so one needs to change drawing accordingly).
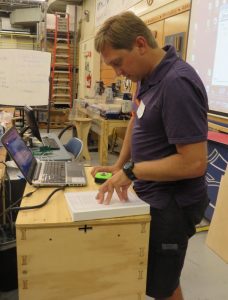
Turning a 3D Model into 2D Build Plans: 123D Make
Sarah was also intrigued with Chris’s example of using 123D Make to turn 3D models into 2D build plans that can be machined on the ShopBot or cut on thinner material using the laser cutter. Chris brought in a boat that he had machined out of wood, then he and Sarah worked on design files to produce the same boat out of acrylic on the laser. It was Chris’ first real experience with the laser, so the event even served to teach an old ShopBotter new tricks.
Chris’ box example
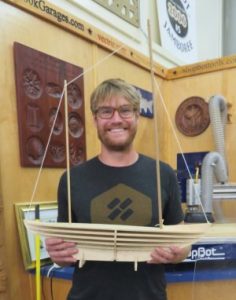
Brendan from the Marketing team holding Chris’ wooden model of a boat from 123D Make
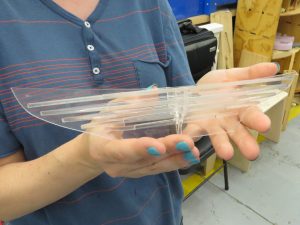
Sarah with her boat model in acrylic, cut with the Epilog laser
Creating files to be machined in 3D:
Two teachers have had 10+ years with their ShopBot, but had limited experience in doing 3D machining. Mike F from Illinois spent much of his open time learning to use Aspire to create a 3D bas relief model of an airplane he is building. A crowd gathered as the Buddy did roughing passes, then a finish pass that kept the high tips of the plane intact. Mike left thinking that it was time to upgrade his older model ShopBot to an RBK control box, and to add Aspire to his software suite.
Advanced Digital Fab users:
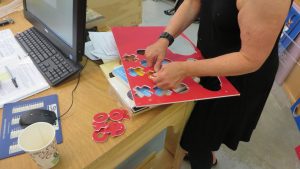
Maria prototyped a serving tray that took the best from both the ShopBot and the laser cutter. She used the ShopBot to pocket away material to create the rims of the tray. She then imported a photo into the VCarve software, traced photo to create the vectors, and used the ShopBot to engrave the design into the floor of the tray. She then lined up the laser cutter, and rastered the photo into the engraved area of the tray.
Finished bas relief model
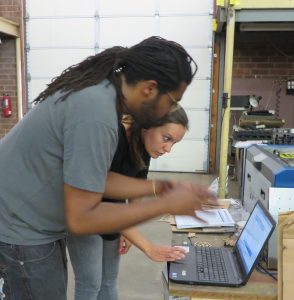
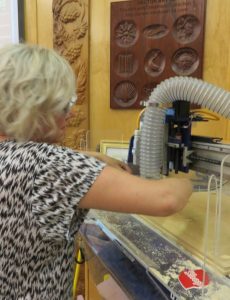
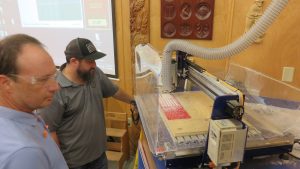
Chris C. and Maria setting up for lasering a tray that had been machined on a ShopBot
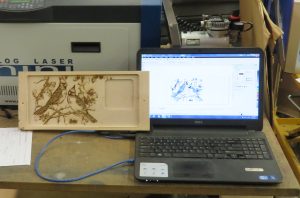
Tray that has been machined on a ShopBot and enhanced with the Epilog laser
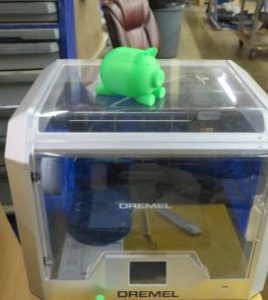
3D Printing:
While the 3D printer did not get that much use during the event, ShopBot’s Marketing Team took the Dremel into their work area, and have been running it for a solid two weeks. The ShopBot team found the Dremel to be reliable and easy to run out-of-the-box, and it’s been in almost constant use in the two weeks since the event.
Jimmy’s part printed on the 3D printer
Other lessons:
Mike R. runs a design shop in a theatre program. Having hands-on experience with the laser and 3D printer will help him decide if those digital fab tools are appropriate to his program, and provide ideas of how to get his students excited about using the ShopBot. John from Virginia is interested in early education, and envisions the Handibot as the tool that can encourage children in middle school and earlier to become comfortable with the concepts of digital fabrication. He came away with multiple ideas for working with his FFA students.
What did ShopBot learn?
The agenda was ambitious, perhaps overly so. Not everything got covered, in part because after lunch on Friday, only a few wanted to hear more from us. Almost everyone wanted to work on their own projects. So those who had something that they were specifically interested in got to work on their self-defined projects, while a few preferred more formalized instruction on several topics.
In order for the project-based learning to happen, there had to be a lot of tools available. On Saturday morning, all four ShopBots in the training area (three Desktops and a 32” Buddy), the PRSalpha with tool changer and vacuum hold down system in the Production Area, random Handibots, the 60W Epilog laser and the Dremel 3D printer were all in use. It also took a fair number of people to help with the one-on-one instruction.
At some points, teachers were able to share with the group what they had learned from their experience with using the tools in a classroom environment. We’ll make a list of the topics we can remember, and share them.
Should ShopBot organize another such event?
Who was invited to this event? This was our first effort at putting together an event focused on educators. It was announced in the eNewsletter, and summarized in another blog post. The sales team announced it when taking an order for a school, and an email was sent to many schools who had a relationship with ShopBot. Word of mouth is always a good way to spread the news.
If you have an interest in attending such an event, let us know. In addition to another event here in Durham, we are working with TechShop Pittsburgh to implement some of the things we learned here to a Camp there in November (see our Events Calendar). We are thinking of regional events to make it possible for others to participate without having to travel to North Carolina.