“If the women don’t find you handsome, they should at least find you handy.” – The Red Green Show
Prior to working at ShopBot, my last excursion into woodworking was high school shop class. The fruit of my labor that semester was a horribly wobbly candleholder – which my mother still may pretend to love.
I’ll admit to having some trepidation a couple of weeks ago when I decided to create a sign for my wife’s pottery studio. As I contemplated this project, which I was planning to give to her for her birthday, I realized how little I knew about wood and woodworking.
Nonetheless, I gave it a go and started by spending too many hours designing the project in VCarve Pro. It was simple to design the words, but I got tripped up adding pictures. I had sat in on TJ’s introductory training session a couple of months earlier, and vaguely remembered him showing us how to add pictures to our project. After a lot of trial and error, I was finally able to figure it out.
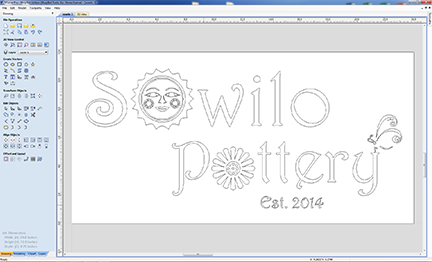
Now that I had my design created, I needed to consider the rest of the project: Pine or oak? Paint or stain? How was I going to hold down the wood during cutting?
Here at ShopBot, we have some excellent resources in house. I asked Buddy (one of our salespeople) about painting signs – as he’s created many signs with his own ShopBot tool. I still had a slew of additional questions, though, and I knew I had to talk to the one man who would be patient enough to guide me through the remainder of the project: our trainer, TJ.
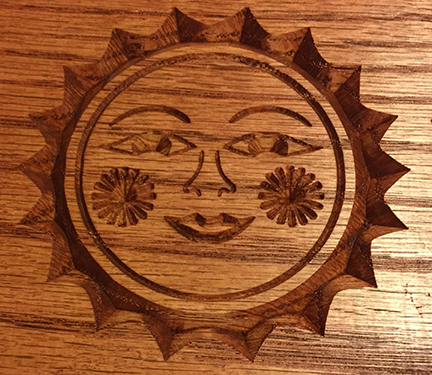
Thankfully, TJ never laughed at me (at least as far as I noticed!) as I asked my newbie questions. He showed me how to check for VCarve software updates, how to re-size my project, and how to recalculate the toolpaths. We got some nice red oak to use, and then he taught me the differences between toolbits, and which one would help make my project pop (it turned out to be a V-Bit 90).
I wasn’t sure about hold down techniques, so TJ and I discussed a couple of options, ultimately deciding on a simple plywood hold down method. TJ reminded me to zero the x, y, and z axes, and we started to cut.
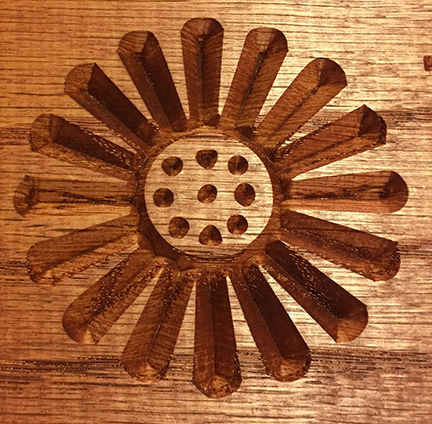
While cutting, we talked about stains, paints, and polyurethane. TJ made all that stuff seem a lot less strange to me. After approximately six minutes, I ended up with this:
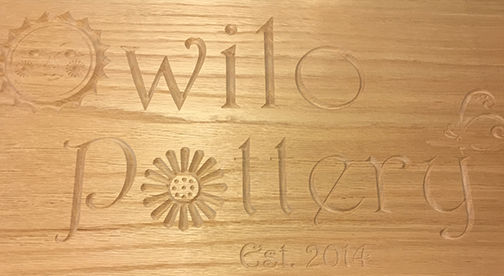
I was thrilled – it was the most professional-looking thing I ever made!
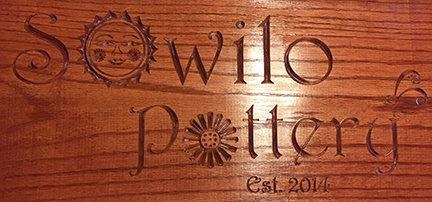
I still needed to stain and seal the sign, so I headed to Home DIY Store (name changed to protect the innocent) and contemplated different types of finishes. My wife likes the color red, so I chose MinWax Sedona Red. I was leery about ruining this sweet project by doing a crappy stain job… so I took my time, and applied two coats of stain, nice and evenly.
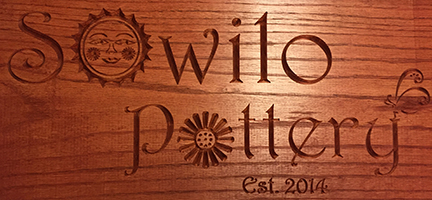

The last step was to add a sealer. I used the MinWax water-soluble polycrylic, and applied three coats.
Here is the final product:
For a first project, this one was relatively simple. Woodworking with power tools always seemed daunting to me, but thanks to our ShopBot Tools and TJ, the project was made so much easier! I was so excited about it I gave it to my wife the day before her birthday. When she saw it, she burst into tears (the good kind, mind you) – it was the best present I could have given her!
Contributed by Matt Cummings