My name is Lexus Pickett, and I’m Weston Mohawk, and we are with the Renaissance Academy Woodworkers. We are both juniors in high school that are interested in computer aided manufacturing. We’re excited to be blogging about our classroom with 100kSchools.org.
Here at the Renaissance Academy in River Falls, WI we have been currently working on how to run a CNC machine and use the software that associates with it. Our teacher, Kyle Stapleton, began the class with tutorial videos on how to operate the Aspire software. Using the tutorial videos from Shopbottools.com, we were able to create a design to learn the basic features of the program. After we learned how to manipulate the program, we were given an assignment to fashion a name plaque using our names and any logo/ image on just a random scrap piece of wood.
We measured the length and width of scrap boards and inserted the dimensions into Aspire. Using the text tool we placed their names on the drawing plane. We were then able to customize the size, style, and font of our letters. After taking a photo off the internet we then used the import bitmap for tracing tool to insert the logo/ image. After selecting the image, we then used the trace bitmap tool to create vectors on their image to v-carve the board. Next, we created a v-carve using a 90 degree V-bit with a 3/4 diameter. Then we selected the vectors we created, named the v-carve, and calculated the tool path. Following the calculations, we previewed the toolpaths to their design.
After previewing the toolpaths, we then continued to double check the settings of the spindle and bit. Once we double checked the settings, we proceeded to save the toolpath. We then transferred the toolpath onto a flash drive and copied it into the CNC program. Then we zeroed out the machine by placing the z-zero plate on top of our cutting material.
Next, we ran the program and had to stand by the machine to ensure nothing went wrong. After everyone machined their part, we realized that most of our plaques did not turn out. The reasons that the plaques didn’t turn out are because the material wasn’t perfectly flat and the zeroing point wasn’t exactly zeroed to the correct spot. Because of these factors, and the lack of knowledge that smaller lines make for more shallow cuts, some points of the bit didn’t even touch the wood on certain designs. One board design did work, because the picture had thicker lines, creating deeper, more visible cuts.
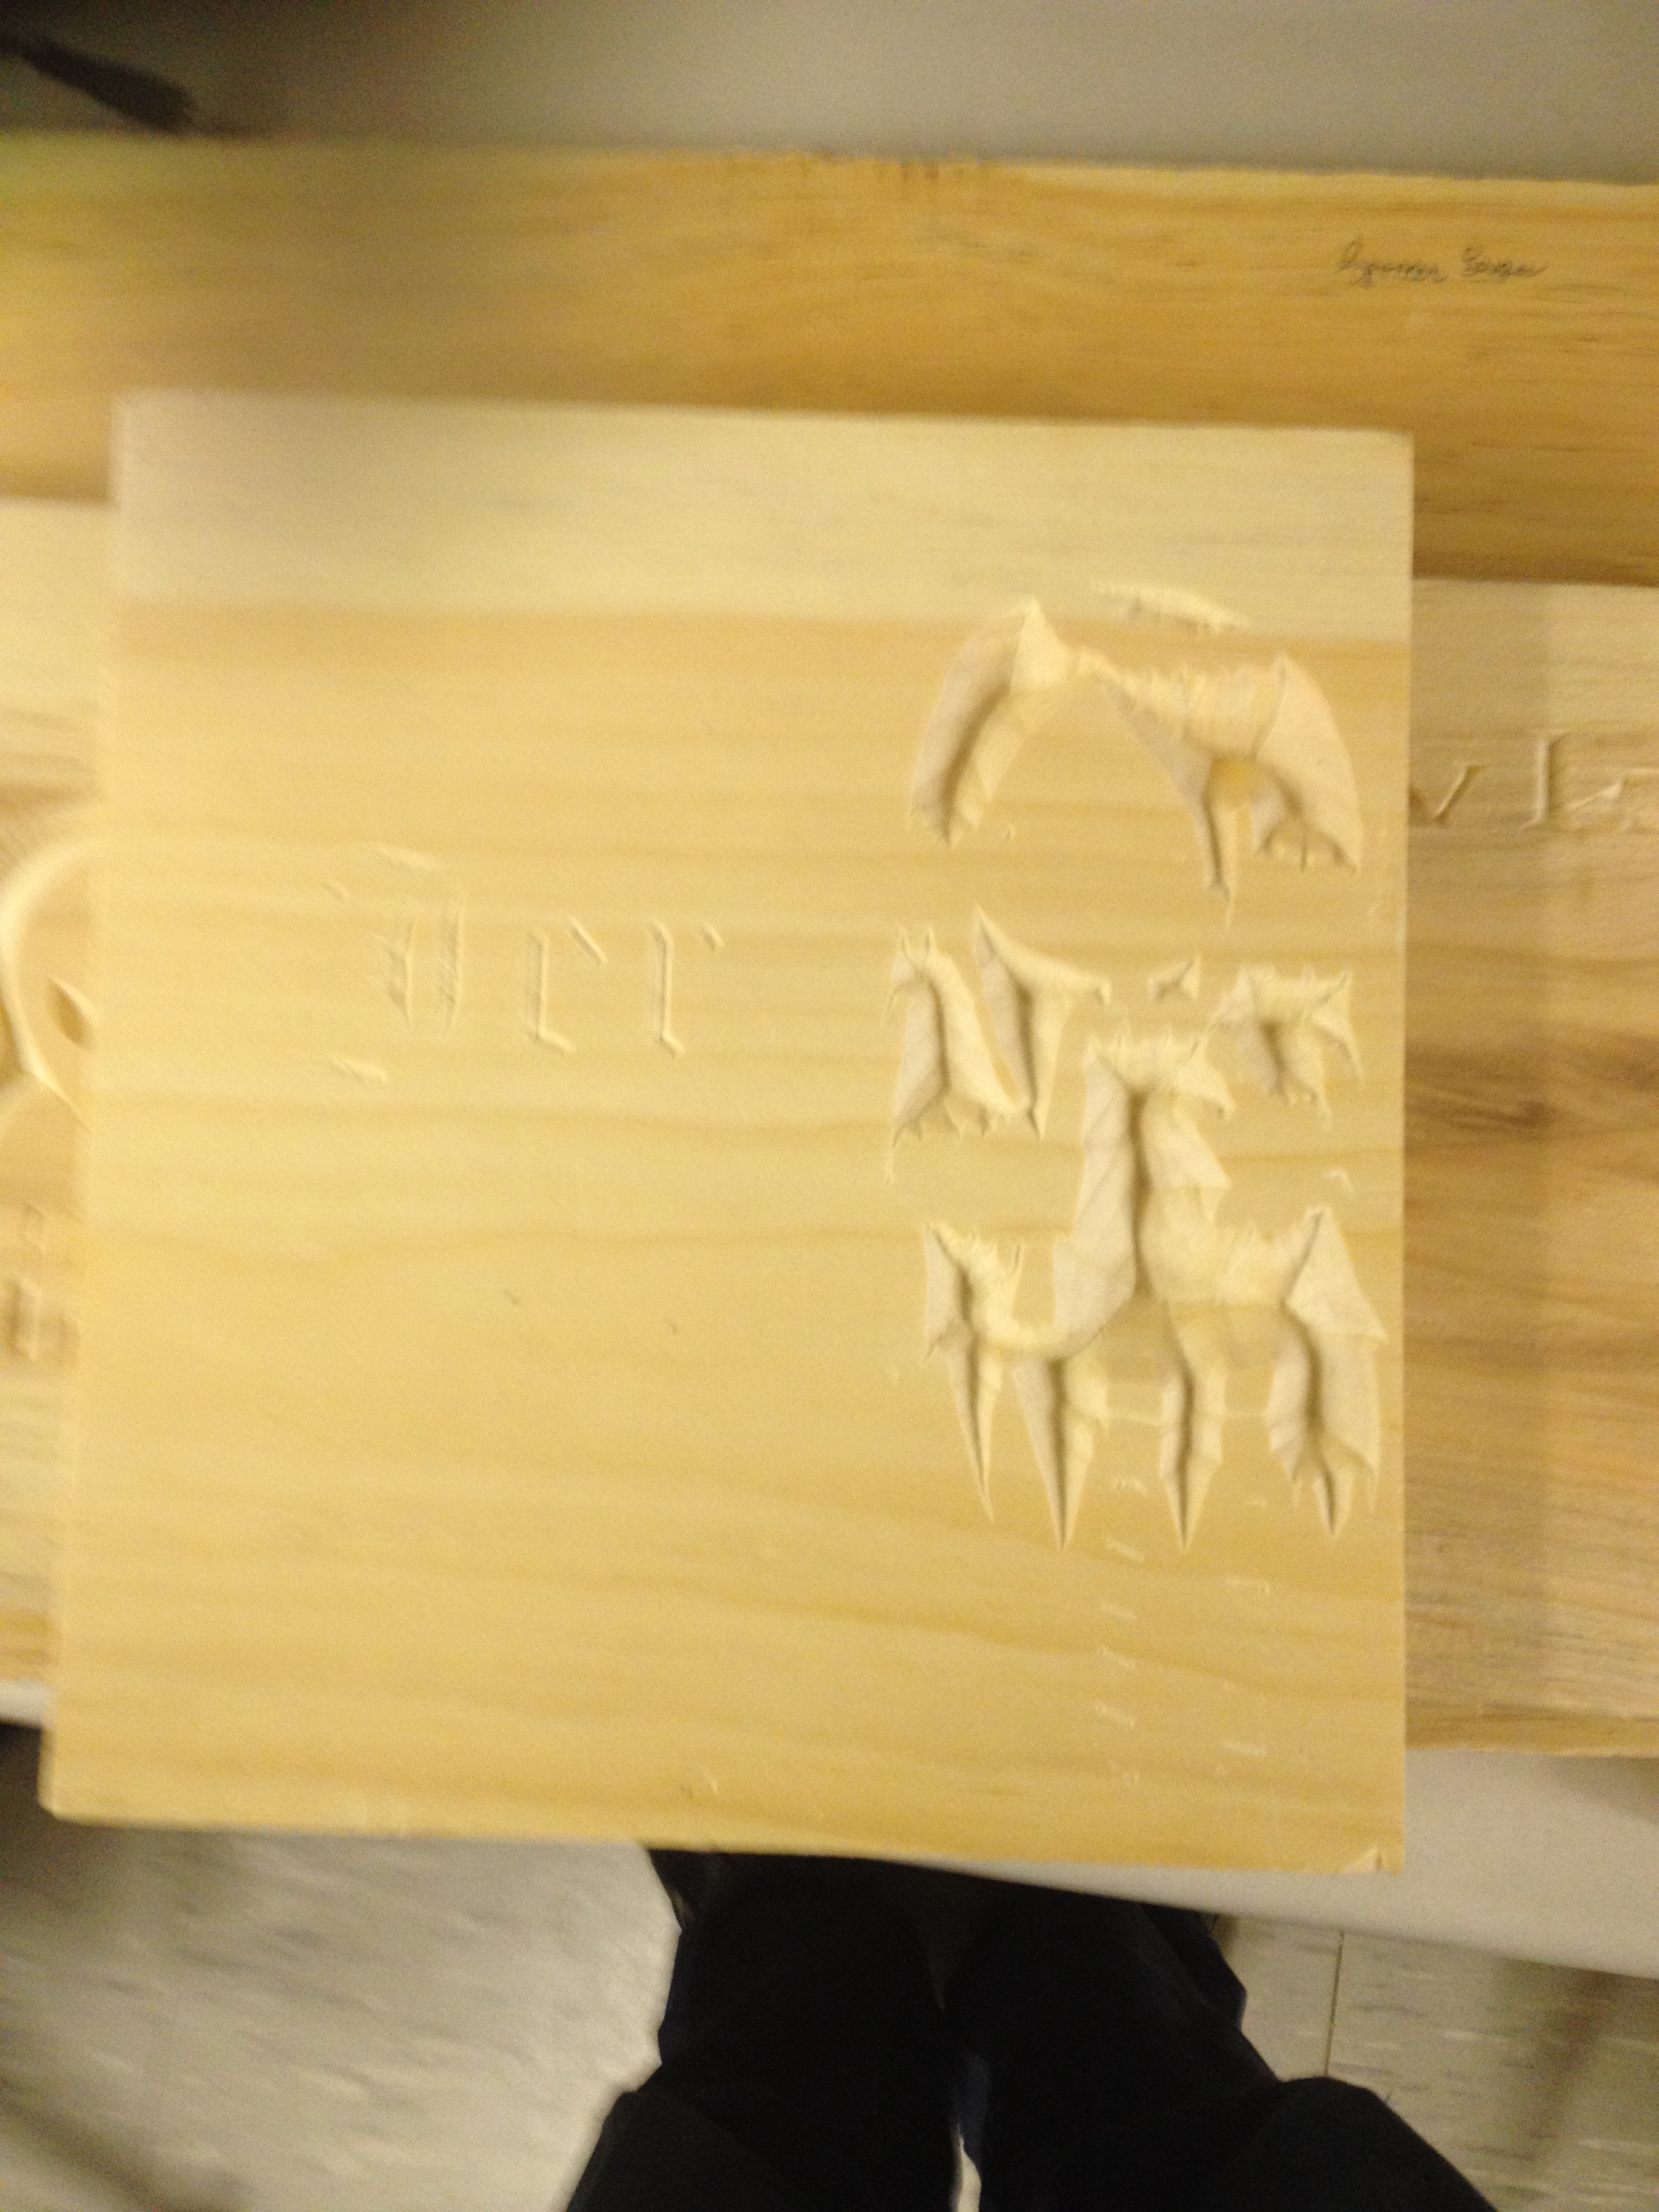
The design on this board didn’t turn out because the cuts were very deep, and the name showed up very lightly.
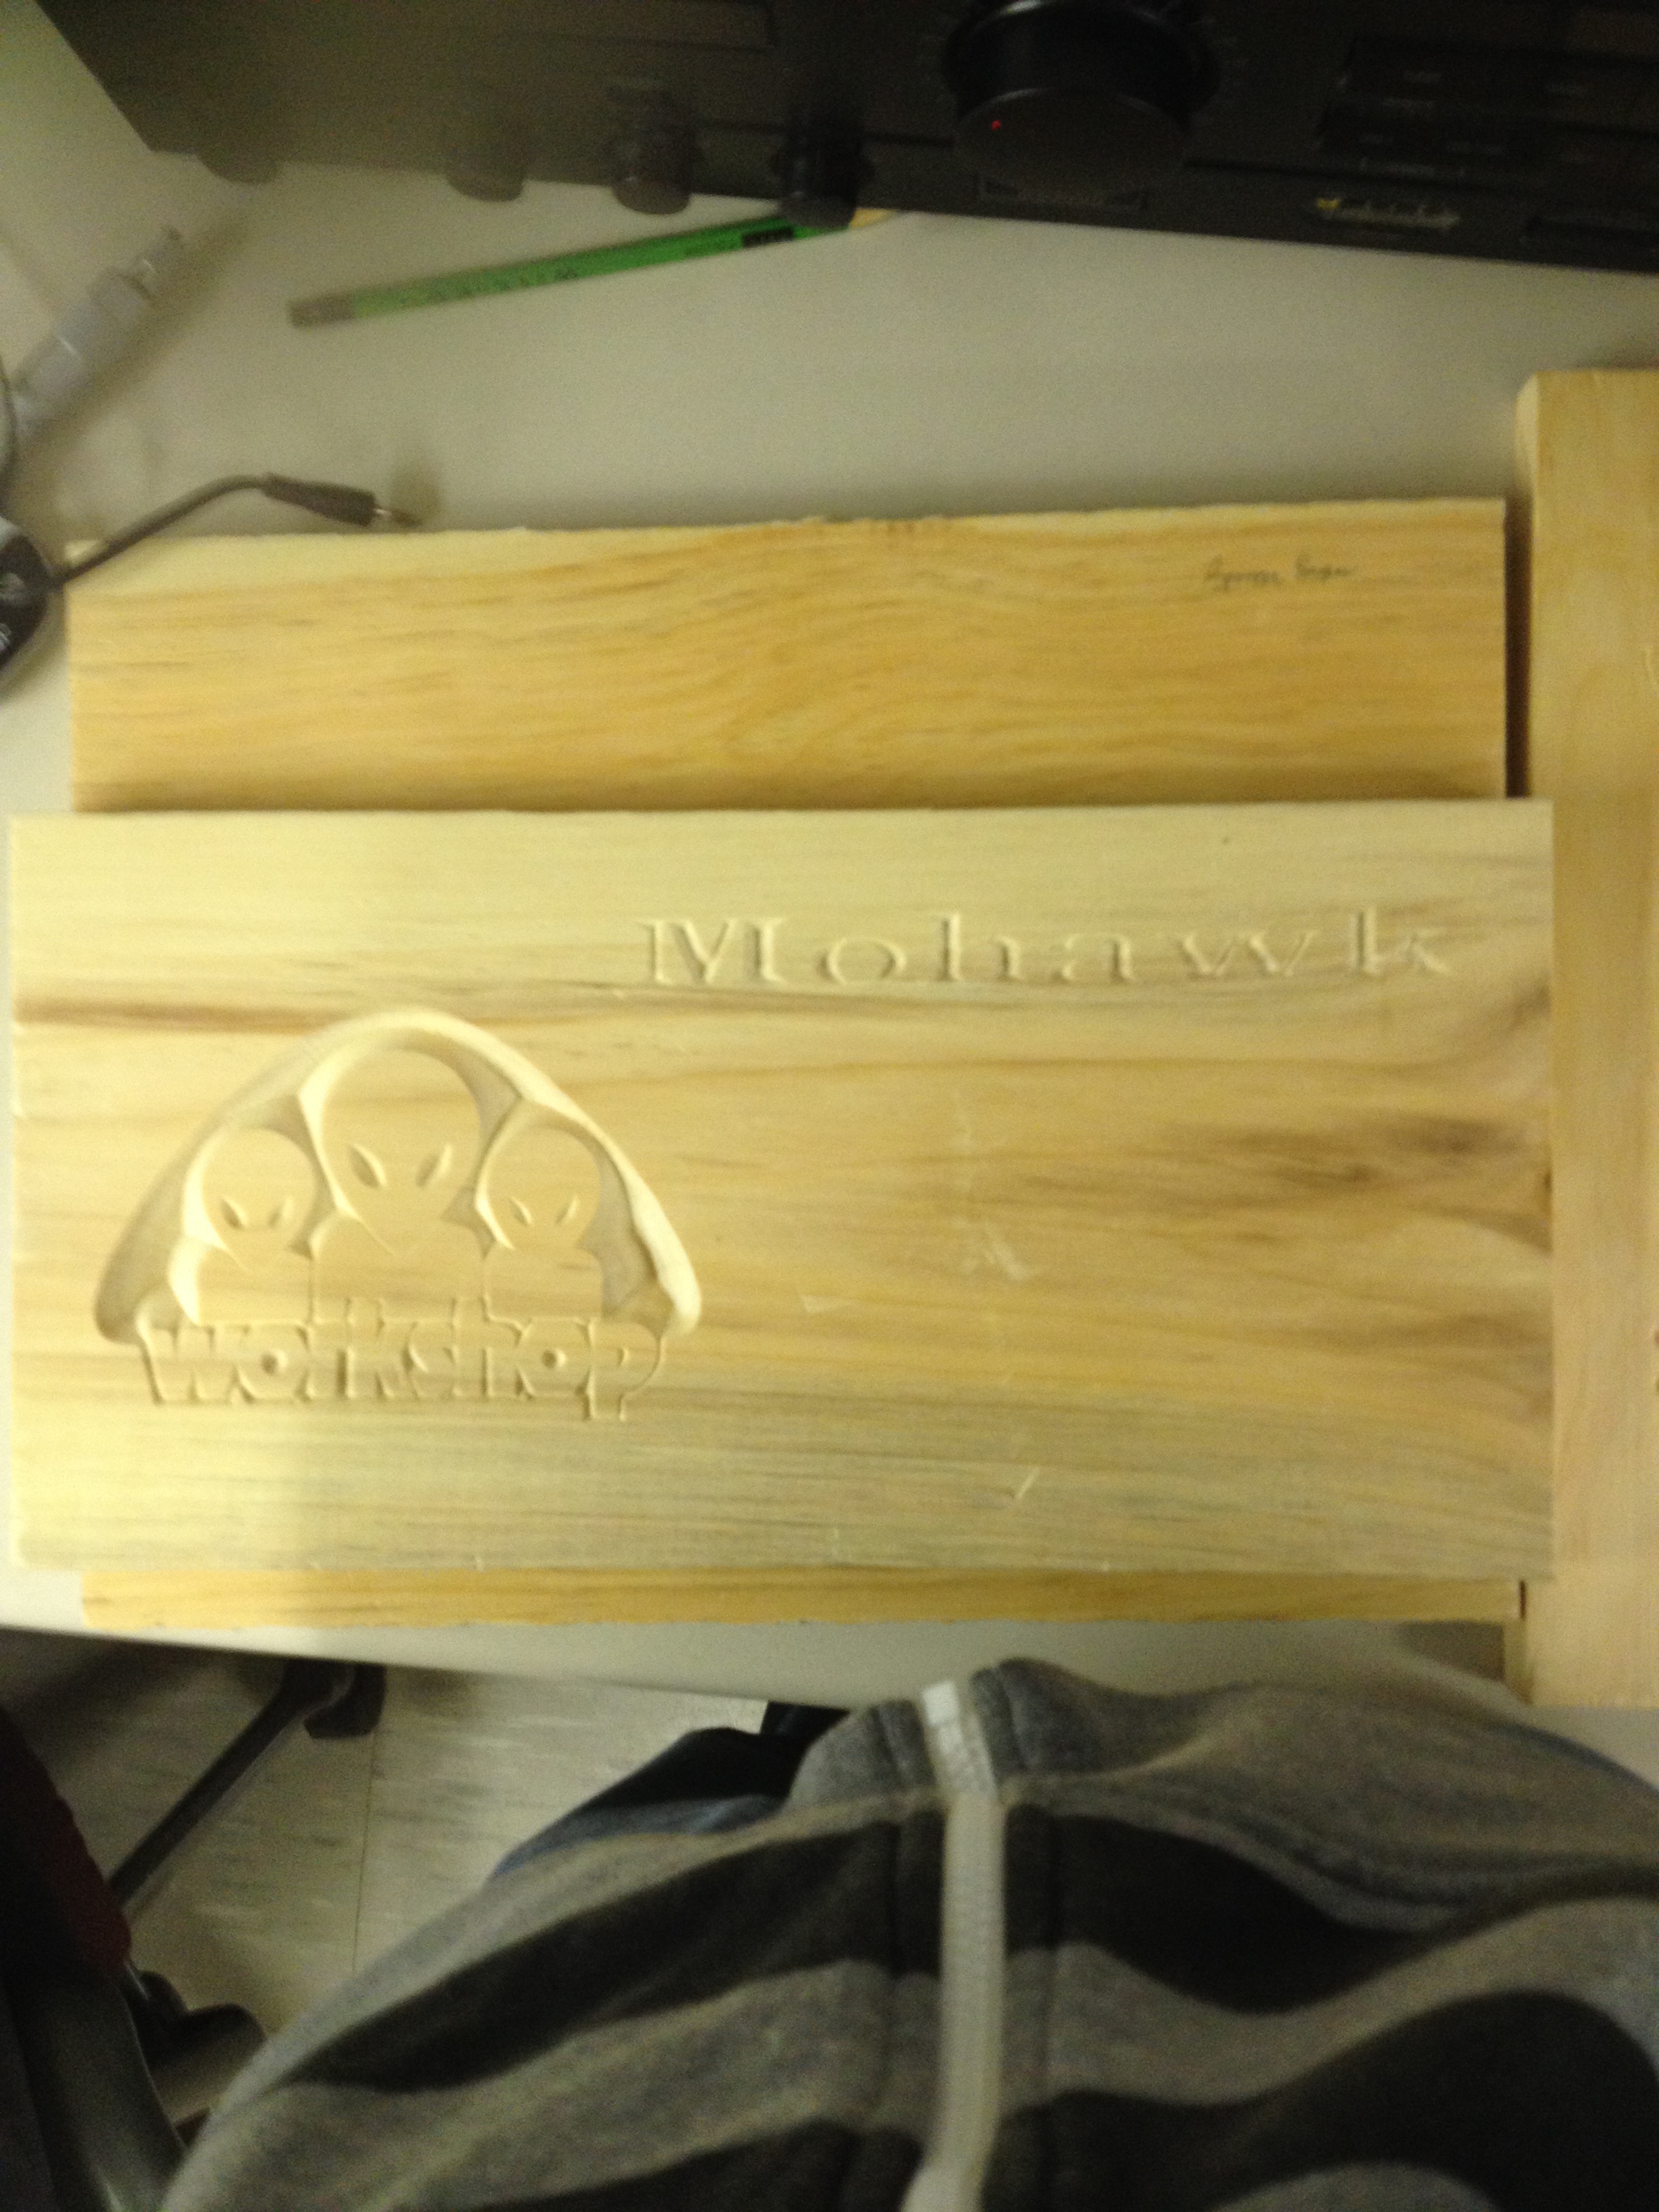
This board did turn out.
[Note: for this introductory lesson in using CNC technology, instructor Kyle Stapleton built in the making of some “errors” to help students learn how to correct them. See Part II for the next step! Smiles all around.]
Leave a Reply