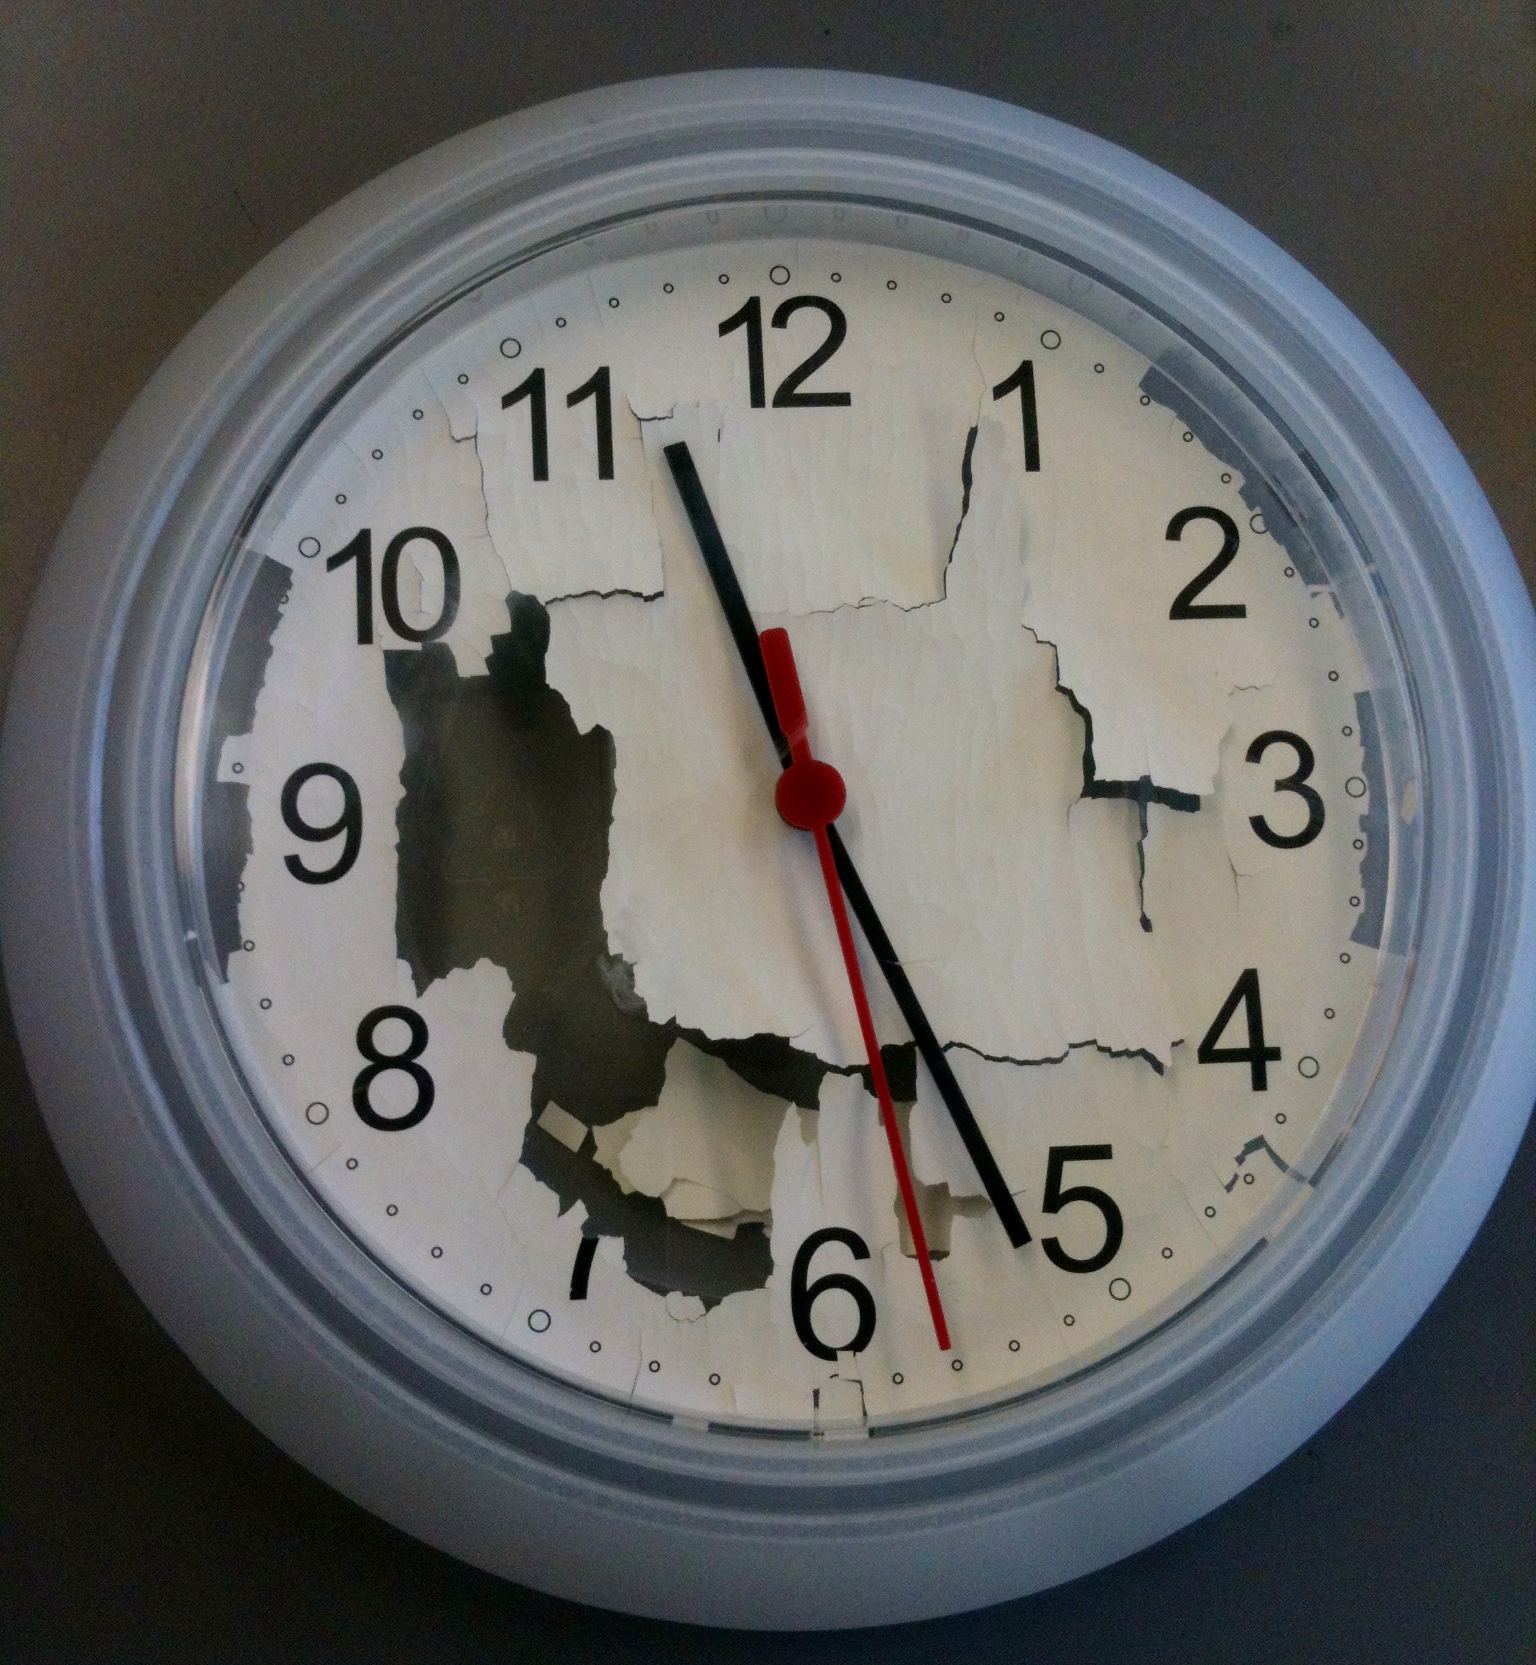
It’s back-to-school time and the clock in my apartment hallway just decided to disintegrate! How am I going to know when to leave for school in the mornings now?
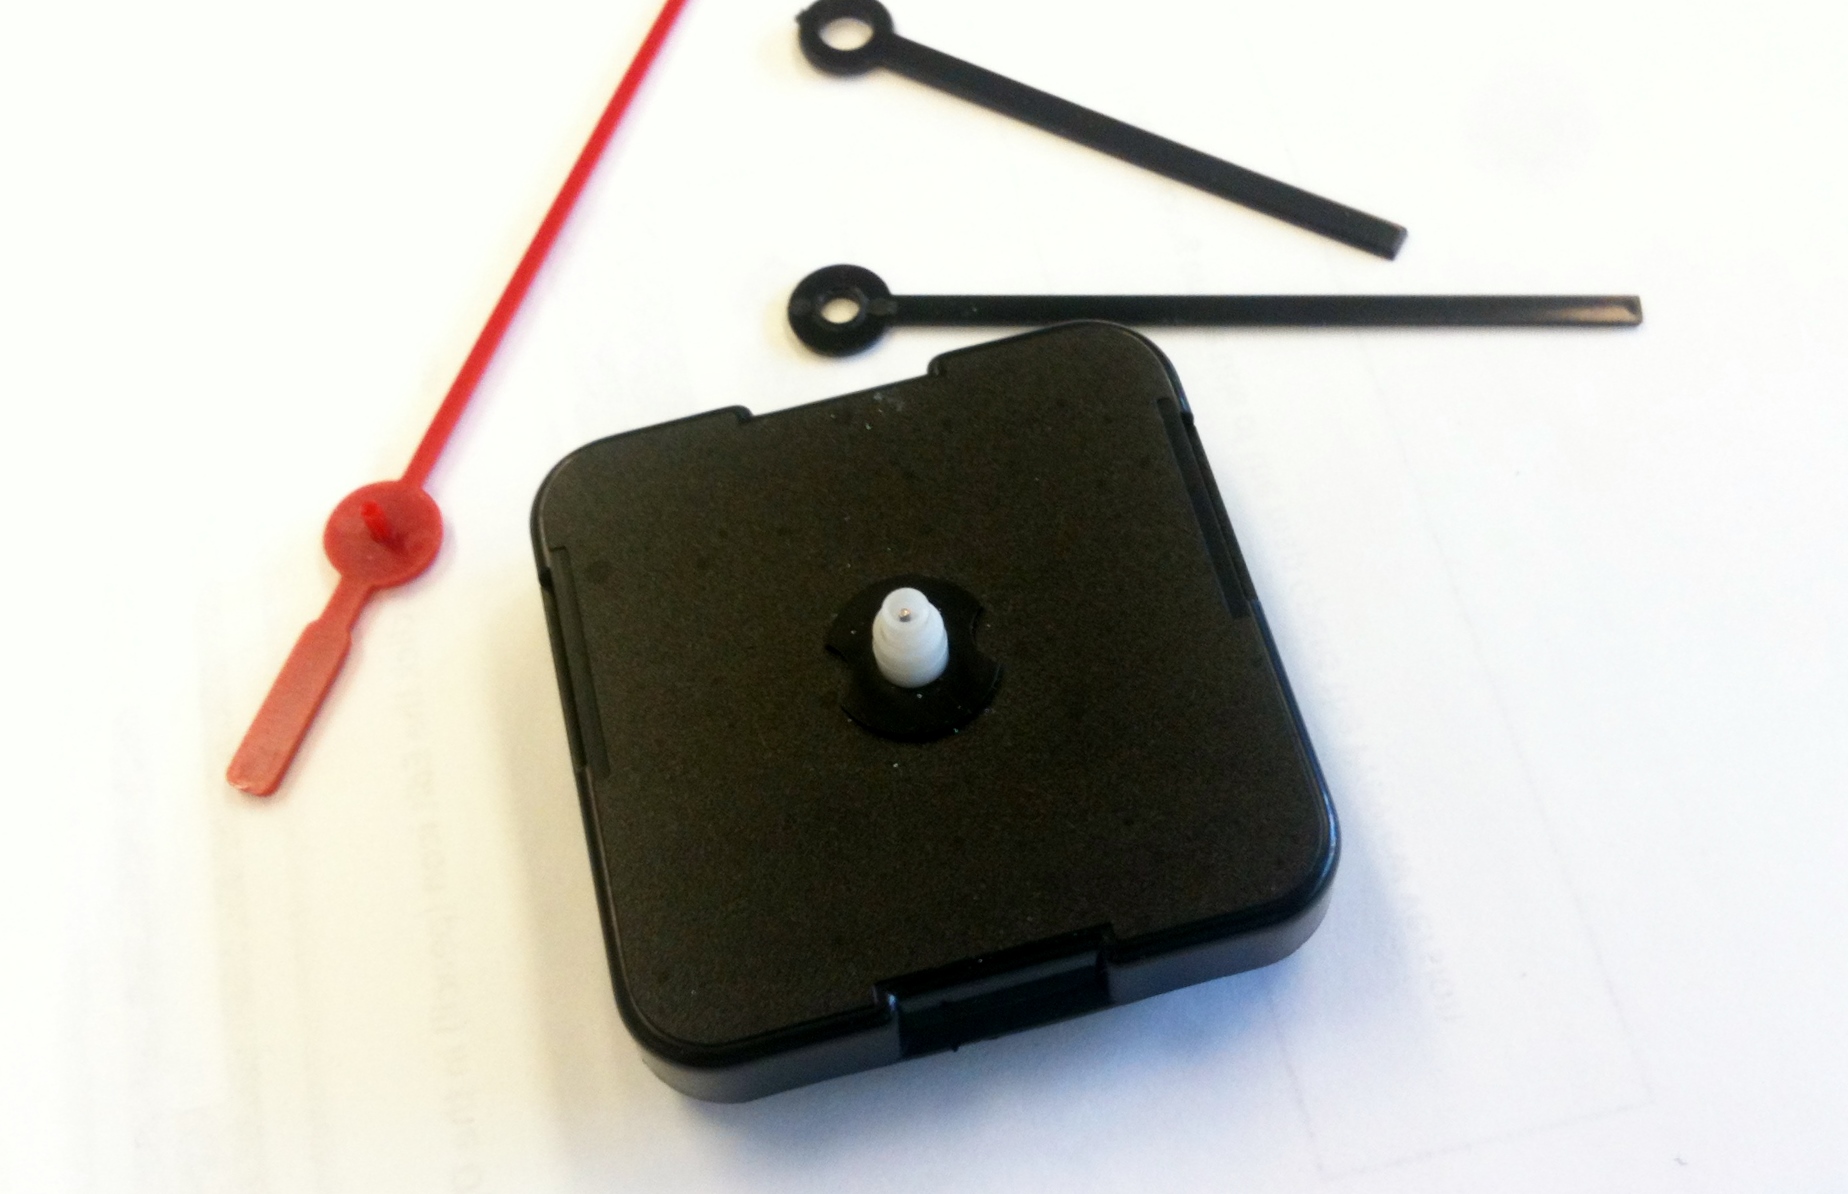
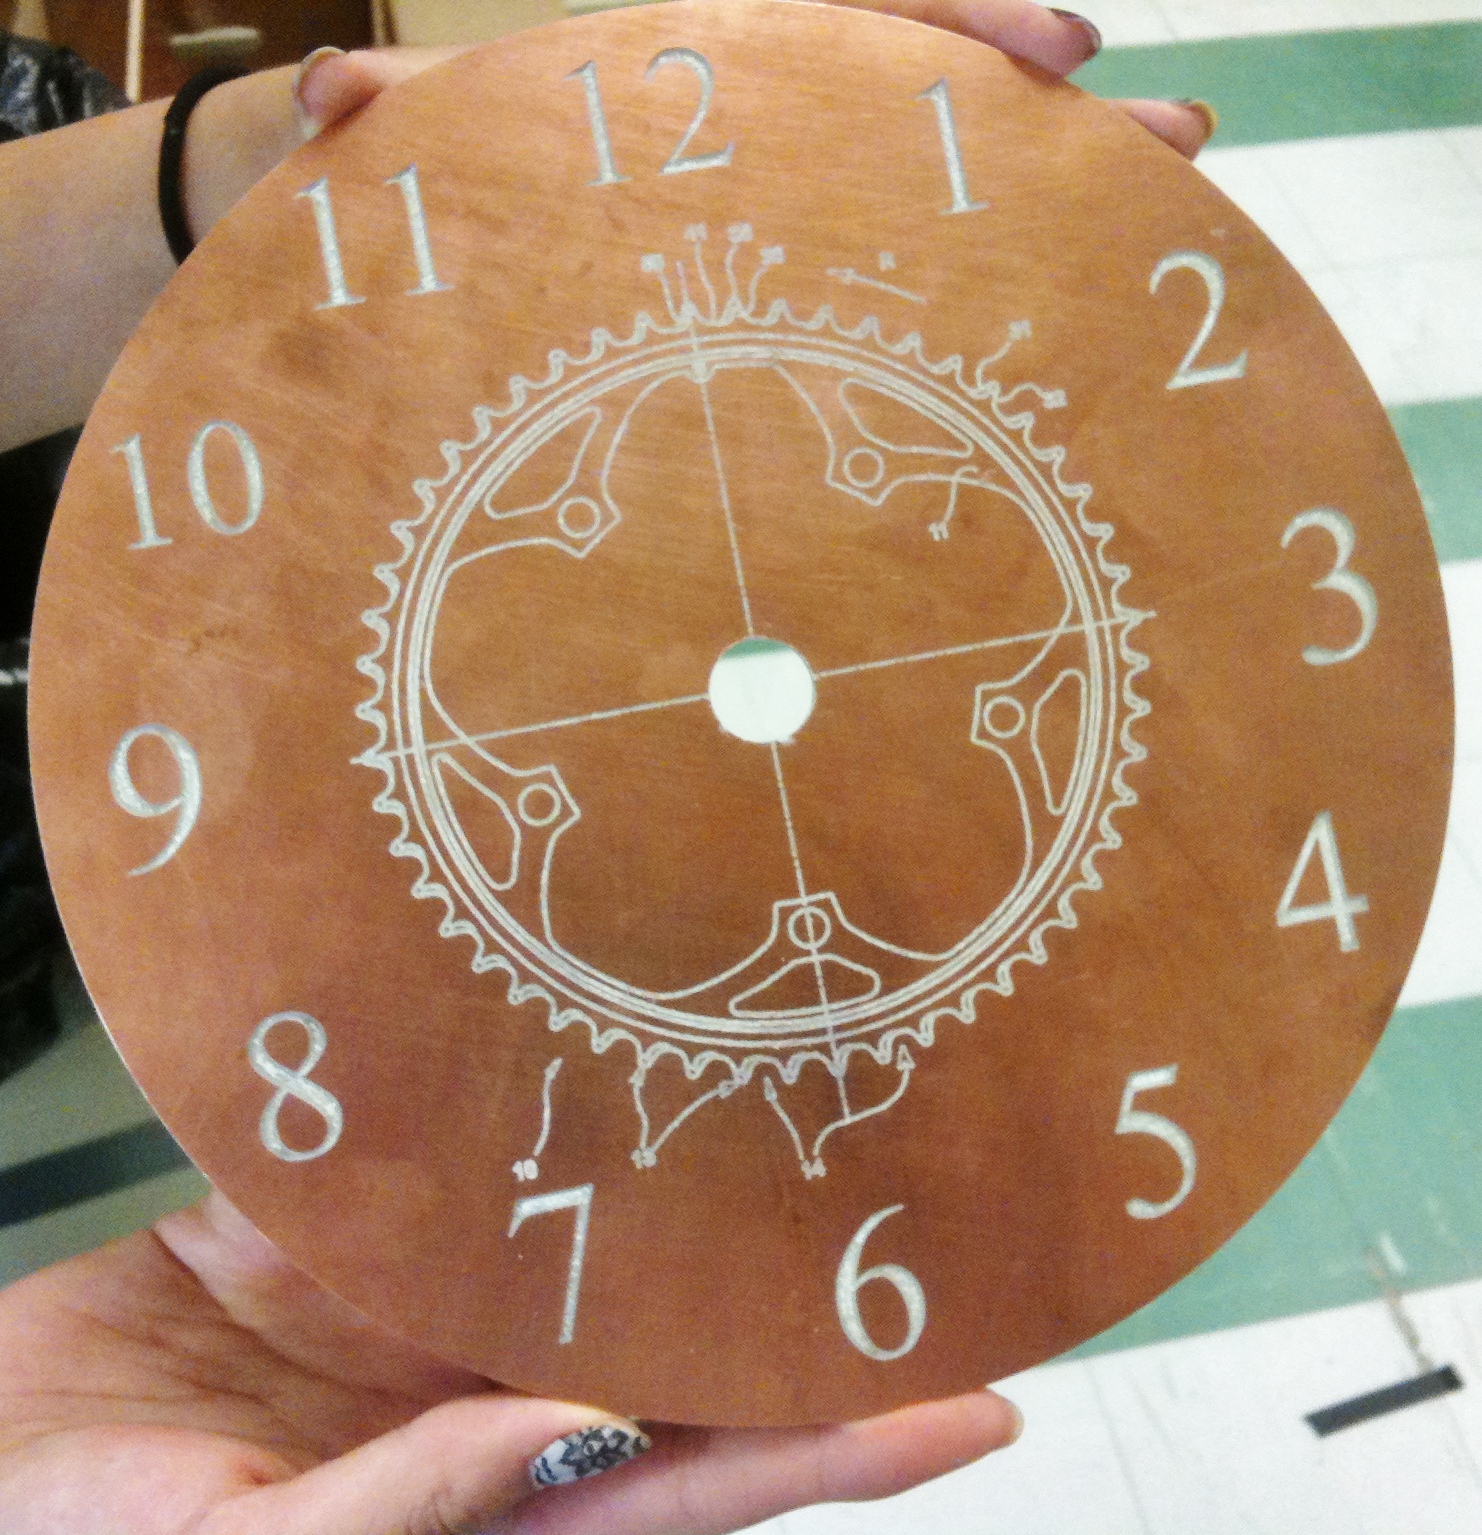
Fortunately, I have a ShopBot Desktop and some ideas about what I would like to have for a replacement… I’ve been riding my bicycle more recently and wanted to engrave a bicycle-themed face that I can use with the movement from my old clock.
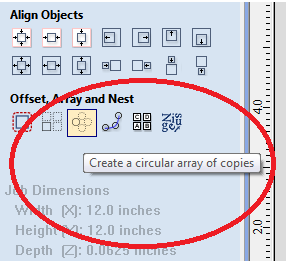
I started off by finding an interesting drawing of a bicycle chain ring and then used the “Circular Array Copy” tool in VCarve Pro to easily create the numbers for my new clockface.
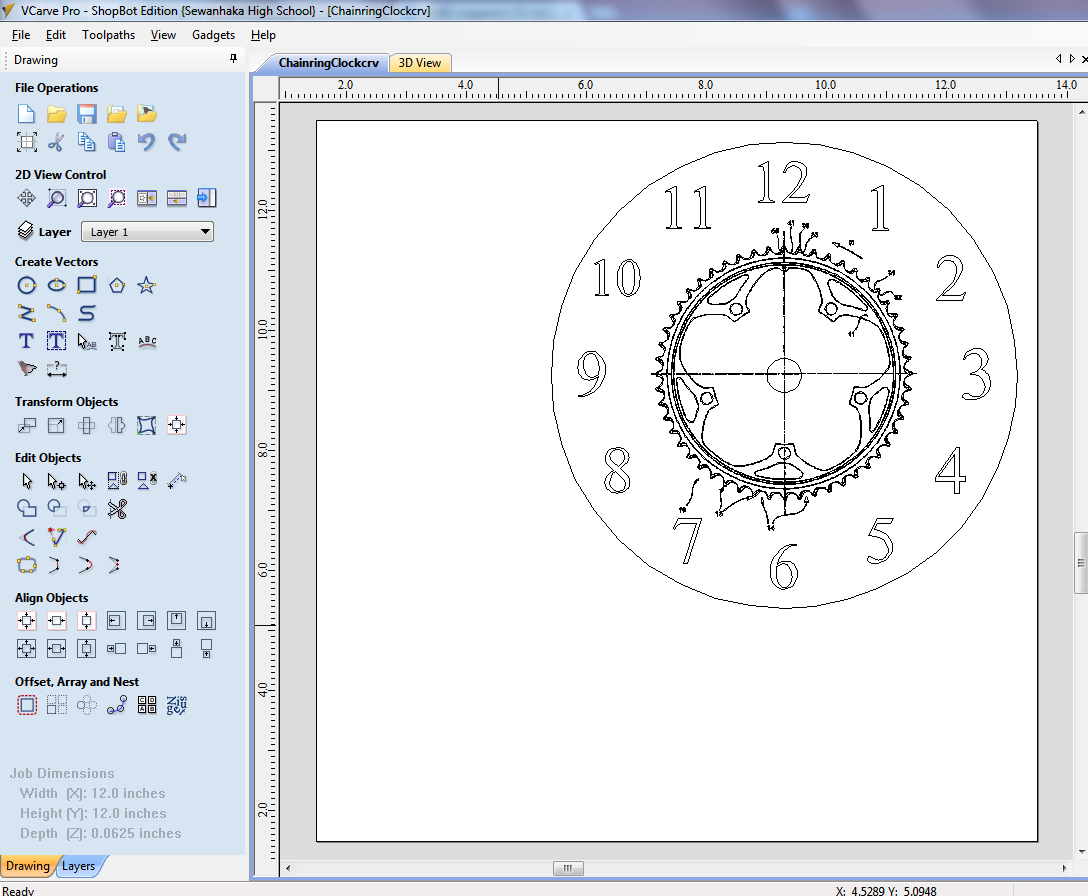
Since I was planning to engrave this pattern into a 12″ x 12″ (1/16″ thick) piece of copper clad circuit board material I used the dark brass color for my toolpath preview:

I used some “Gaffers Tape” (cloth duct tape) to hold my workpiece on the machine bed and zeroed my Z-axis to the surface of the copper clad board:

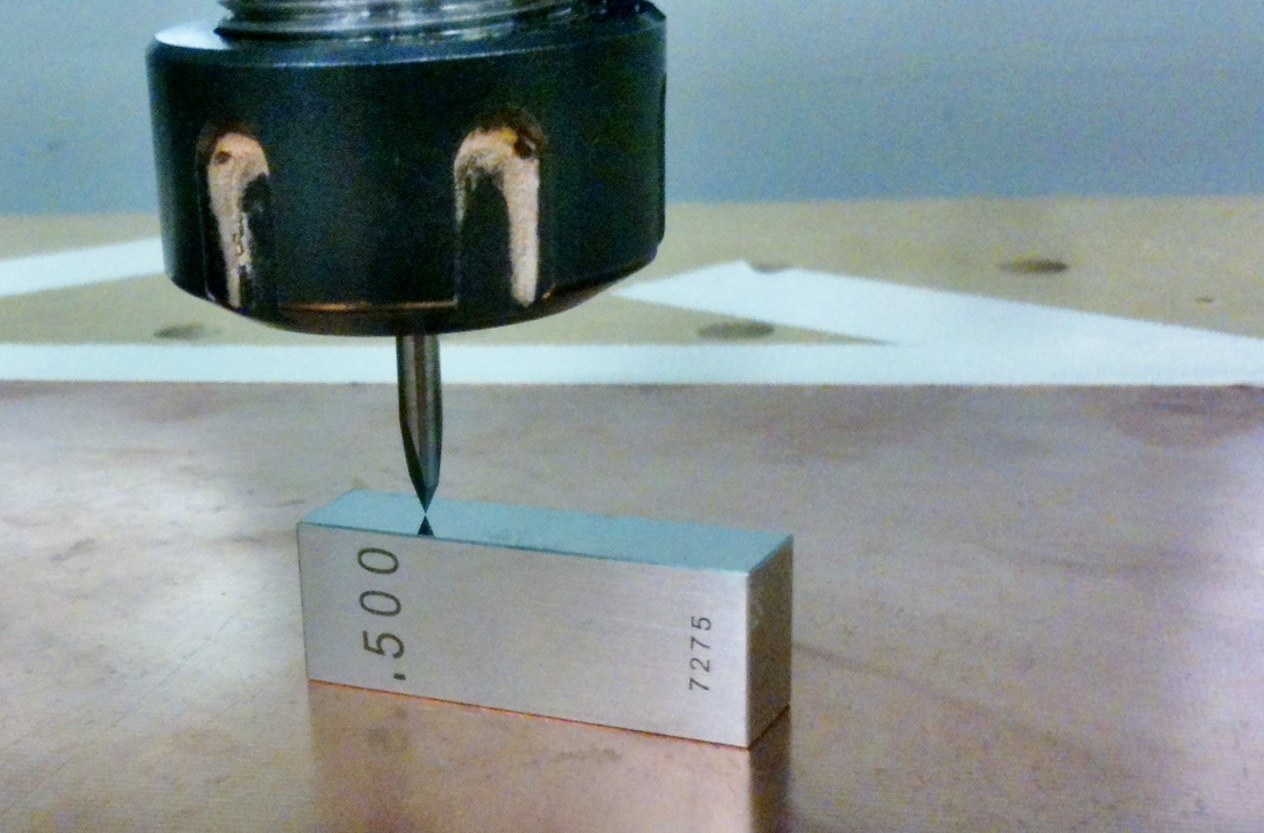
I’ve gotten into the habit of double-checking my z-axis zero setting using a 0.500″ gage block since I’ve been having a unusual number of “failed to zero” errors… I’ll need to check my ground wires, clean my zero plate and make sure that my workpiece is well secured to the bed of my machine (and not flexing up and down) in the future.
Once I was satisfied with the z-axis zero setting on my machine it was time to run the job!…I was assisted by one of my students who just happened to stop into my classroom during the summer to work on some of her own projects.
The clock face started to pull off the table as I was cutting it out since I didn’t use double-sided tape or spray adhesive on the back of the copper-clad board…but it turned out OK.
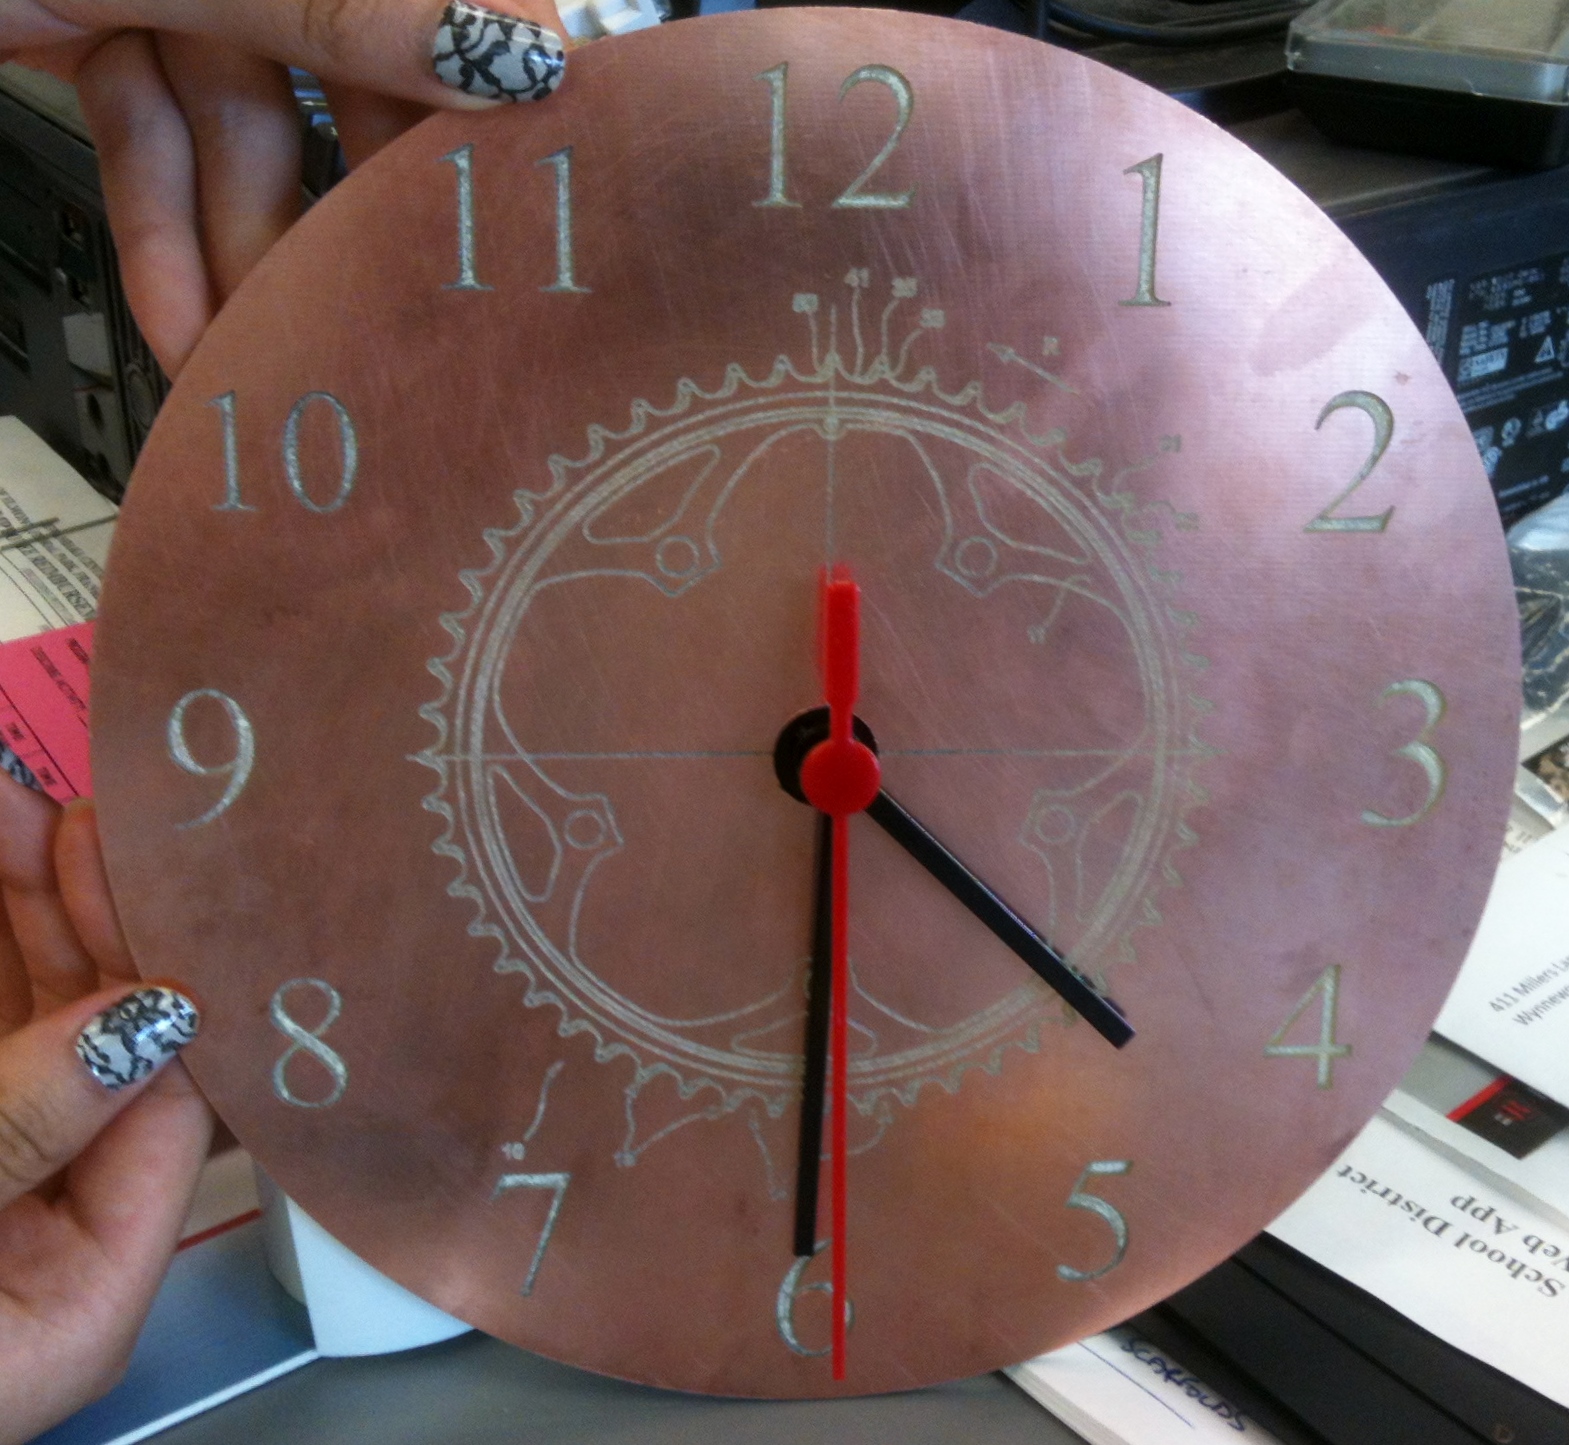
I hot-glued a wire to the back so that I could hang it on the wall…

Here’s what the finished clock looks like with the movement in place…
Just in time for the start of school! So what kind of projects are you planning to do with your students at the beginning of the school year?
– Jack
Leave a Reply