I’ve noticed that a lot of hobbyists have been making really cool-looking finger jointed boxes with laser cutters and I decided that I just had to give it a try using my ShopBot Desktop CNC machine.
I found several blog postings that discuss how to build these types of boxes and I found a few simple online tools (BoxMaker, MakerCase) that use just a few input parameters to create a vector drawing (PDF file) of the different pieces that you need.
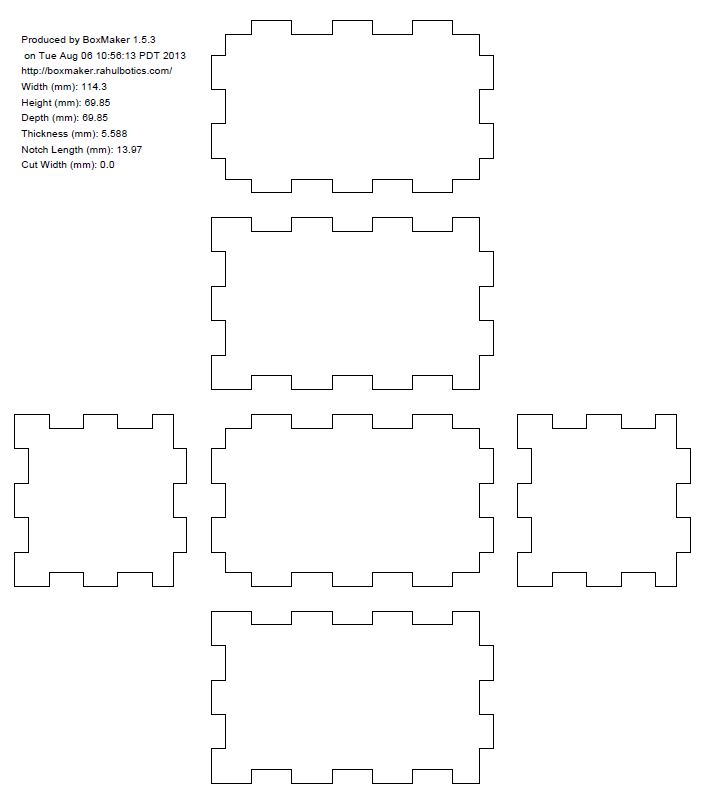
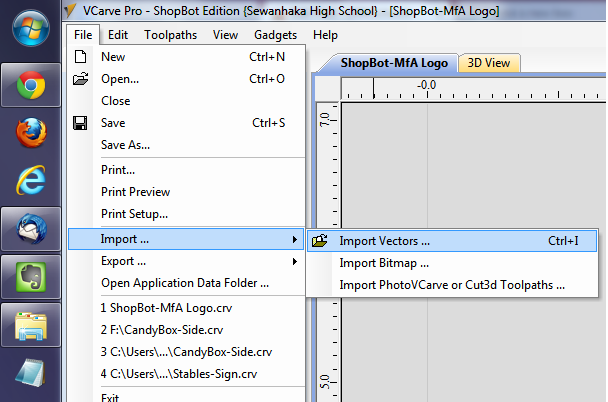
Once you have downloaded your drawing from your online tool of choice, you can easily import your box design into VCarve Pro/Partworks using the File>Import>Import_Vectors option:
I have plenty of 5-1/2″ x 3-3/8″ x 7/32″ acrylic blanks to play with and thought that I could use them to make a nice 4.5″ x 2.75″ x 2.75″ finger jointed box. I added fillets to remove additional material from the inside corners of my design because I planned to use my ShopBot’s rotary cutter instead of a laser; Make magazine has a great discussion on CNC joinery techniques.
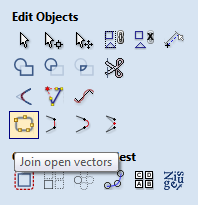
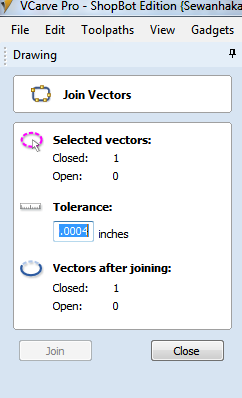
I have to admit that I initially struggled getting the filleting tool to work in VCarve/Partworks and I needed to search the Vectric forum for a solution; it turned out that the import process I used did not produce a set of closed vectors and all I needed to do was to apply the “join” tool to my outlines. After joining my “open” vectors into “closed” vectors, the filleting tool worked perfectly and I was able to start setting up my tool paths.

I sized my material for the acrylic blanks that I planned to used and I also created a small holding fixture using a scrap piece of MDF to facilitate my setups.

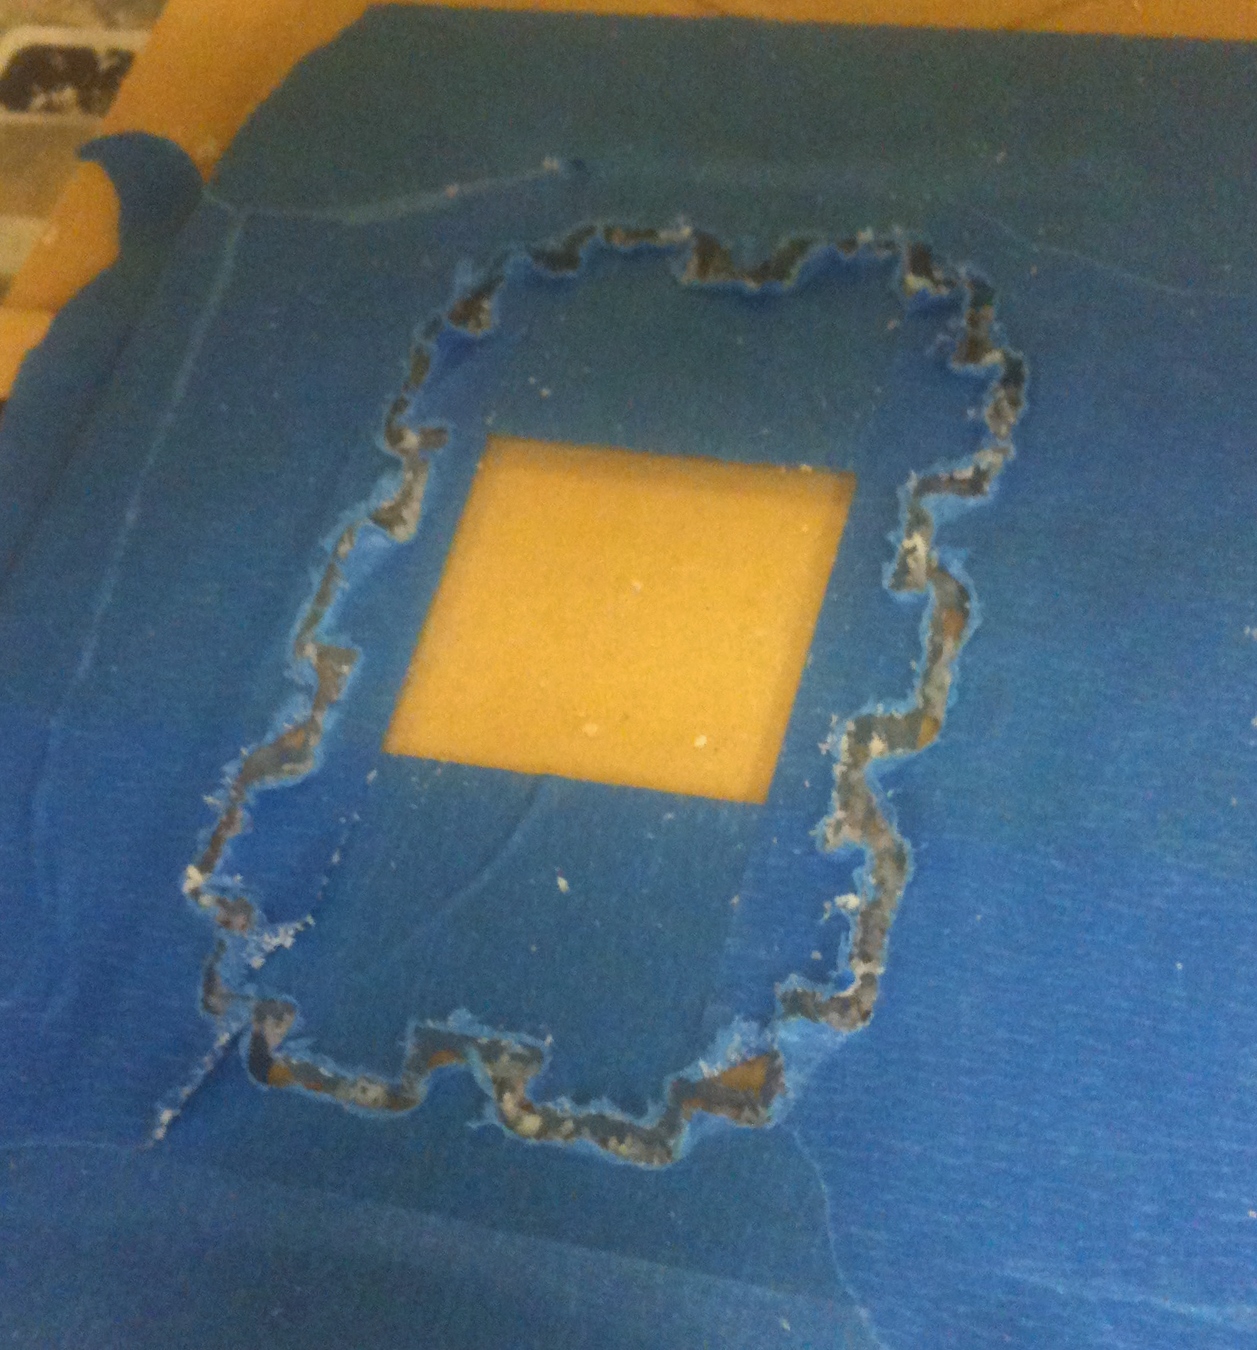
My first attempt cutting an acrylic blank was disastrous because tool forces pulled the blank up and out of my fixture…thankfully I had my safety shielding in place! I remedied the situation on my next attempt by taping the blank down onto the fixture:

Machining proceeded relatively smoothly but unfortunately some acrylic chips re-welded onto the edges of my parts…it didn’t seem to be that big of a problem though.
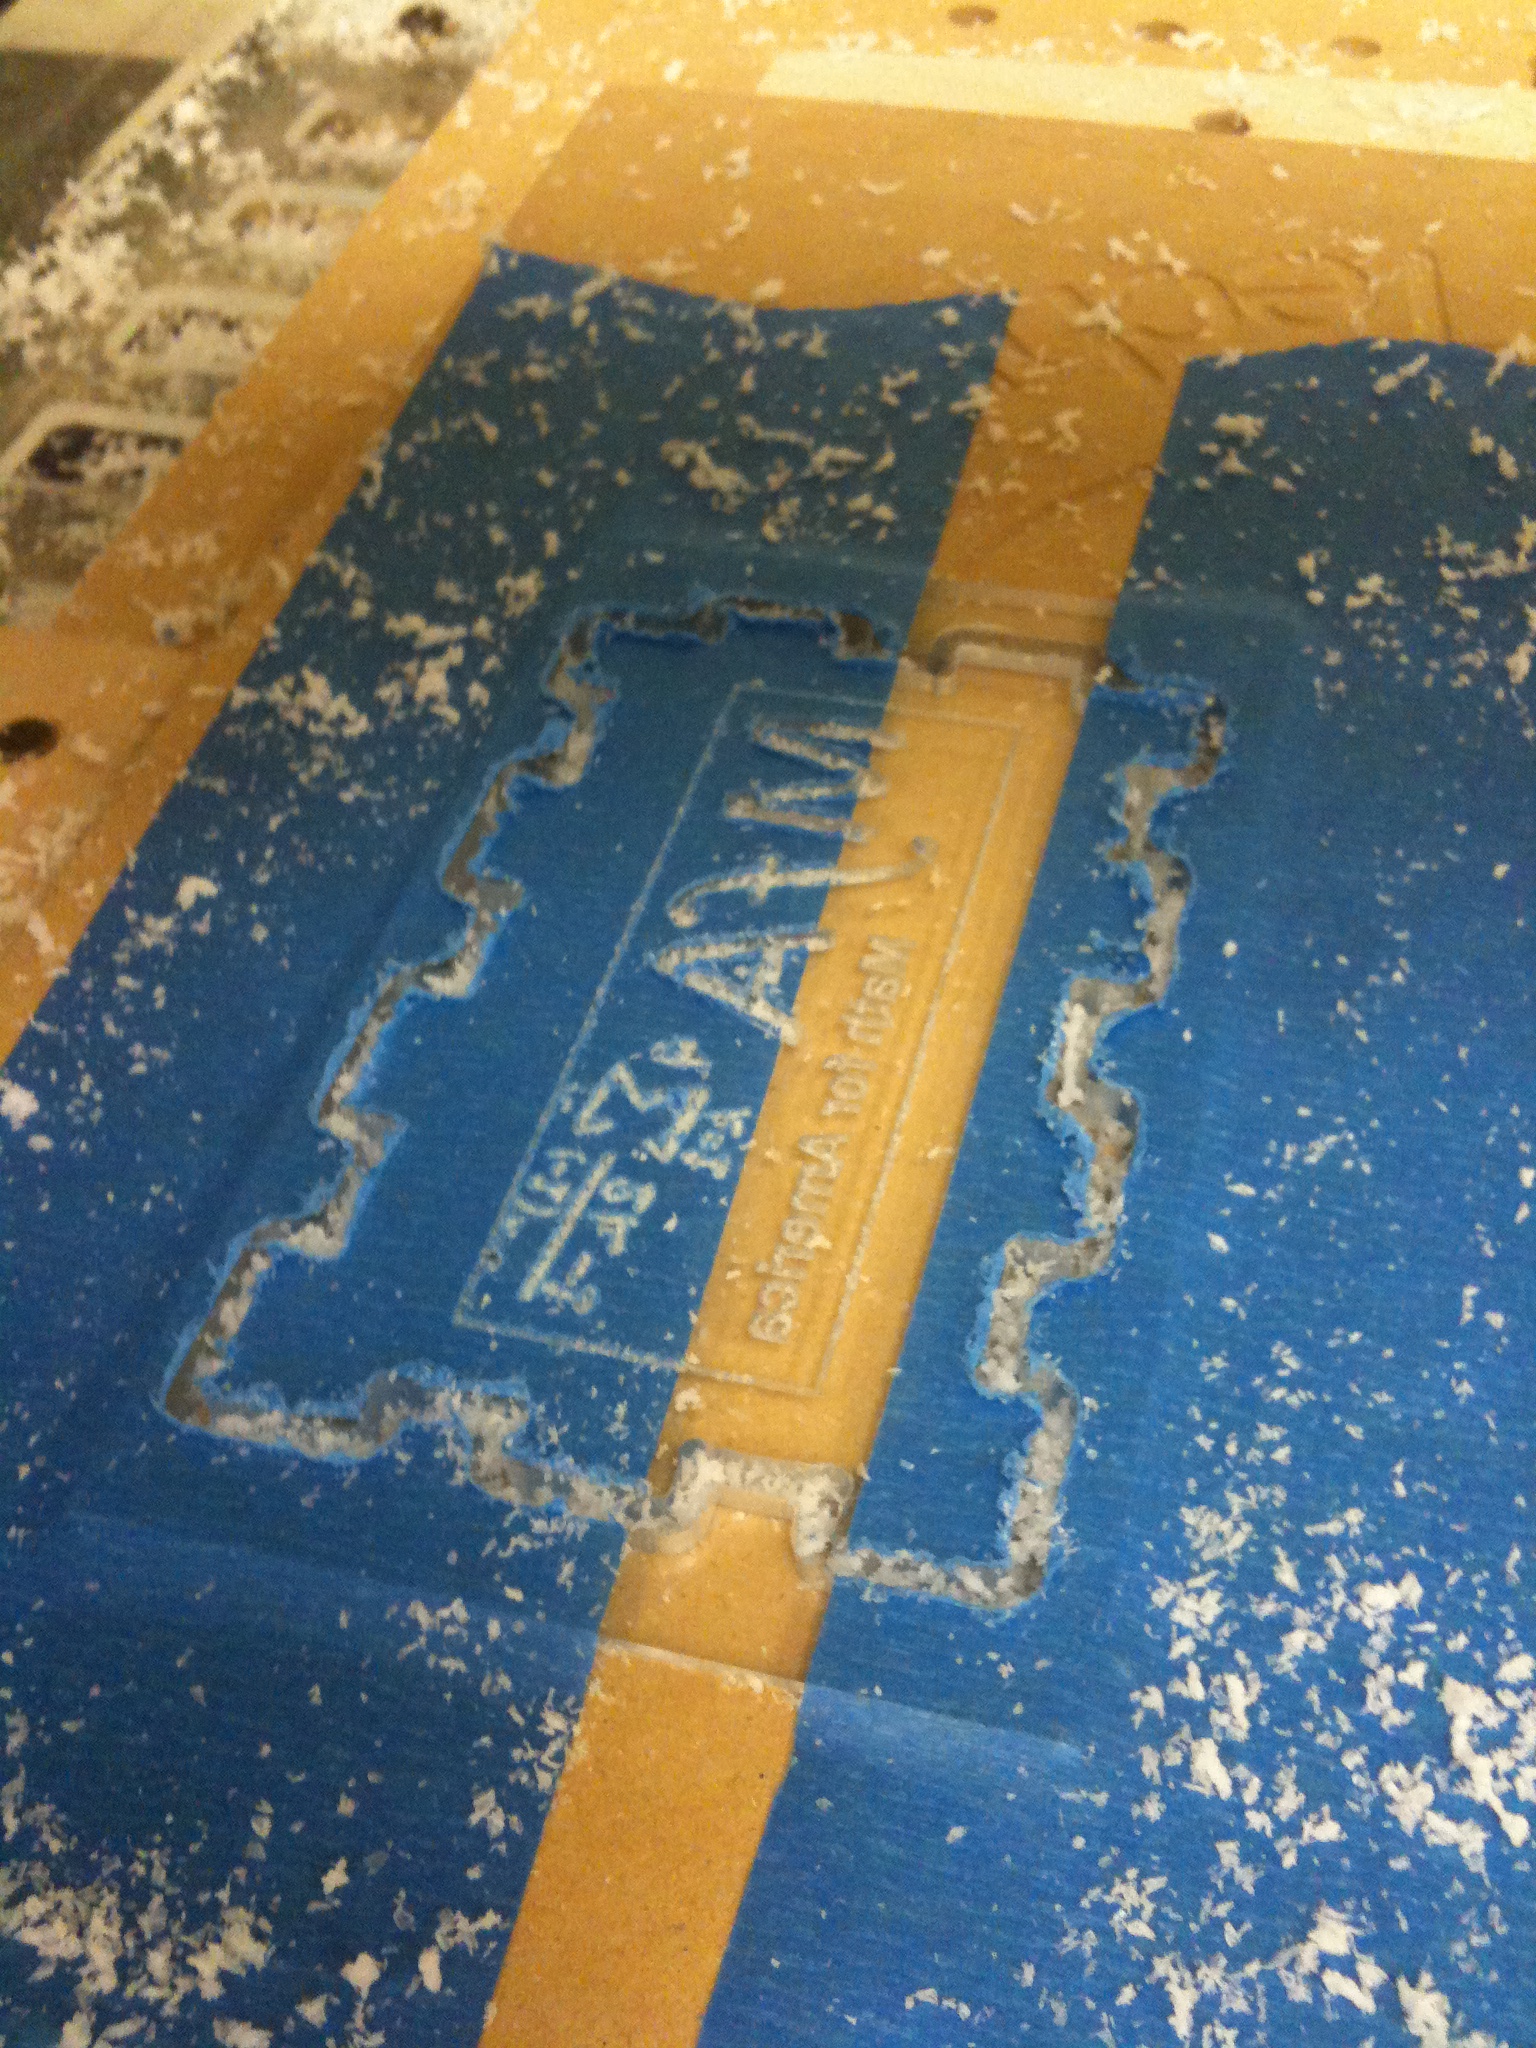
I also V-carved a Math for America (MfA) logo on one of the faces of the box…
Here’s what all the pieces looked like together…

And the assembled box…which actually makes a pretty nice pencil holder…
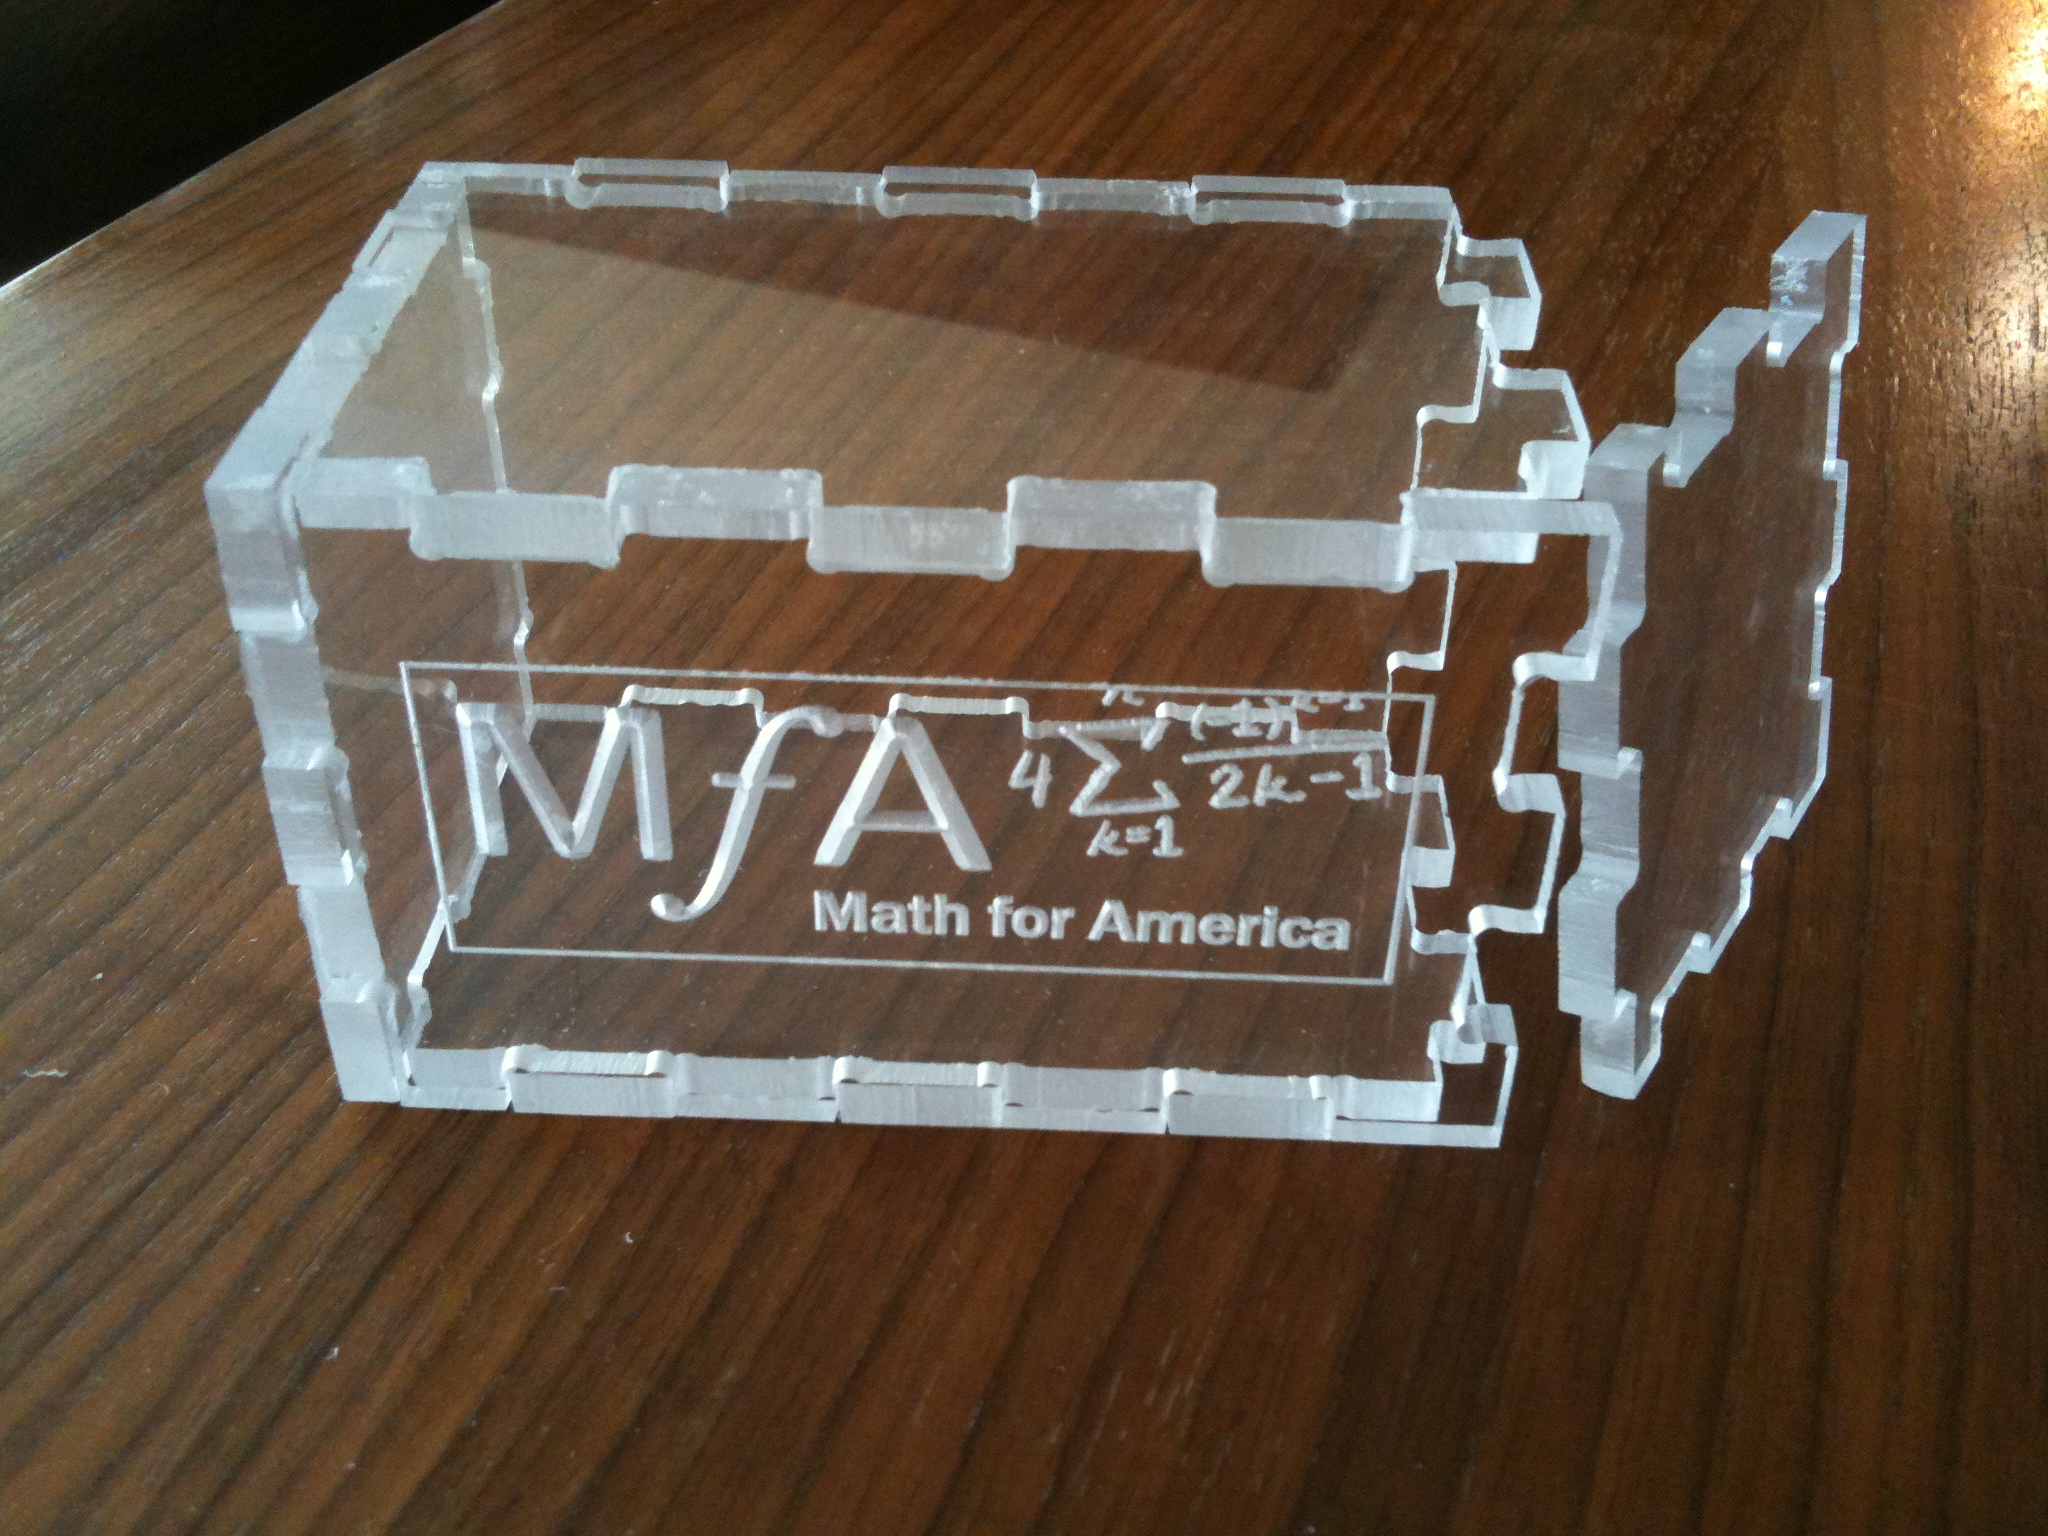
The sides were a bit difficult to assemble because of rough edges left from machining so I’ll have to adjust my setup for next time…I know that I can do better! Let me know what you think.
All the best,
Jack
Leave a Reply