The Problem:
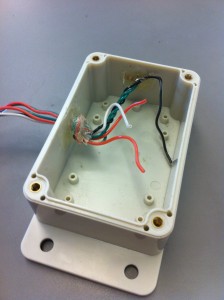
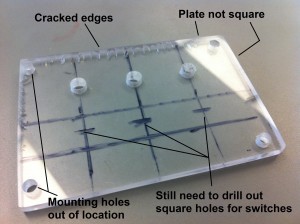
My kids like to hack electronics and it is sometimes difficult to find the perfect enclosure for a circuit. “O” was building a 3-zone LED lighting system for his mother’s sewing machine and he needed to make a special cover to hold his switches. He had already tried to make one in acrylic using hand tools but it didn’t look very good:
The Solution:
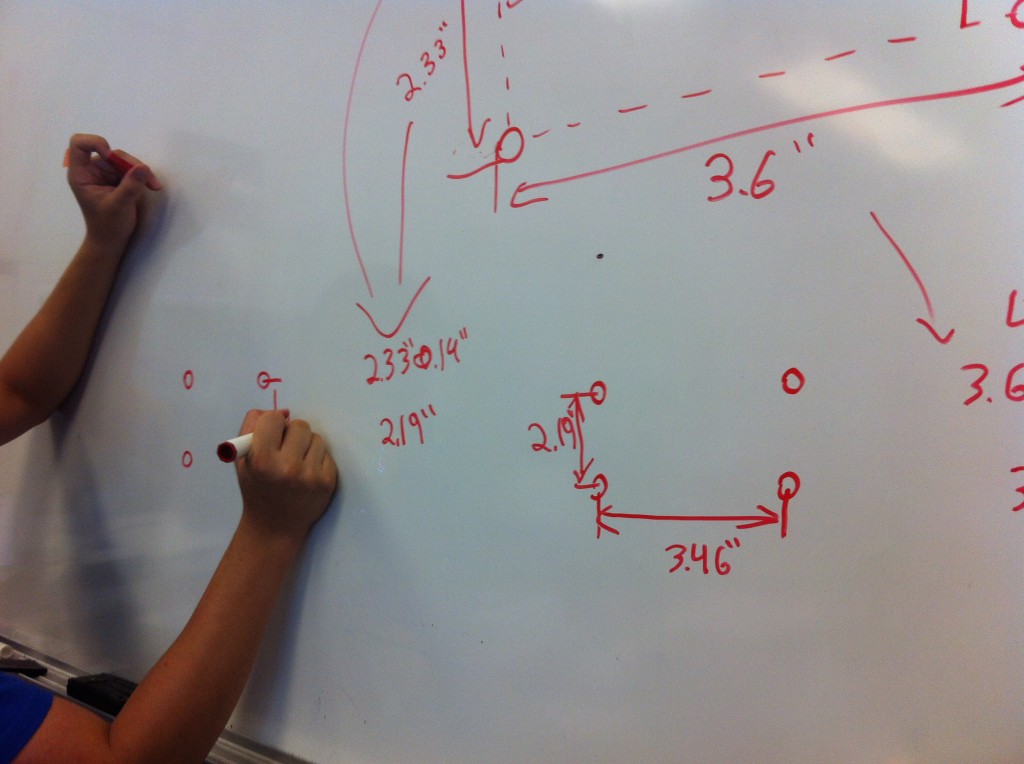
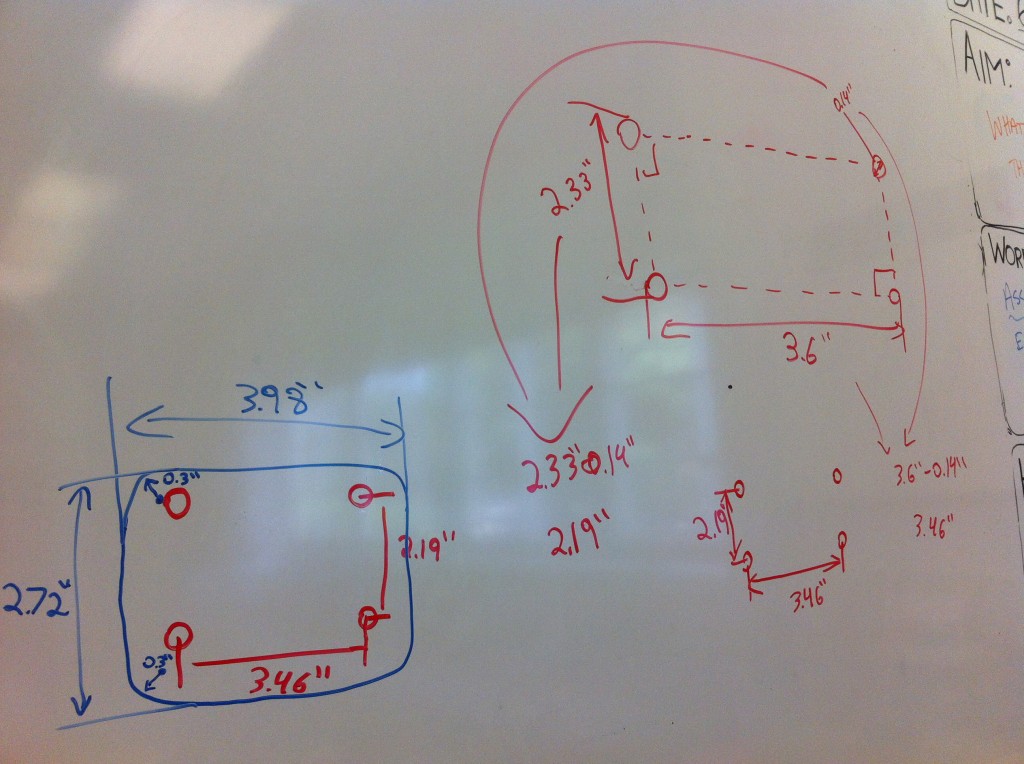
This was an easy job to set-up on our ShopBot Desktop… Another student, “T”, was able to help “O” measure out the locations of the mounting holes in the box “O” was planning to use. Next, they sketched a design on the classroom whiteboard and transferred the details into VCarve Pro / PartWorks.
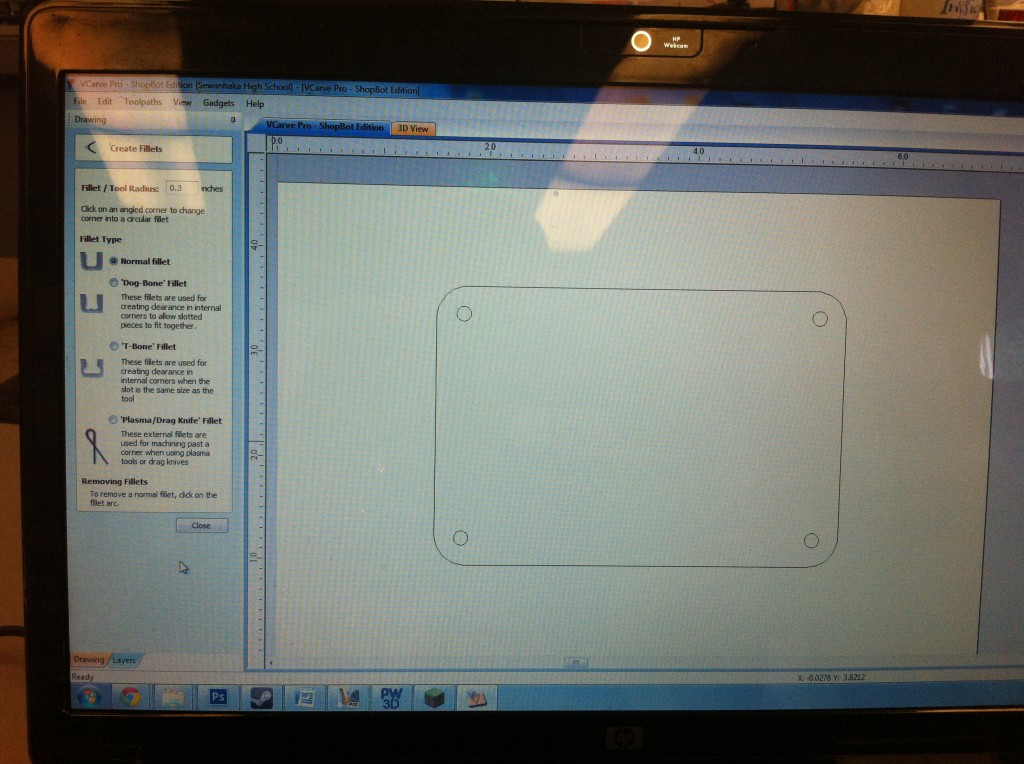
Flat plates with holes in them are fairly straightforward to layout in VCarvePro / PartWorks…
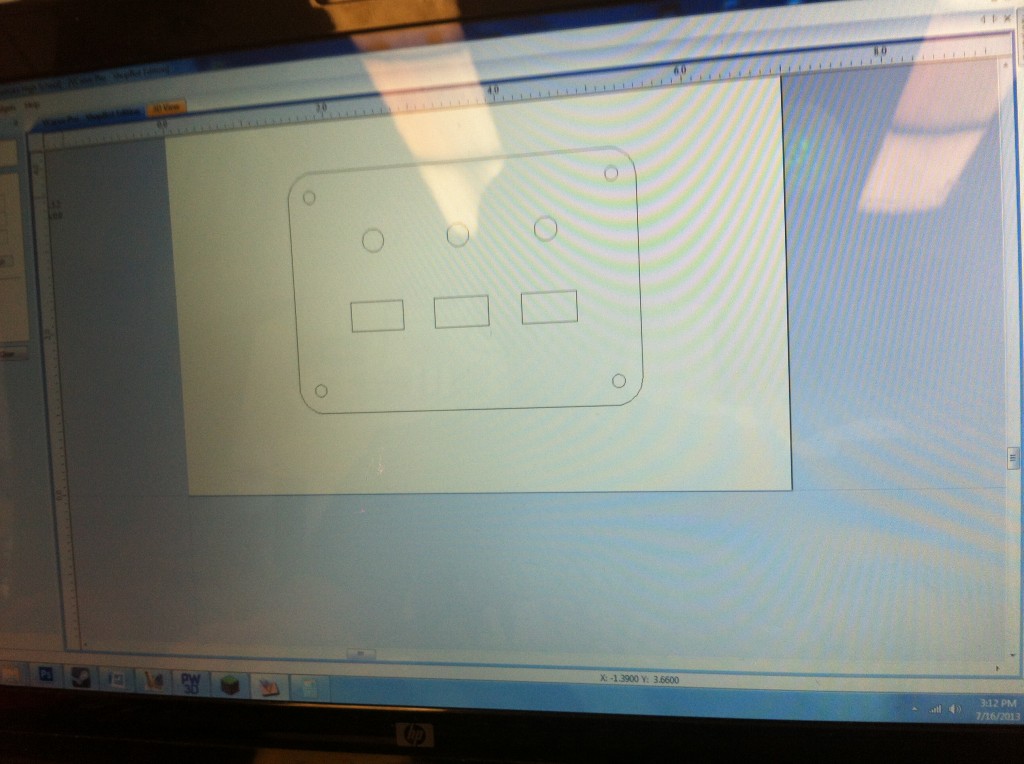
We didn’t forget to add “dog-bone” corners for the rectangular switch holes!…
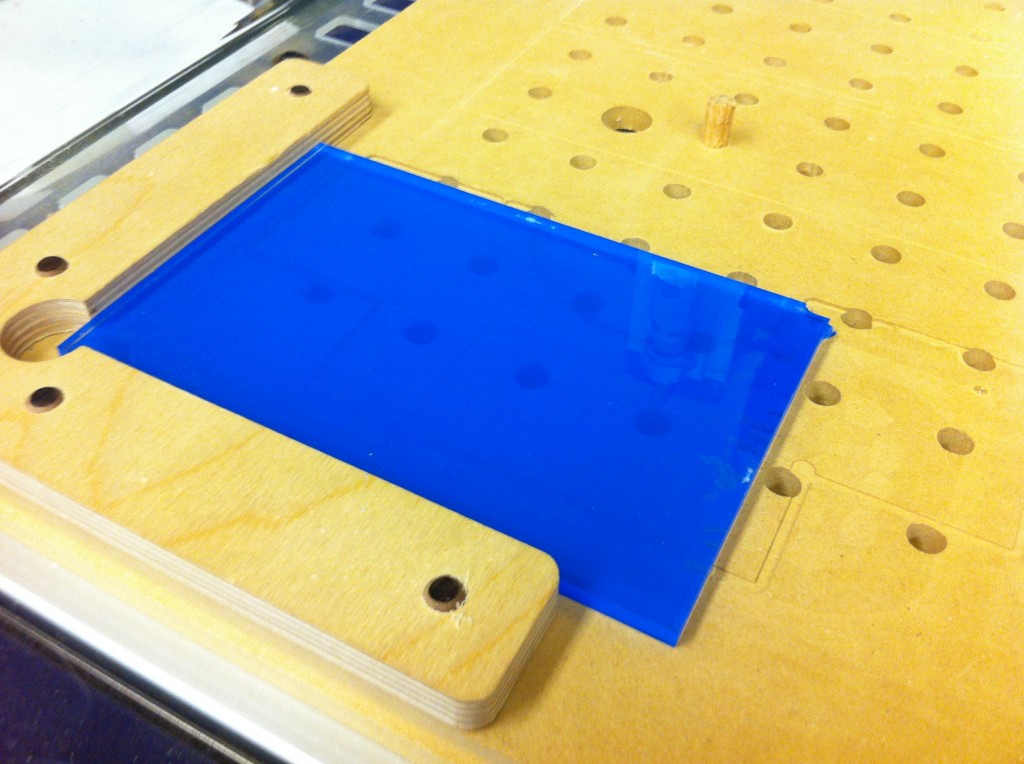
Holding our material down can be a challenge sometimes but we were able to use the ShopBot Quick Corner and wedges for this job…
And off we go!… (Ø 0.125″ , 2 flute end-mill @ 13,000 RPM / 1.6 IPS)
The Results:
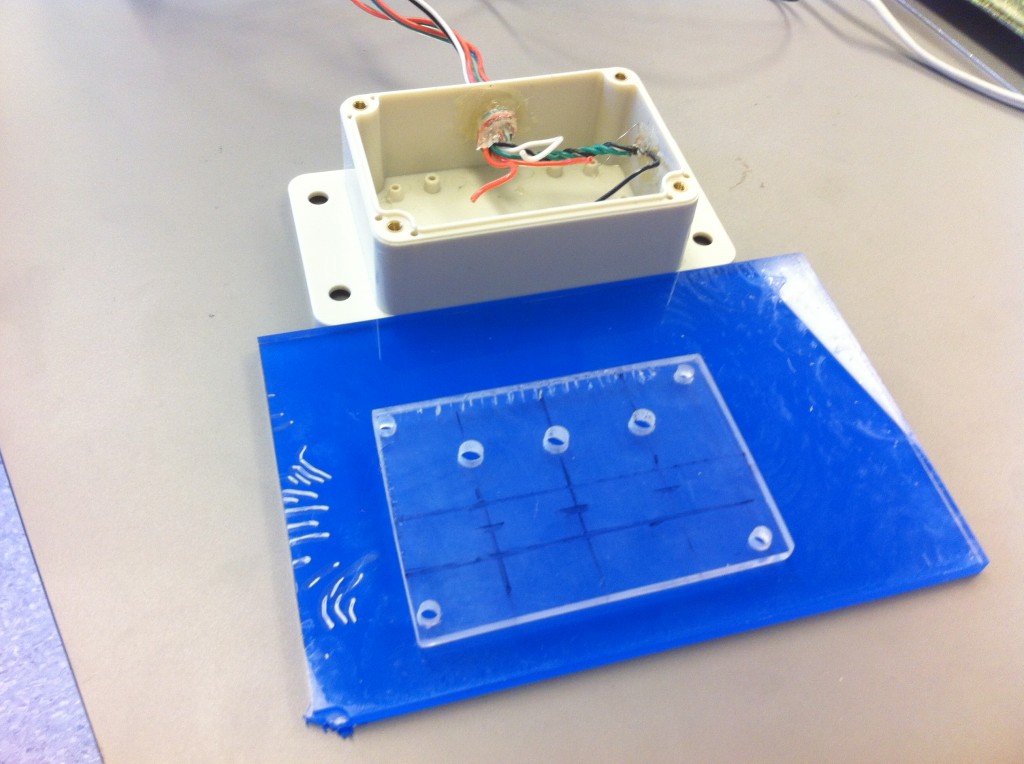
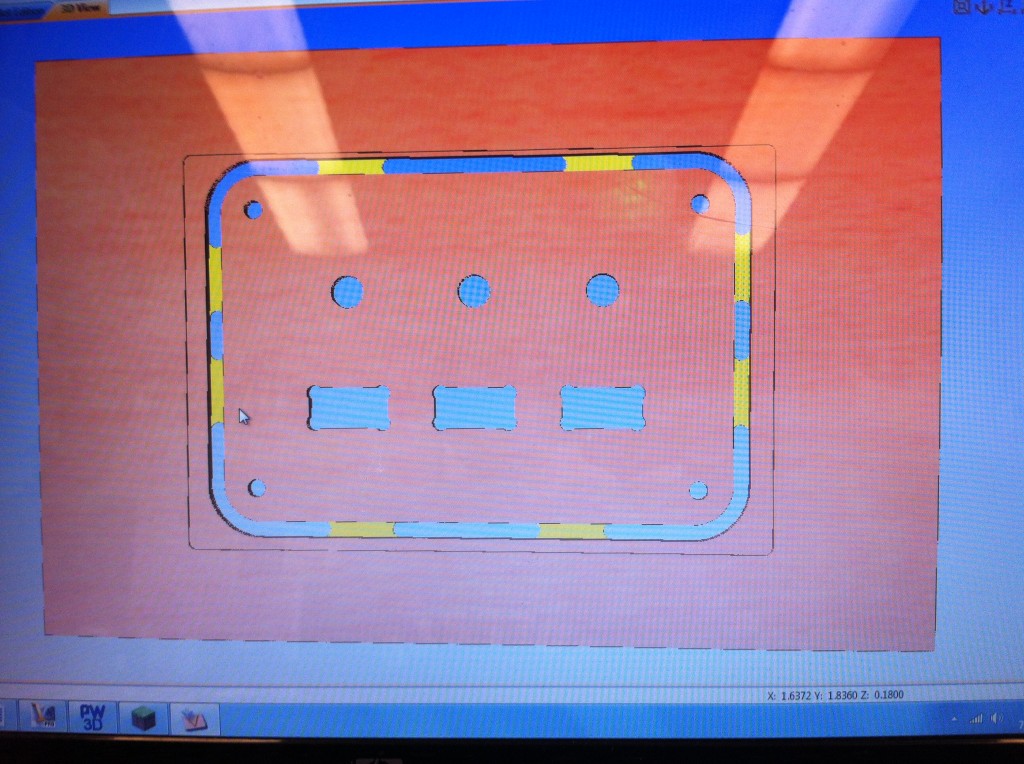
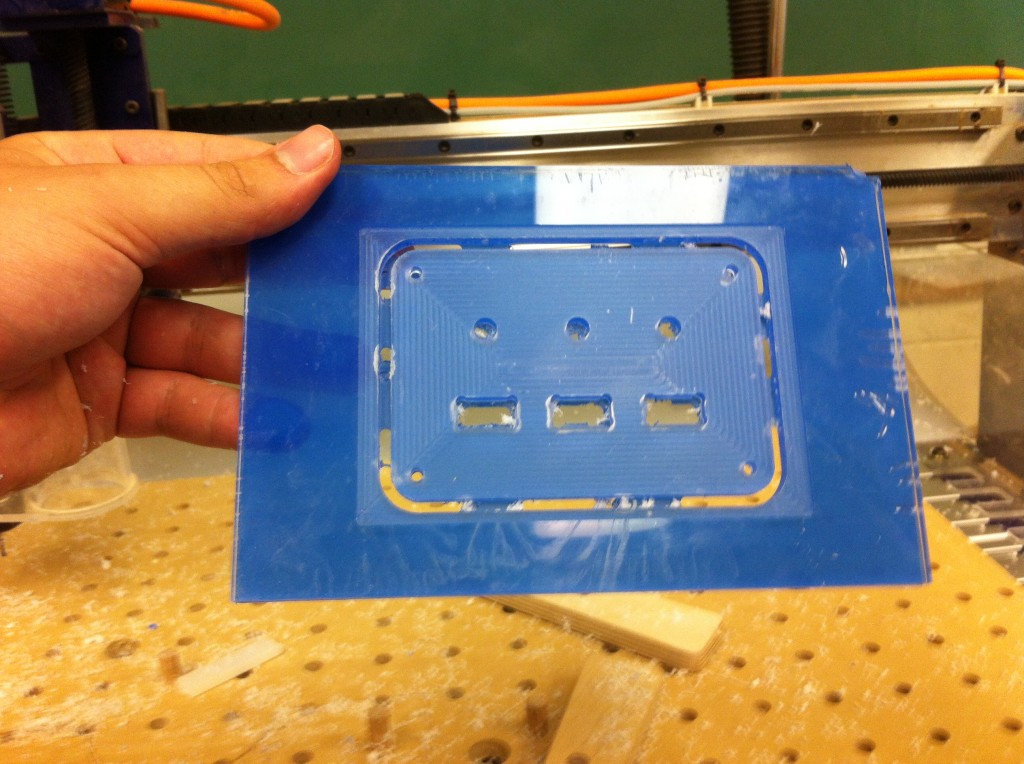
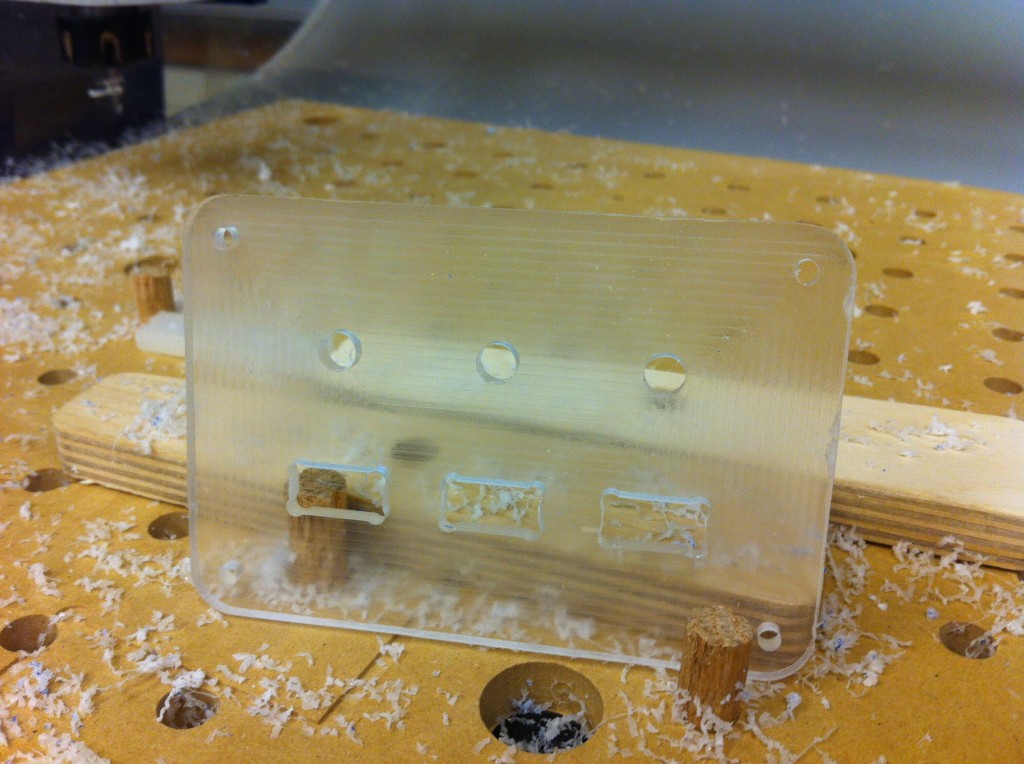
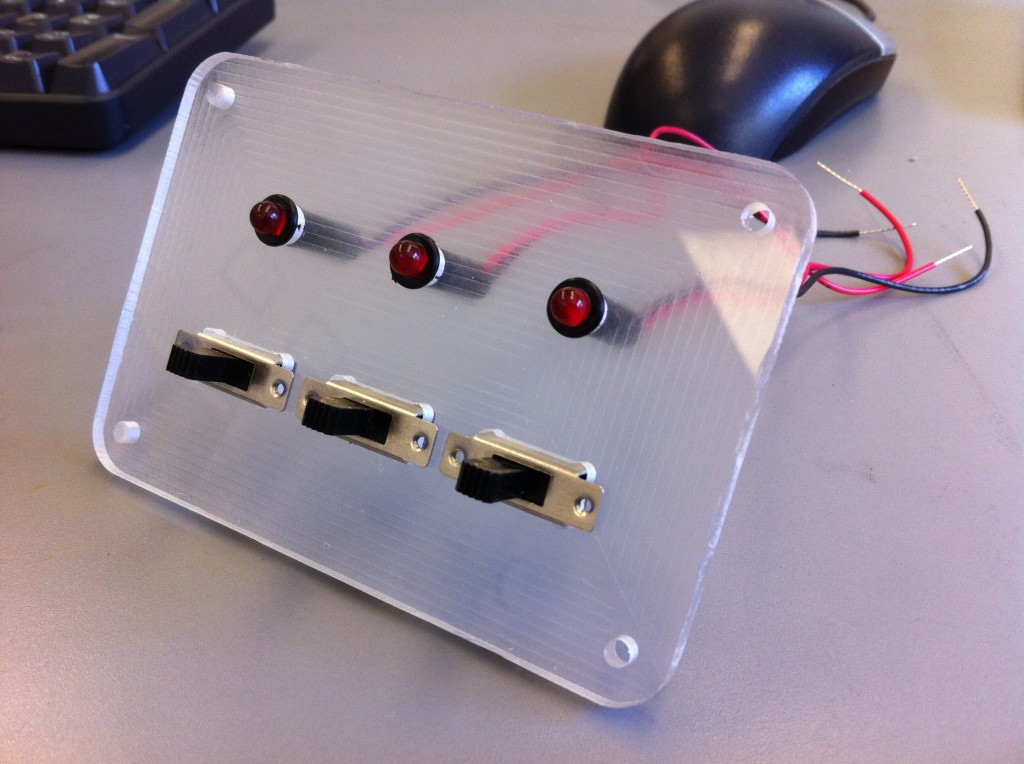
“O” and “T” wanted to leave a “hazed” / semi-transparent finish on the switch plate so they surfaced the top of the acrylic sheet by adding a shallow pocket to the toolpath before milling out the features. They were also able to accurately machine all the way through the sheet without running into the spoil-board because they zeroed to the table instead of to the top surface of the sheet.
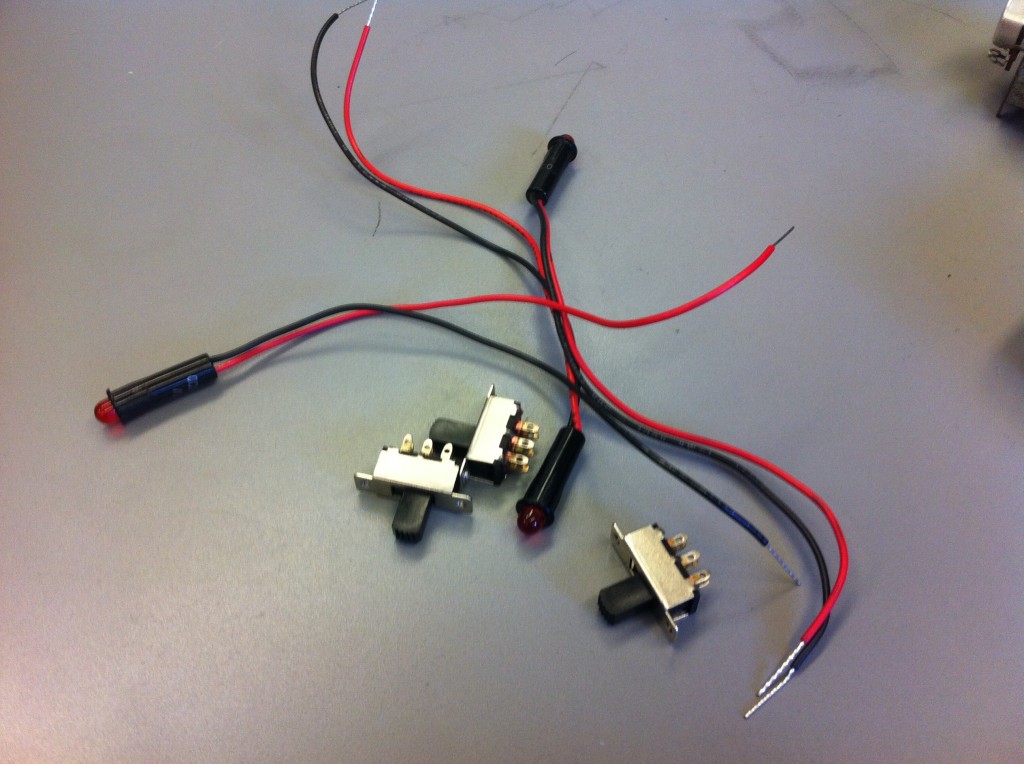
After machining the switch plate, “O” went to work assembling some of the electronics for his lighting system…
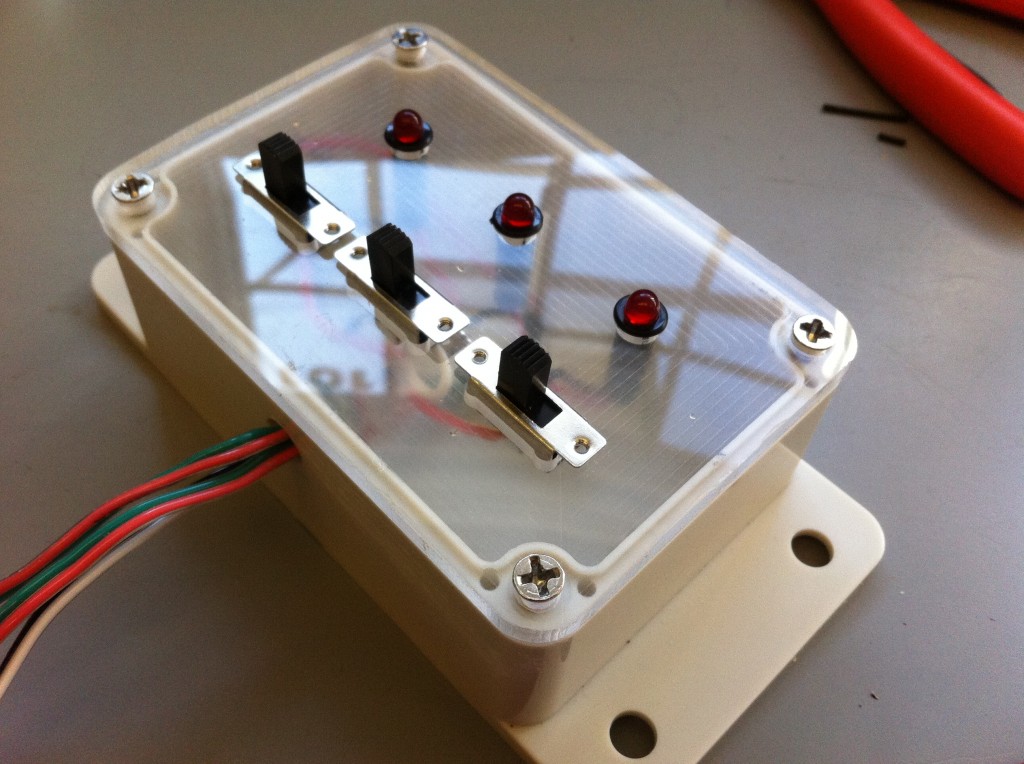
The switchplate assembled to the enclosure!…
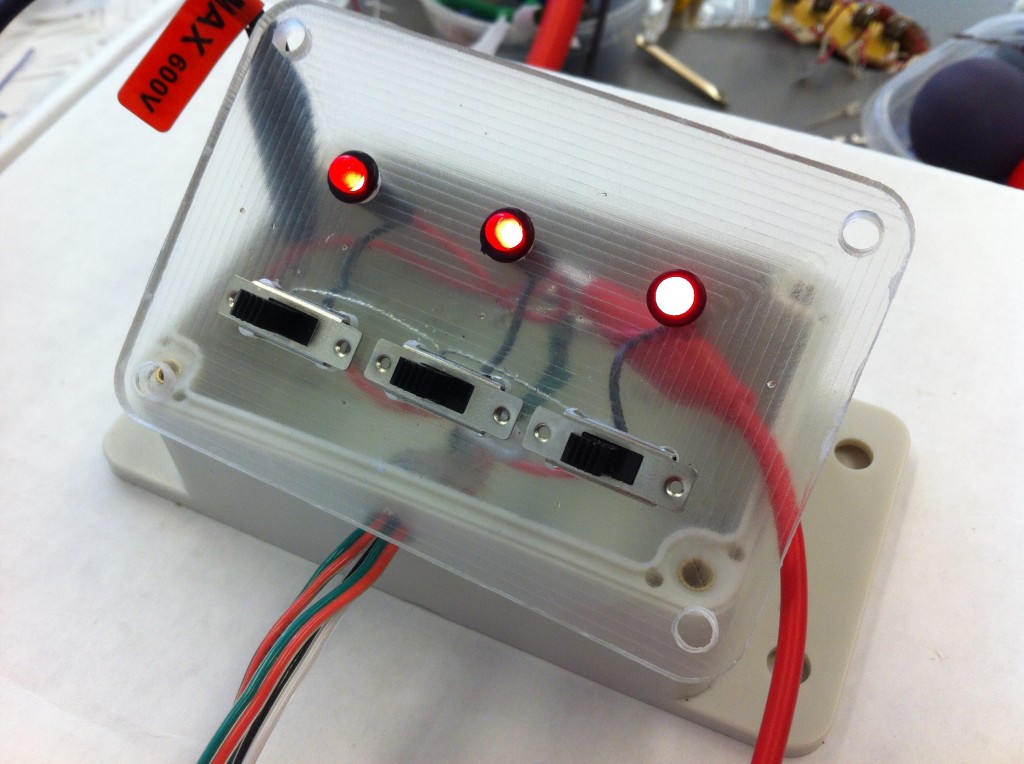
It’s always important to check your work…
“‘O” will integrate these switches into the lighting system for his Mom’s sewing machine over the weekend and I’m sure that she will be happy with the results!
So what kind of projects have you been doing this summer? I’d like to know!
Regards, Jack
Leave a Reply