Whew! The end of the school year is here and I’m really looking forward to spending time this summer working with my ShopBot Desktop. Most of the projects that my students and I have done this spring have been based on simple 2D profiles and I’m anxious to start carving more sophisticated geometries in different types of materials.
My first experiment in 2.5D relief carving was with the Autodesk 123D Train provided in the ShopBot Desktop Quick Start Guide. I just followed the very clearly documented instructions in the guide and came out with something that looked like this:

The quality of the carving was really amazing but I basically left it at that for a while since I was so busy teaching and working with my robotics club; I didn’t want to spend too much energy producing my own 3D models until I had more time to focus.
Towards the end of the school year, I finally decided to look at the “Get Carving Quickly” CD that also came with my Desktop and found the “Horse Head” model (VA3D-PW-Overview_Readme). I decided to give it a go and used what I had already learned about machining with my ShopBot to set-up the job using PartWorks 3D.
PartWorks 3D was really easy to use and it walked me through the process of importing the Horse Head (.STL) model, scaling and orienting it for machining, setting up the roughing and finishing passes, previewing the toolpaths and exporting the ShopBot Part files (.SBP). The ShopBot control software had no problems interpreting the SBP files and I was pleased with the results.
Work in progress using a Z-Level roughing strategy…


The finished Horse Head…

In retrospect, I should have lowered the machining allowance in the roughing pass with my 0.250″ end mill to reduce the amount of work done by the 0.125″ ball end mill I used for finishing.
My next attempt at 2.5D/3D machining was with a small duck that I found on Thingiverse that was originally set-up for 3D printing:
http://www.thingiverse.com/thing:31627
I was able to import the .STL file and set-up my the orientation and scaling with no problems in PartWorks 3D:
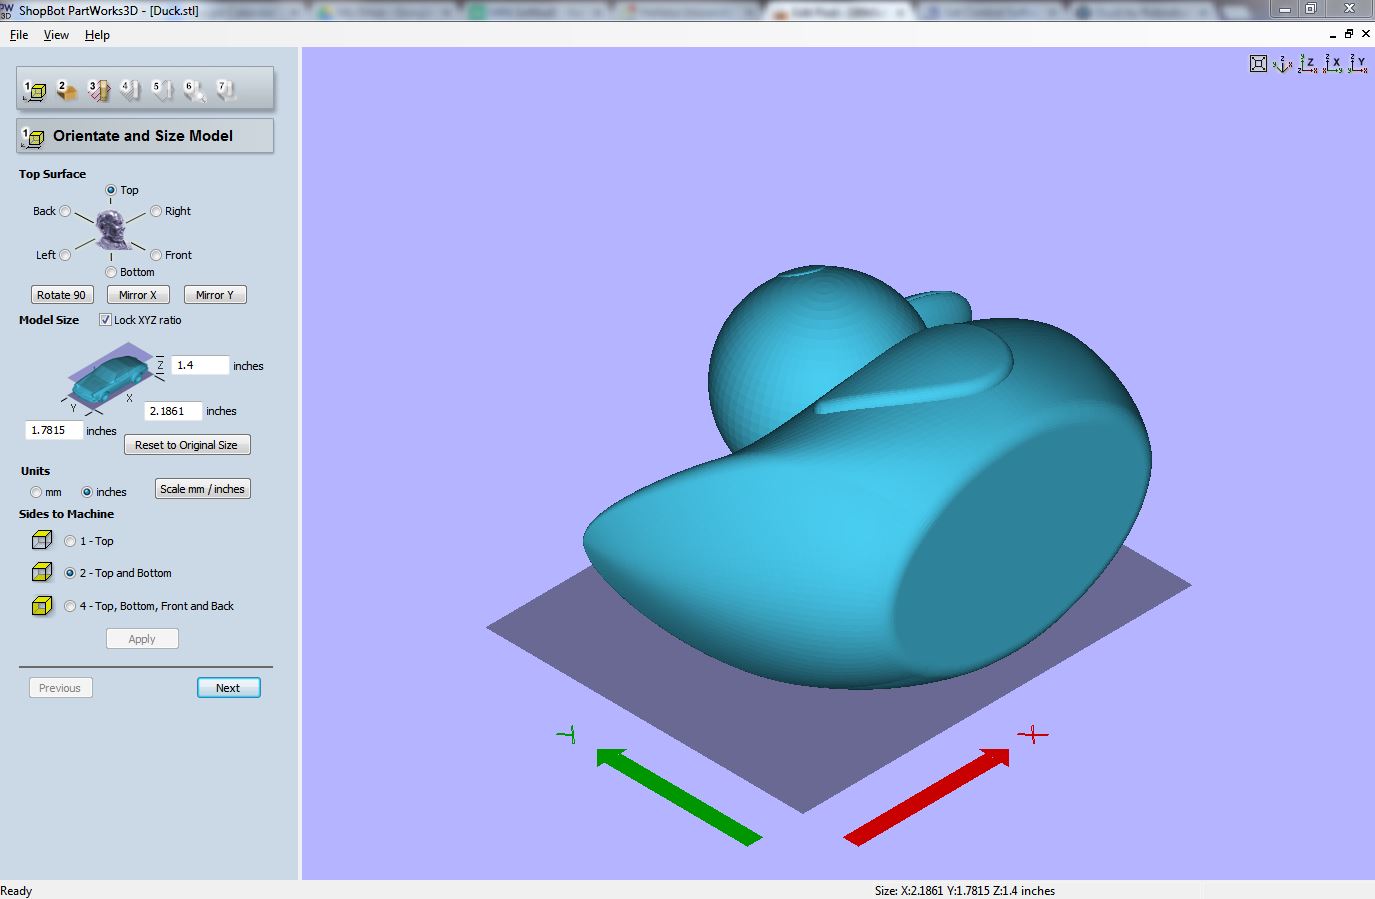
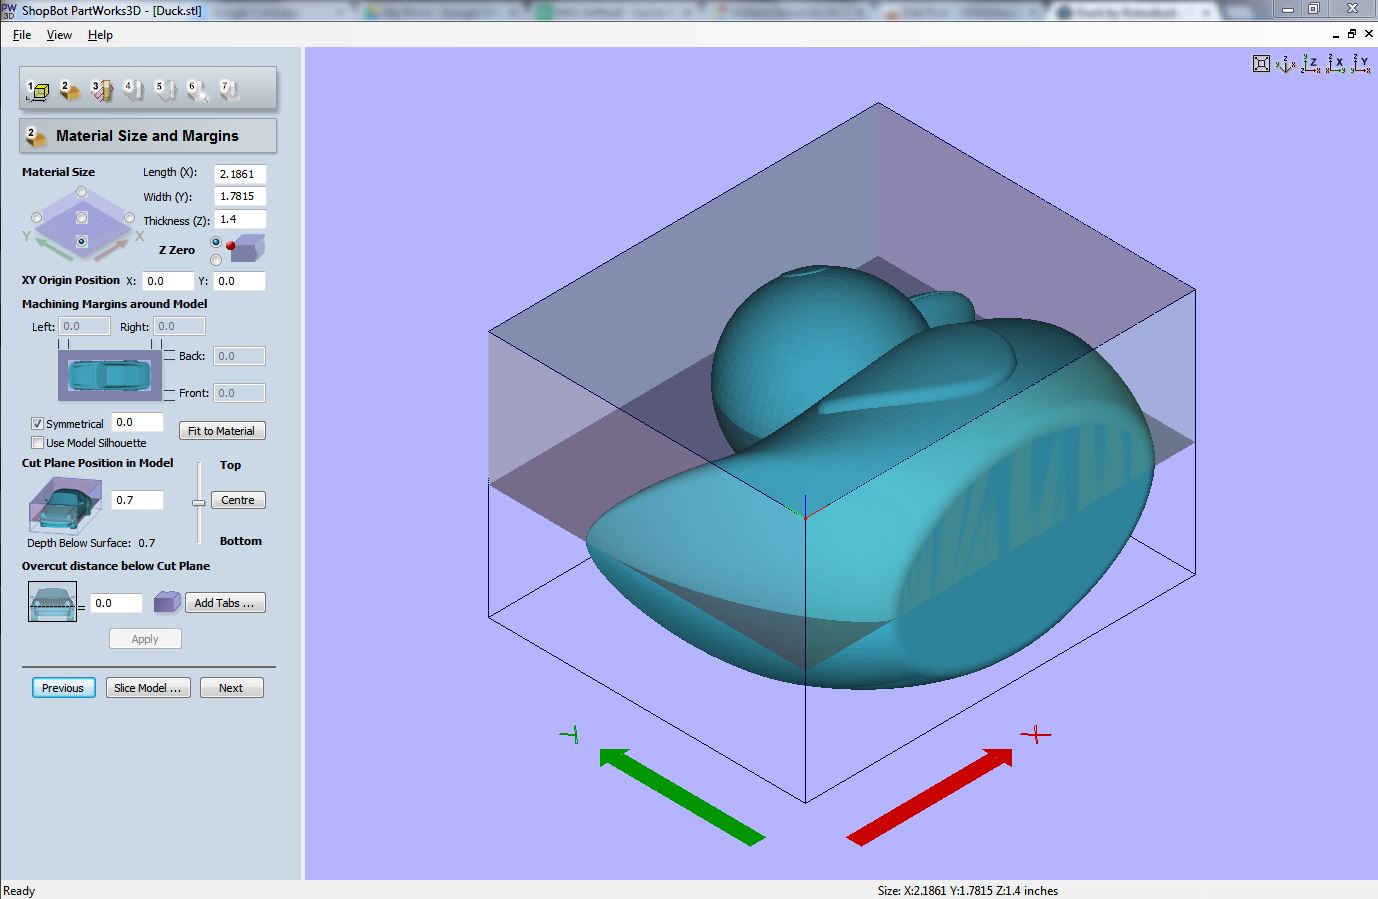
My plan was to carve the top and bottom halves of the duck as one piece in a 1.4″ thick block of MDF so I needed to slice the model through its center to create top and bottom machining files. Again, PartWorks 3D was able to handle this without too much fuss:
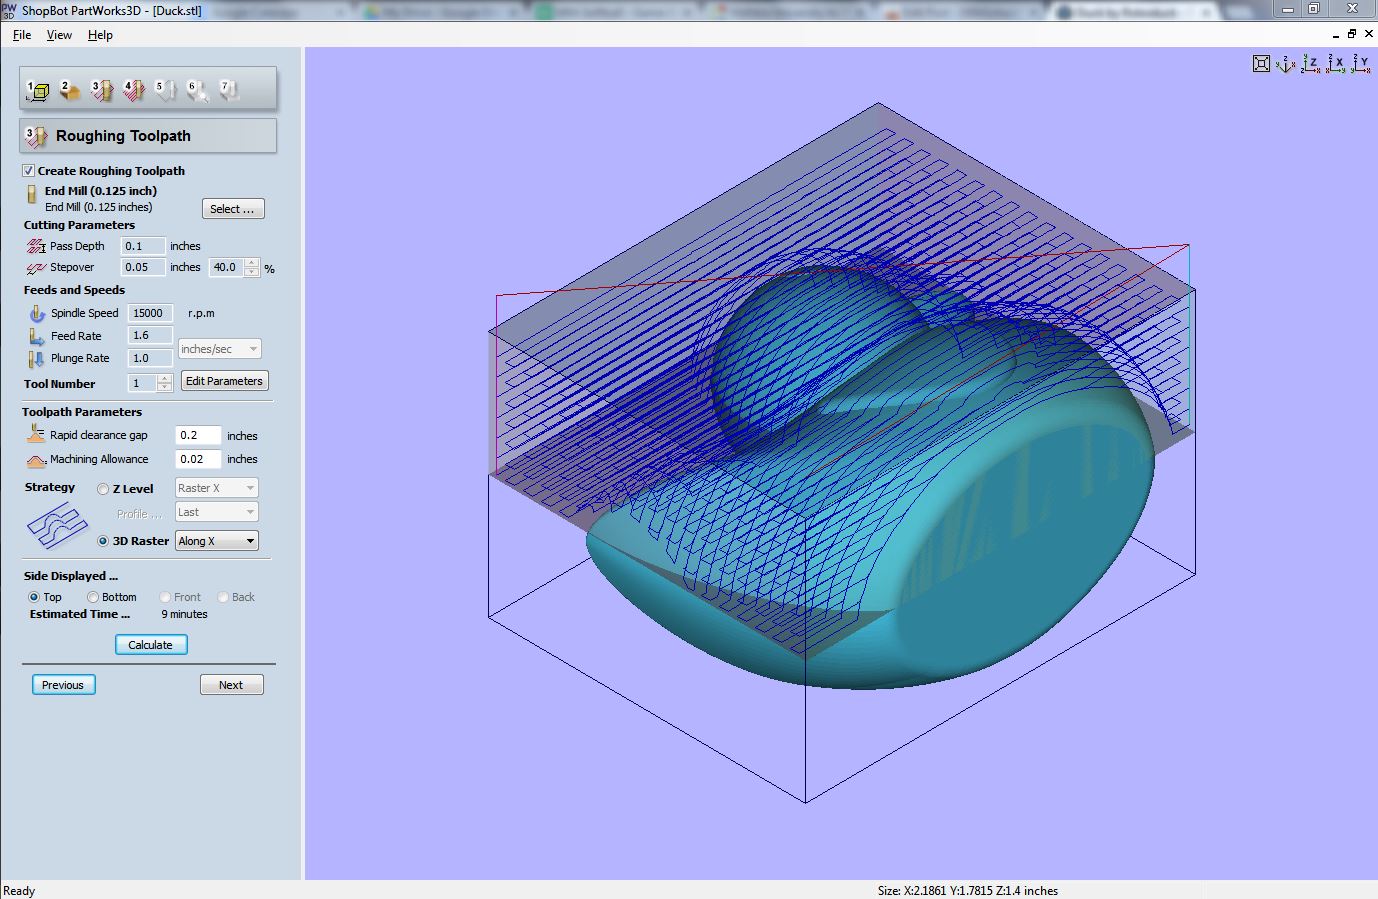
Instead of using a Z-Level roughing strategy like I did with the horse head, I decided to use the 3D Raster roughing strategy to get closer to the finished surface:
Outputting the top and bottom toolpaths to SBP files and running the top roughing pass gave me this:
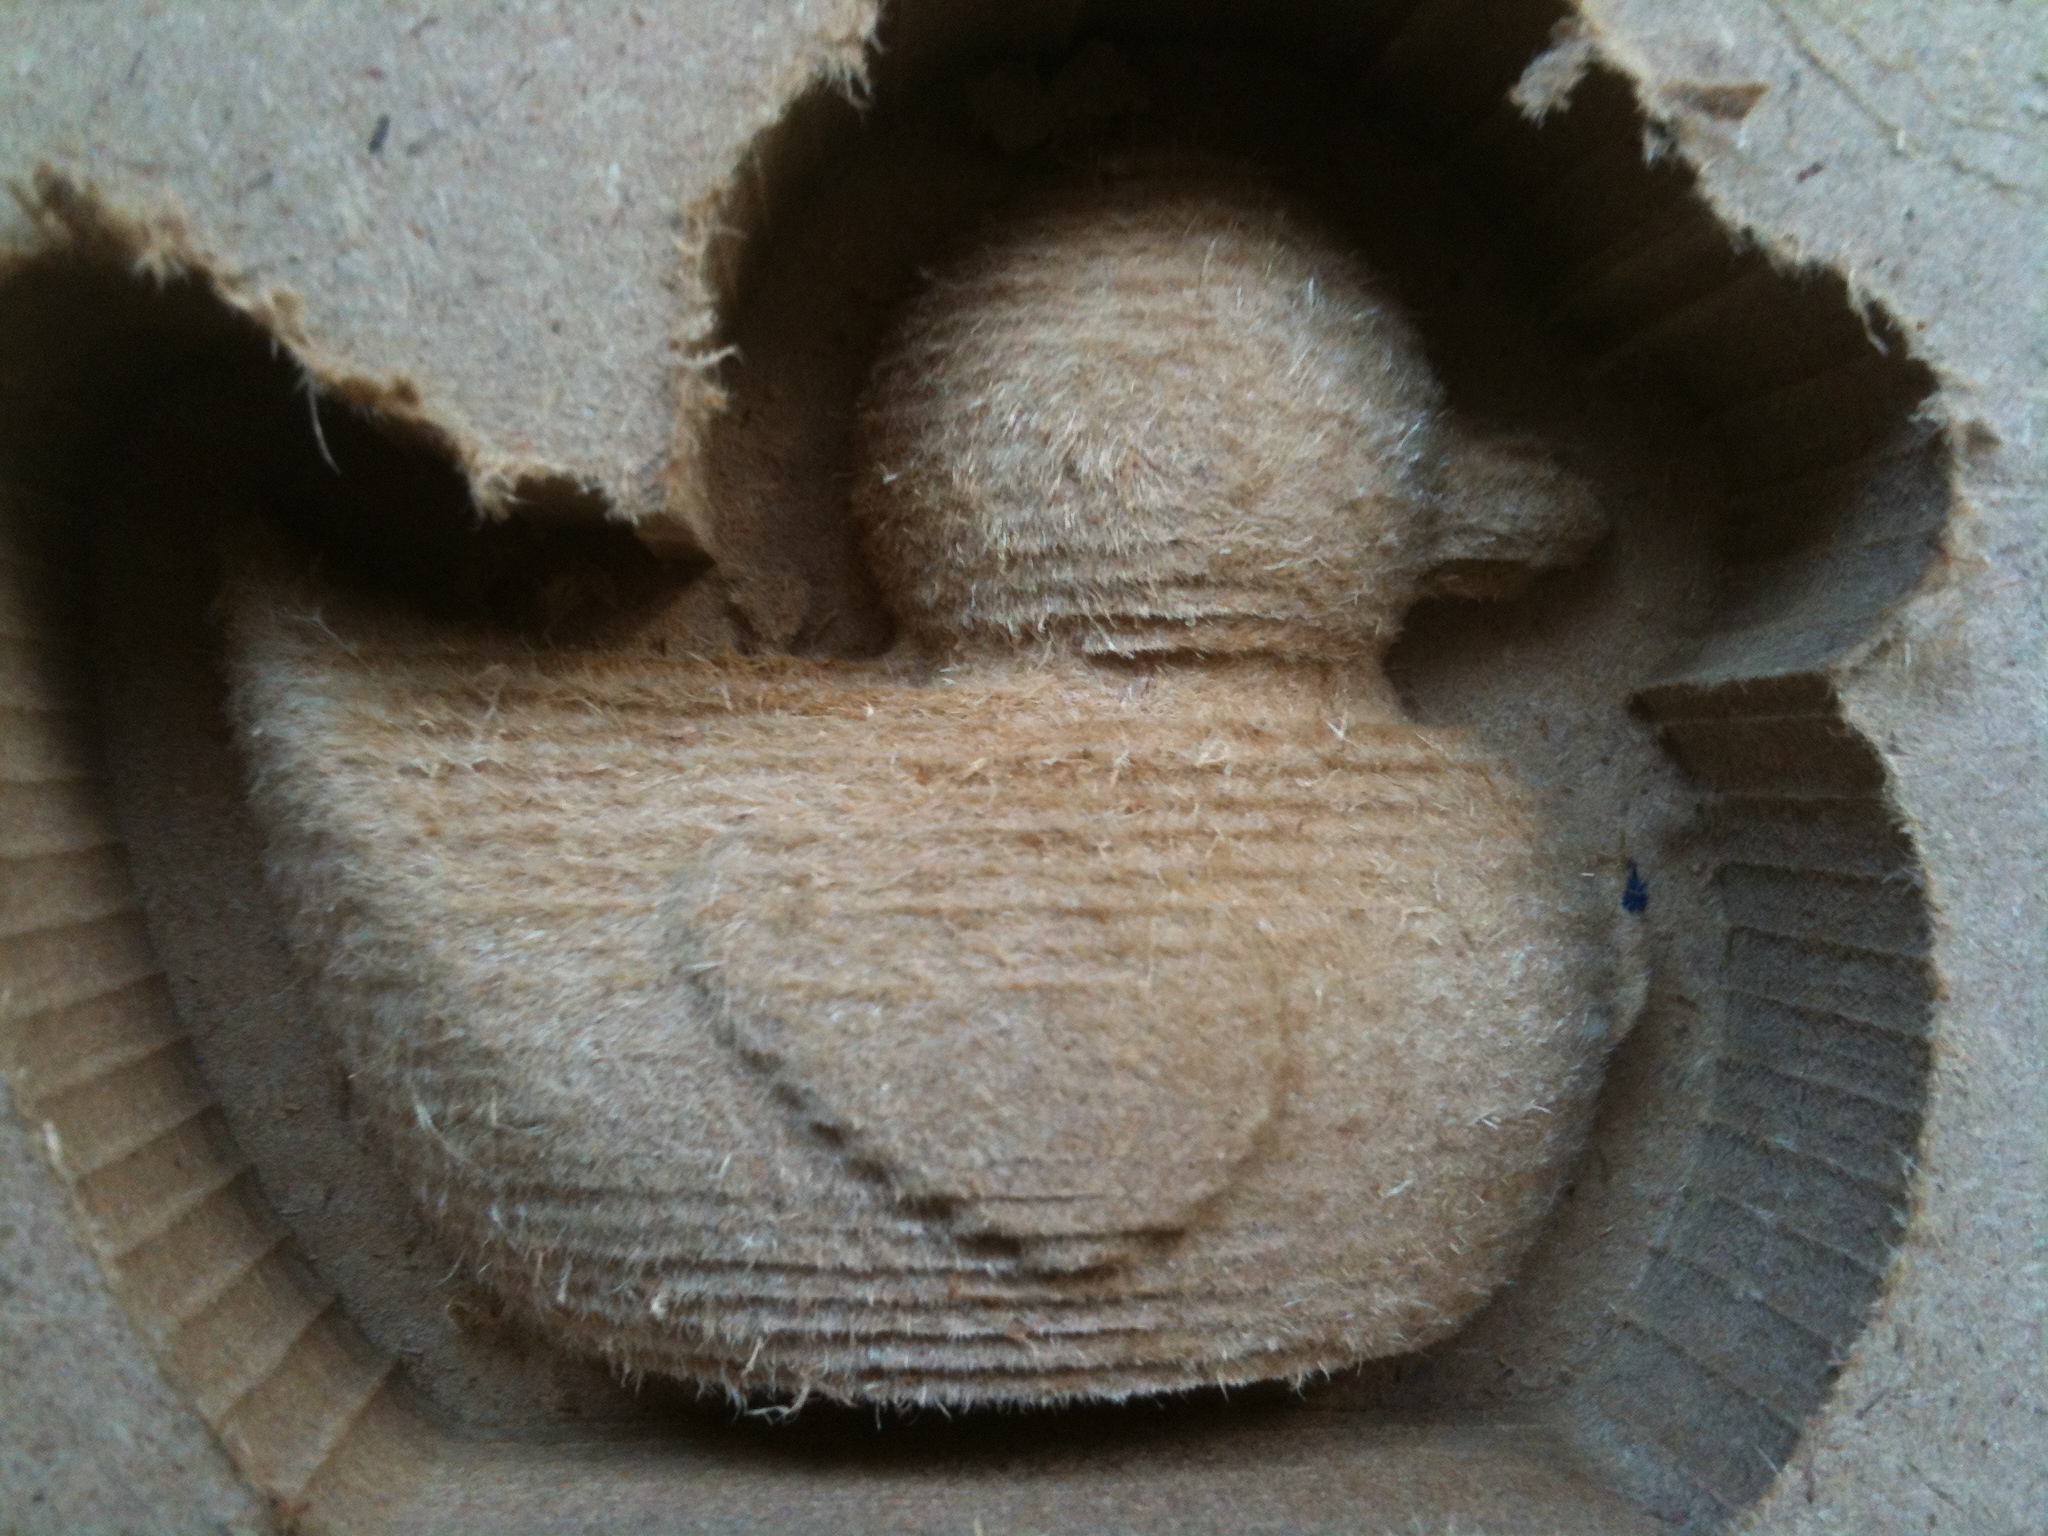
Unfortunately I had forgotten to add tabs to hold the duck in the material as I was carving it out so I had to stop at this point… However, one of my students was working on an ambitious project that looked a lot more interesting than my duck…he wanted to carve a calculator case out of maple to give as a present to his calculus teacher before the end of the school-year!
His plan was to take a new TI-84 Color Graphing Calculator like this:
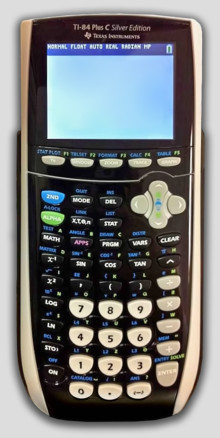
and transfer the electronics into a wooden case.
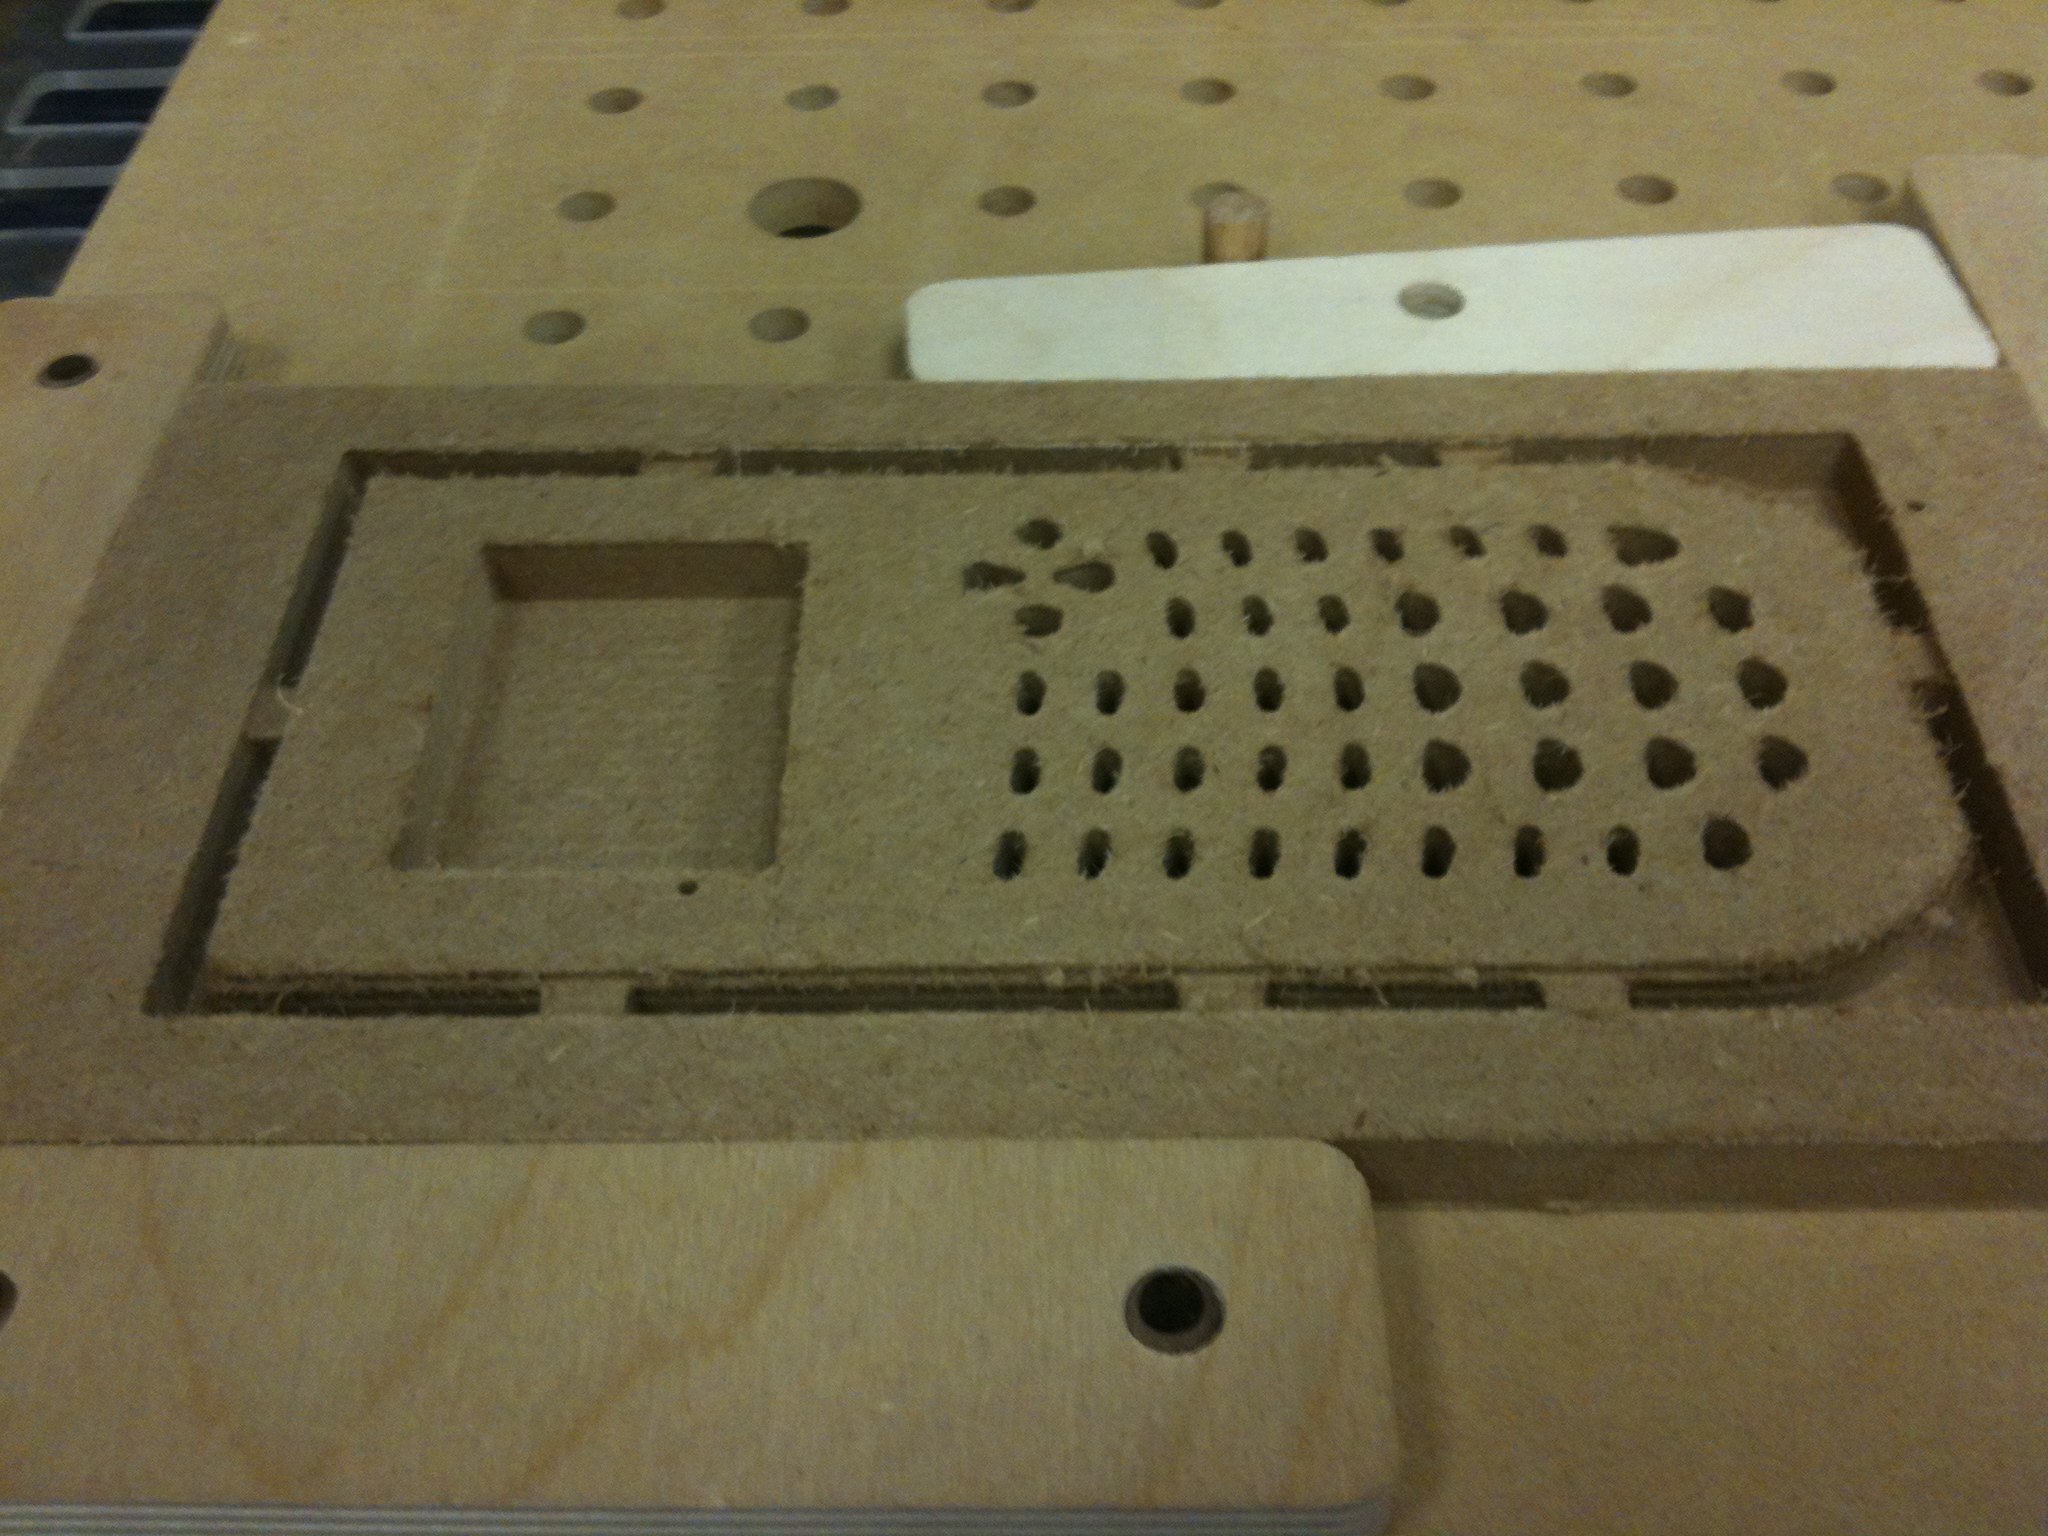
I thought that this was an interesting idea and suggested that he spend the weekend working on a solid model for the calculator case using AutoDesk Inventor. He used a scanner to capture the outlines of the keypad which allowed him to trace their outlines into vectors. By Monday, he had a very nice 3D model which we used to carve a test part in MDF.
Top roughing pass using Z-Level strategy:
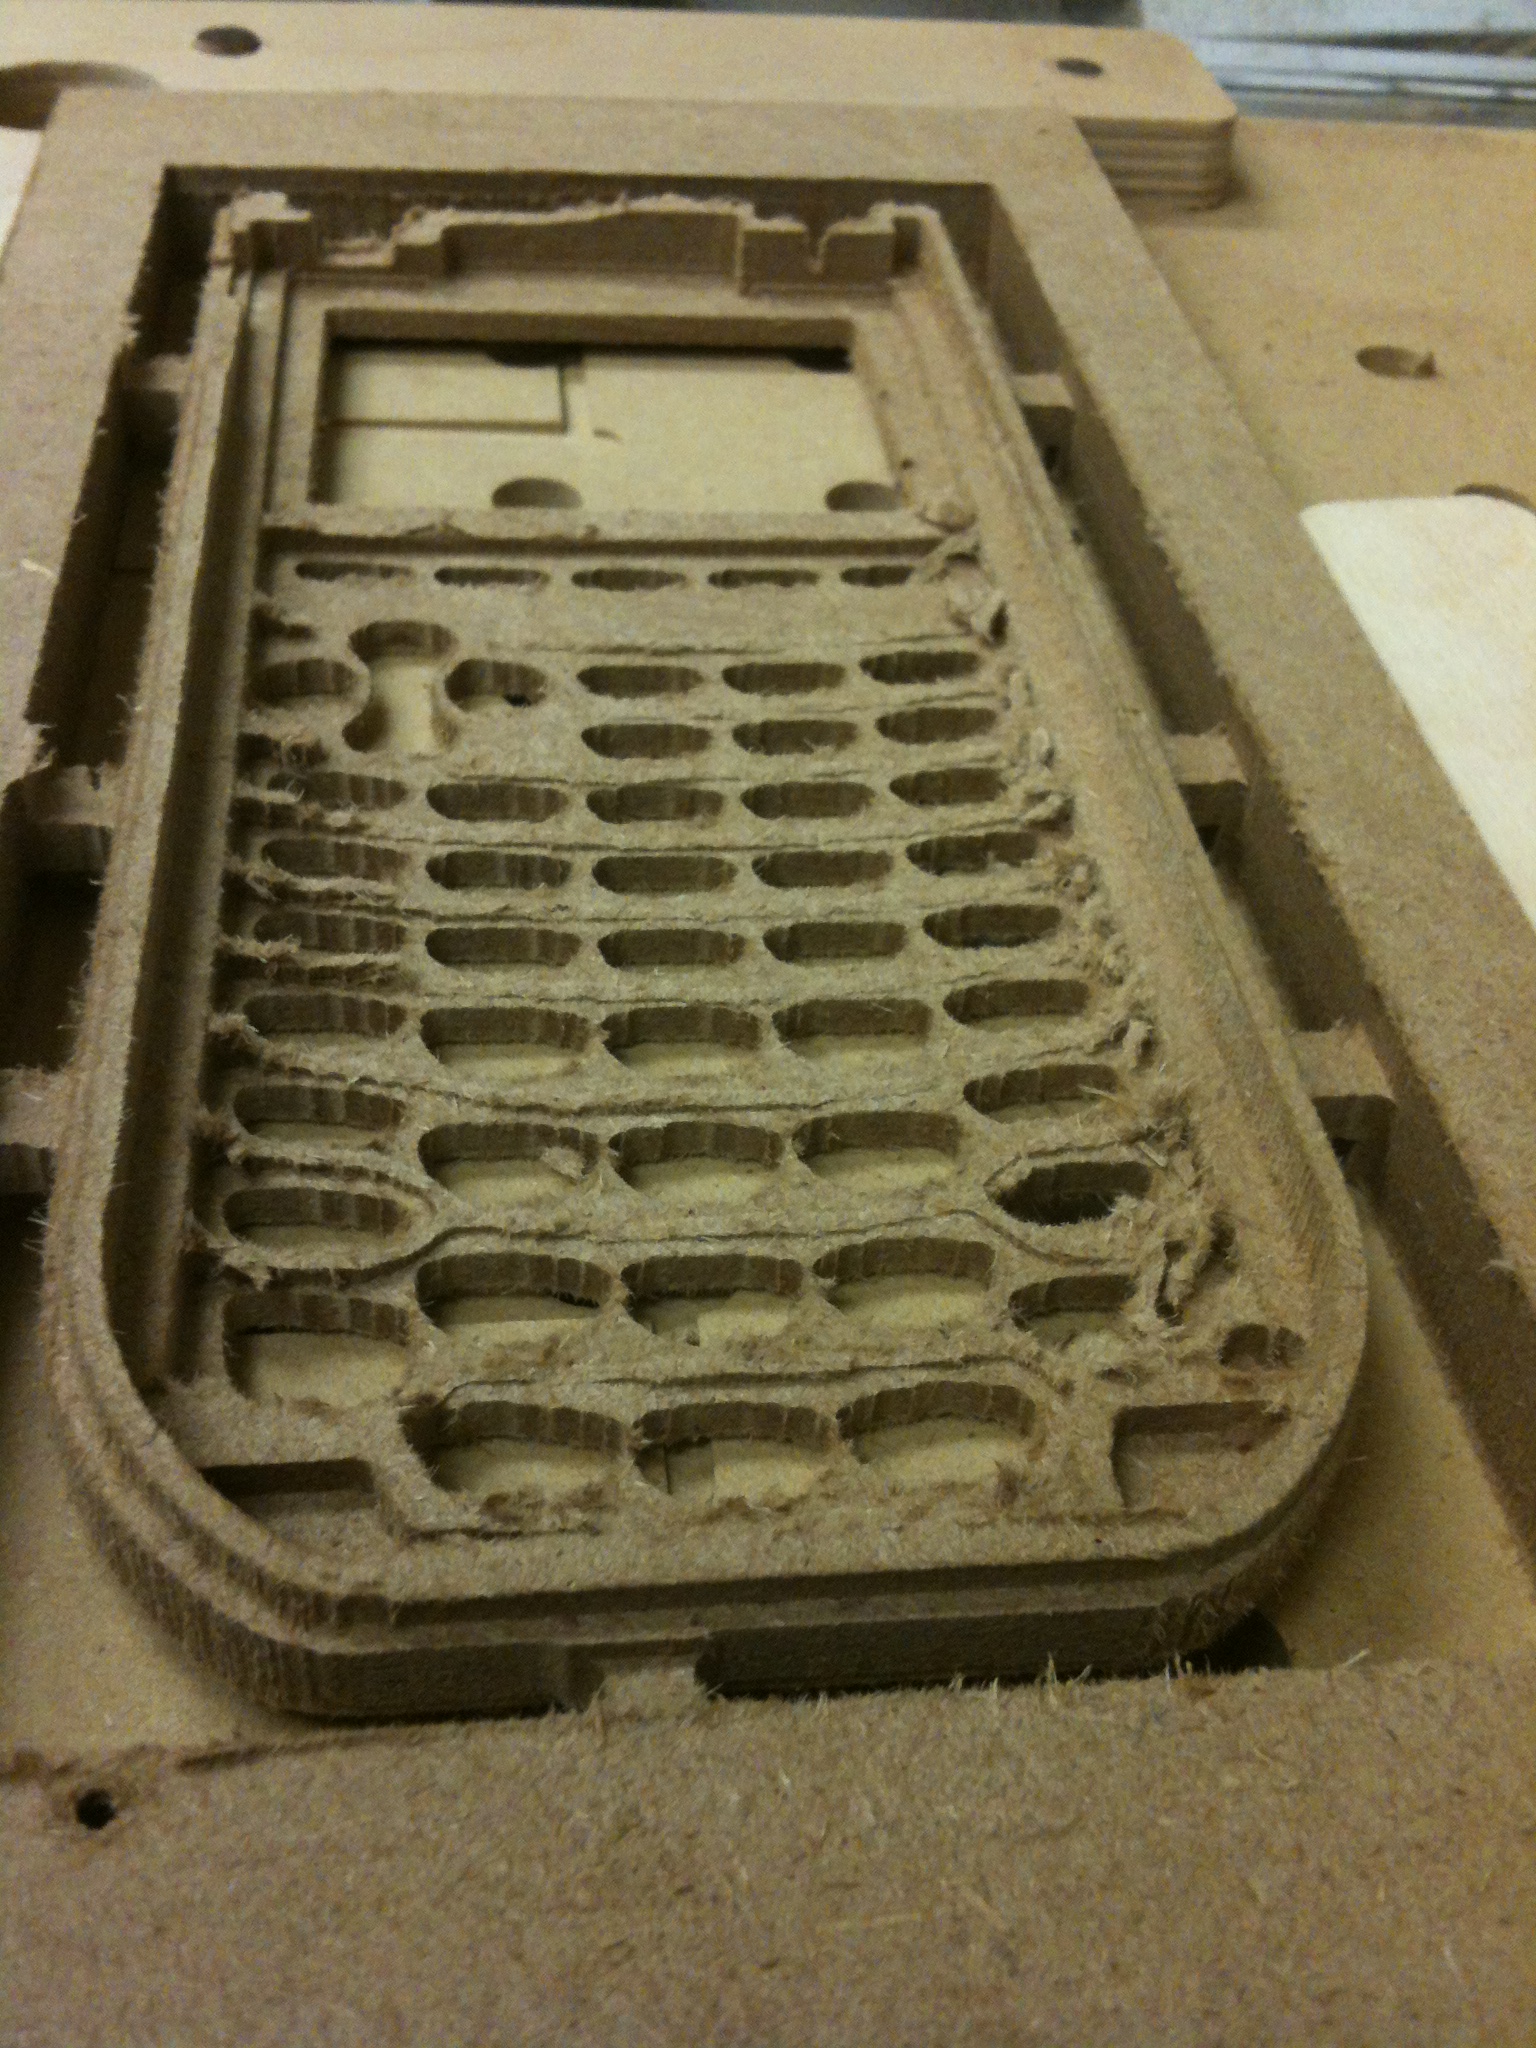
Top finishing pass with a 0.125″ end mill:

We were able to flip the MDF board and aligned the workpiece using the corner block.
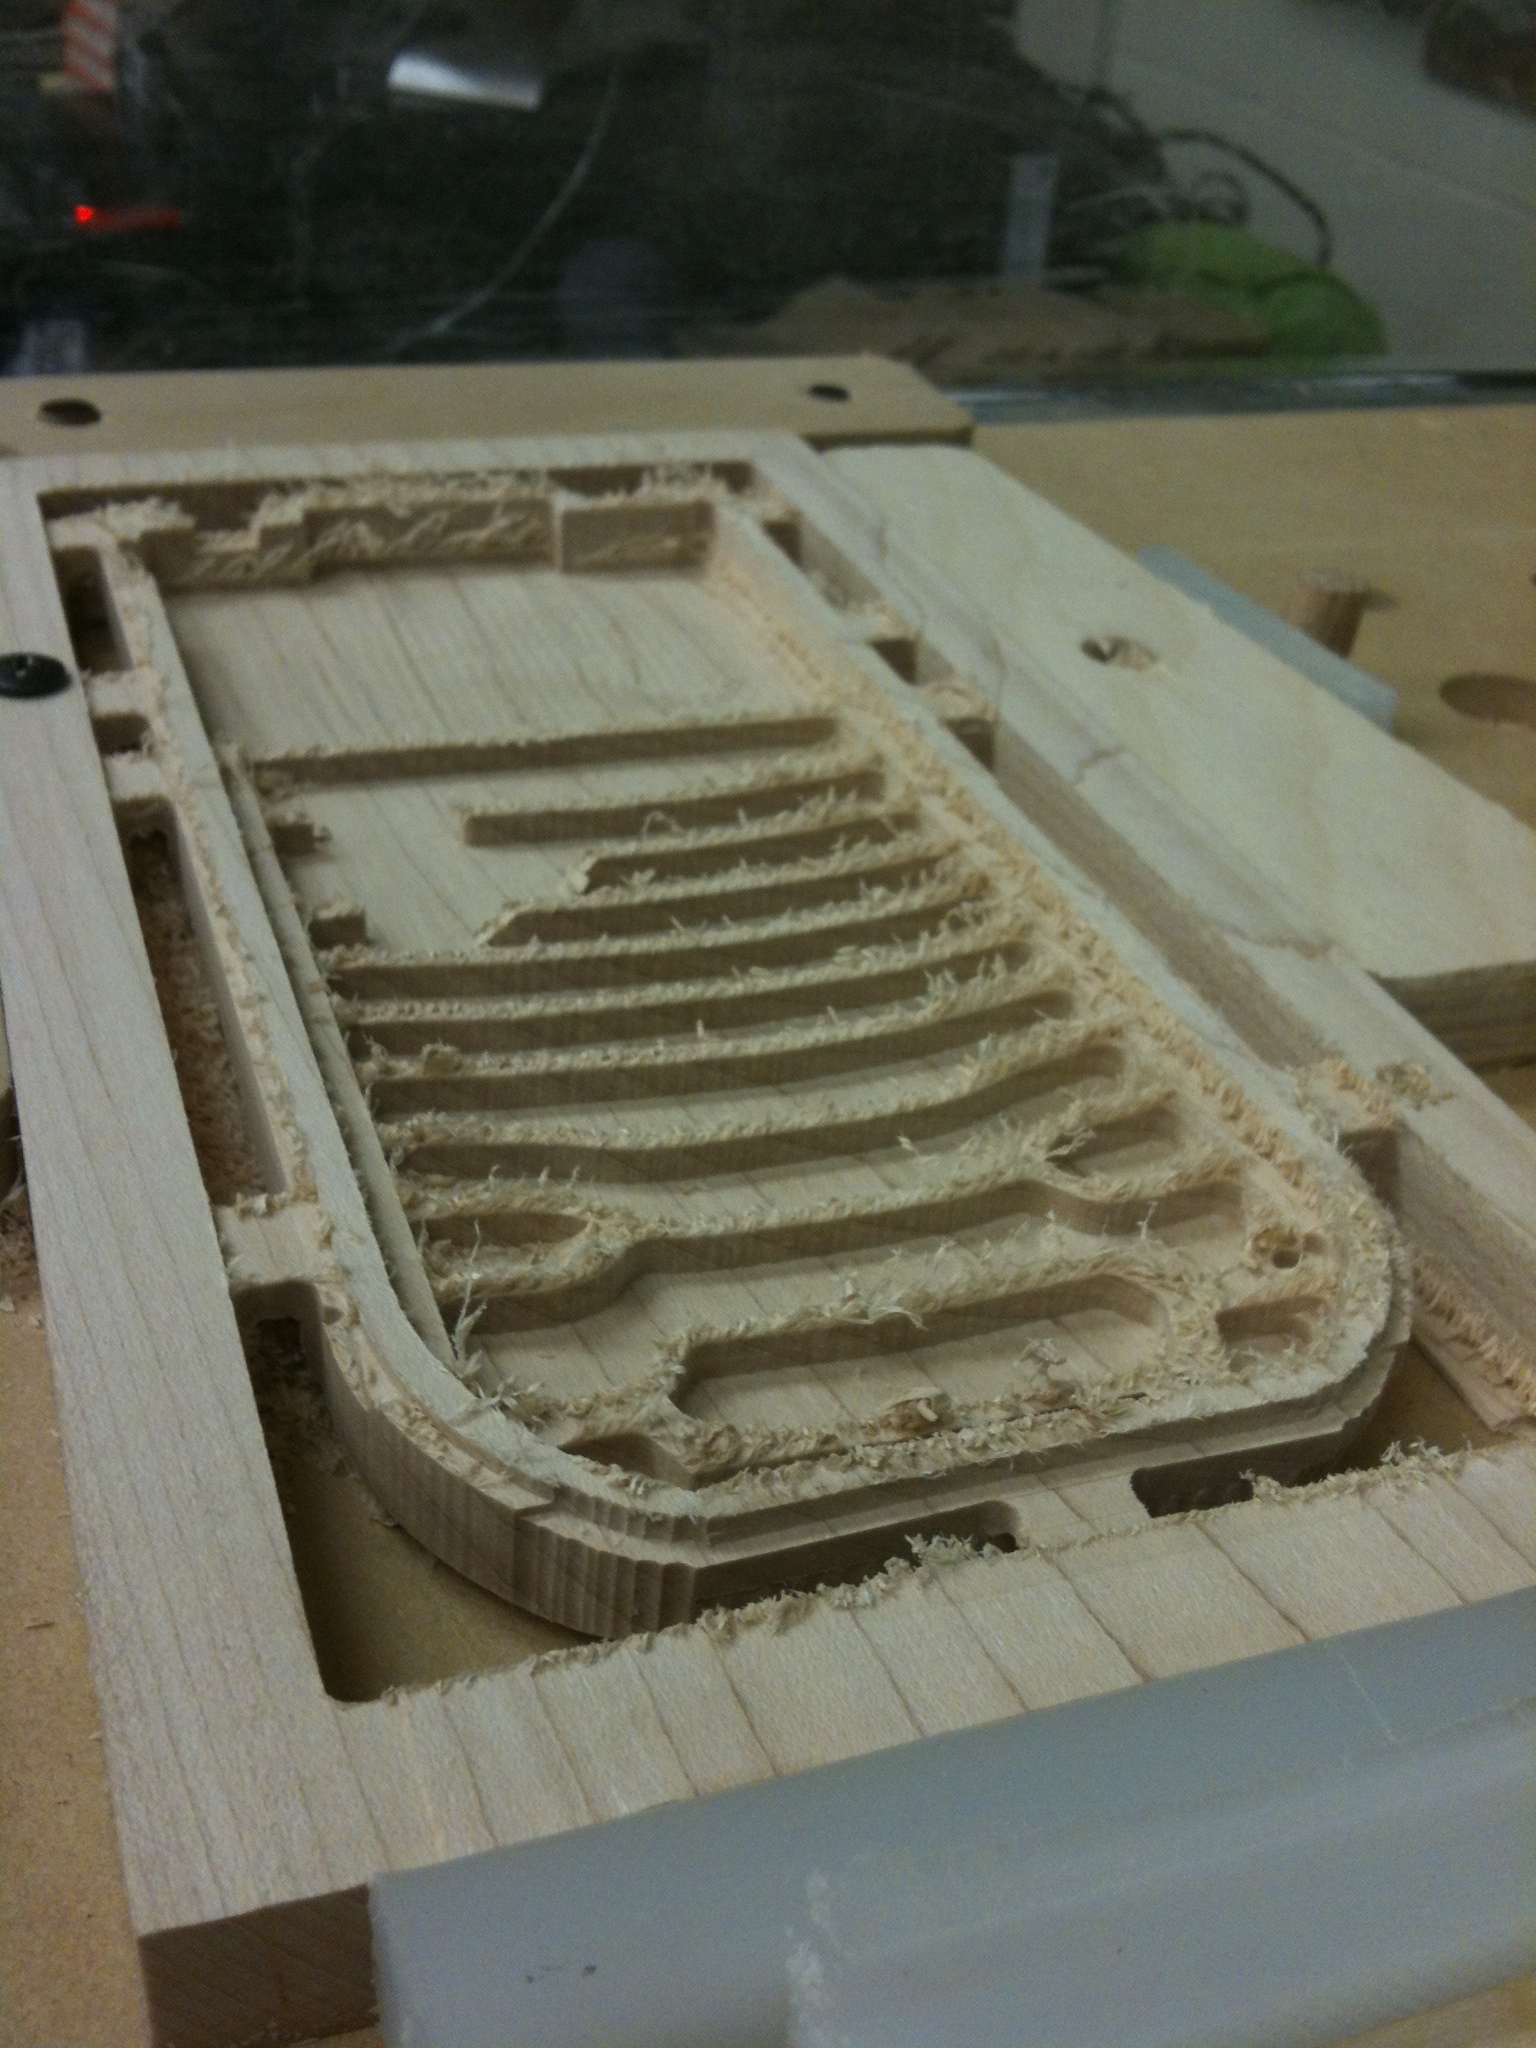
Bottom roughing pass with a 0.125″ end mill…
Finishing pass also with a 0.125″ end mill:

Cut out…looking good except for the fuzzy edges due to the MDF:
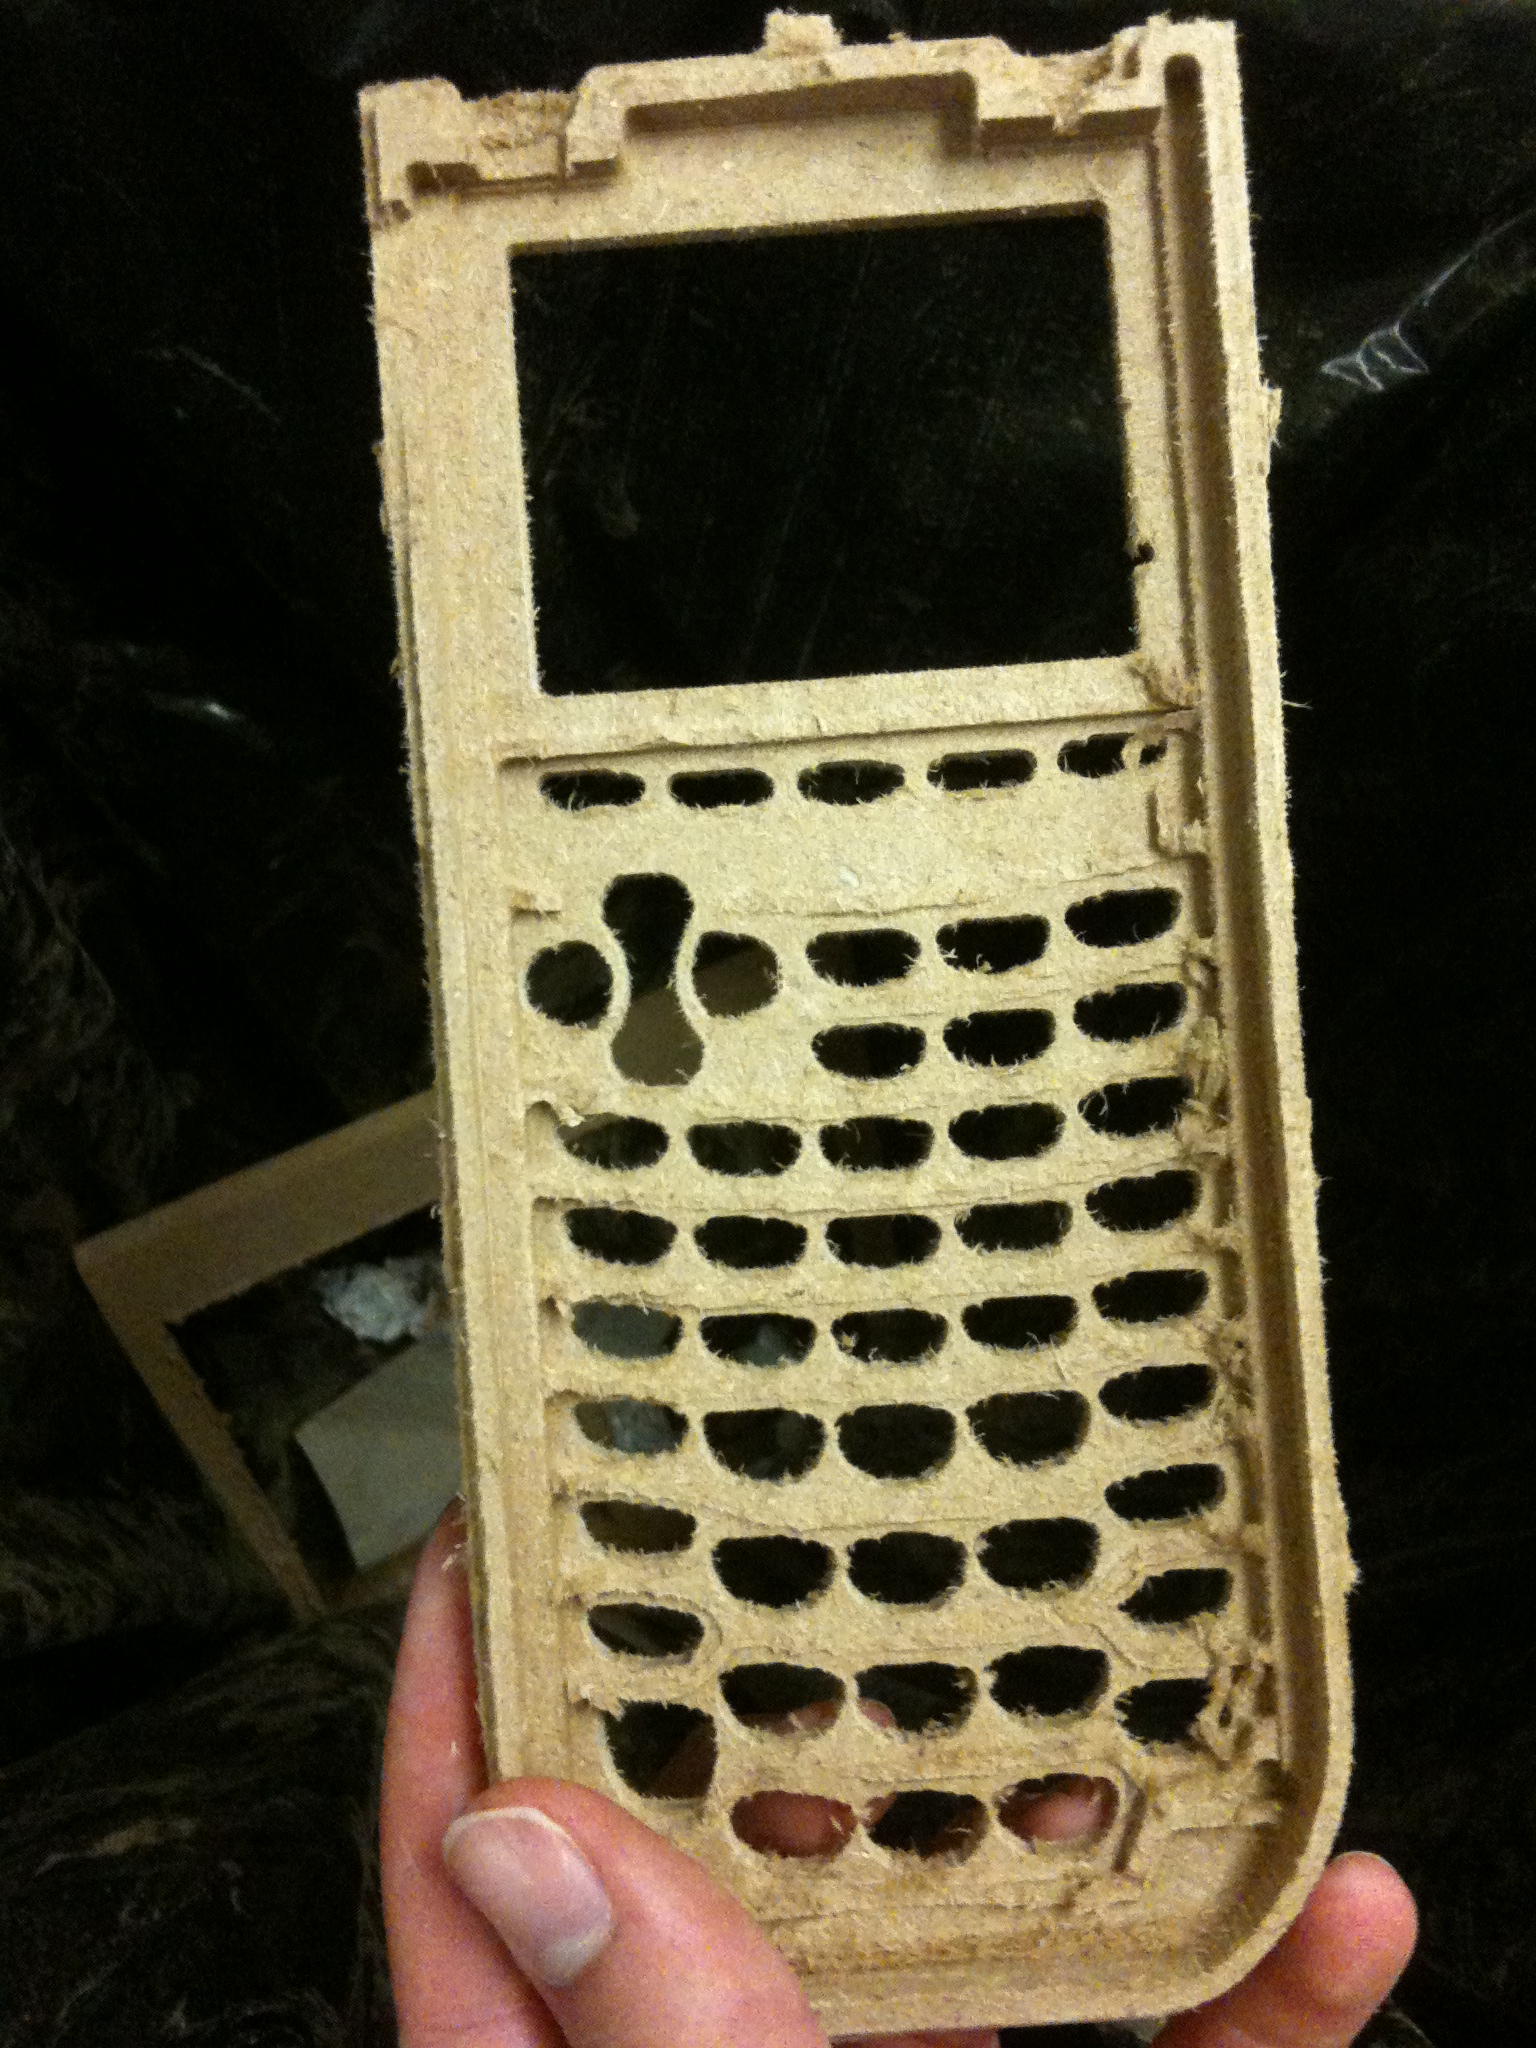
The MDF didn’t really hold up well in certain thin-wall sections but we didn’t expect to have as much difficulty in a harder wood like maple. We felt comfortable enough at this point to try it out and ended up with something like this…
Bottom of cover after finishing pass…

Finished cover ready for cleanup…

That’s about it for now. I’ll be working with my student to finish the bottom half of the calculator in the next couple of weeks…
What kind of 2.5D/3D projects have you been working on?
All the best,
Jack
Leave a Reply