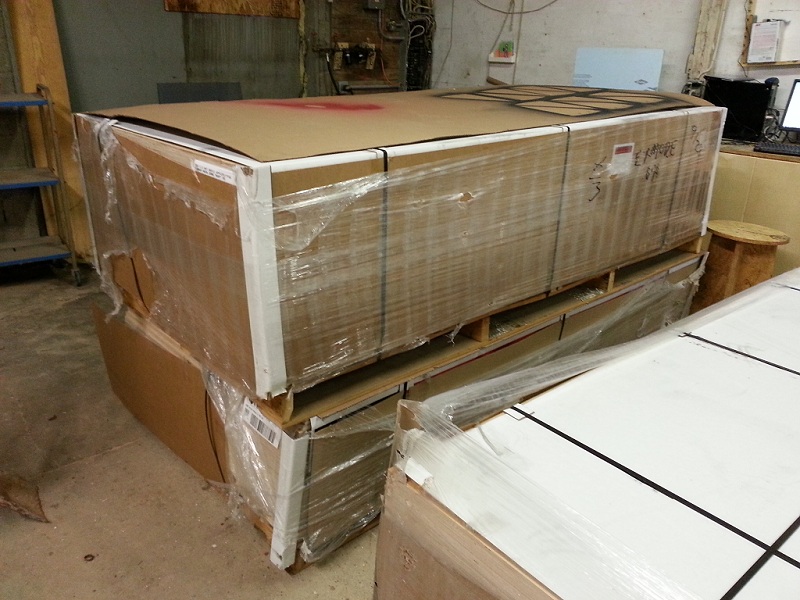
The MakerBot office project involves cutting 70+ sheets of expensive plywood and 100’s of unique parts, so it was important to develop a system from the start to make sure that all the pieces were cut accurately, without missing or duplicating any of them. They also involve lots of features like bevels, multiple depths of pockets for 3d printed features, and pilot holes for fasteners….lots of things to keep track of. Here’s the system that atFAB and I developed to try to manage all those details.
Files:
With that many sheets to cut it quickly becomes unmanageable to use email to pass drawings back and forth. It’s just too easy to get out of sync and cut a drawing that’s been updated, and you’re never quite sure that everyone is looking at the same drawing. Our solution was to use a shared folder on DropBox, an online storage service that also syncs with your computer so that you always have the most recent version of a file. That way Anne and Gary could see exactly the files that I was seeing, and could make changes that would automatically be updated on my computer. There are plenty of cloud-based storage services to choose from, but we’ve both found that DropBox works the best for us.
Drawings:
Even if you use the same design software as the designer, it’s critical to make sure that there aren’t any translation issues caused by version differences. Something as simple as a box on the drawing with a fixed size…maybe 1” square…will help you feel confident that everything will turn out correctly. And for pieces that have to accurately fit together, a sample part that can be cut and assembled to test the fit can save lots of re-cut sheets.
Layers:
Layers are the key to dealing with multiple features on a sheet, and standardizing on them at the start keeps you from having to re-do (or undo) a lot of work. Here are the features we had and the layers we decided on, with the colors of the layer to make it easier to pick out features quickly.
Through_Cut. All the general profile (Black)
Bevels. Since there may be several bevel angles on the same sheet, each group of bevels with the same angle is on it’s own layer, with the angle appended to the name like “Bevels_45” (Red)
Holes. Through holes that are drilled for ornamentation. (Blue)
Insert_Pockets for 3d printed inserts (Green)
Plug_Pockets for deeper 3d printed plugs that cover screw heads (Cyan)
Notes. Text labels or any other thing that won’t be cut (Magenta)
Parts management:
Once you get more than 6 or 8 sheets of material and a couple of dozen parts, it can become difficult to keep track of everything, especially if they’re small and similarly (but not exactly) shaped. One solution is to create a separate toolpath that shallowly engraves the part name or number on each part, using a single-stroke font to speed up the process. This can impact the design, however, and may require a bit change for each sheet.
We decided that we would print labels on our Dymo 450 thermal label printer and apply them to the pieces after they were cut but were still on the ShopBot table. This does add an extra step, but allows us to add additional information on the parts labeling for the person assembling the furniture, to make that step easier. The information for the labels is pulled from a spreadsheet of parts that was created by the designers, and the location for each label on the sheet is shown on each drawing in the Notes layer.
To keep all these details coordinated and in sync, communication between Anne and Gary and our shop is critical…next we’ll talk about the ways we’ve collaborated on this project
Leave a Reply