If you are anything like me, you want to be ready for any job that comes through the door. For me, this meant being able to quickly tool up for cutting 2” hardwood shapes that needed to be screwed down to a rigid spoilboard one day, and be able to hold down 4X8 sheets using vacuum the next. One method would be to turn the vacuum on and pull down the bleeder board so that I could screw into it. I wasn’t keen on running the vacuum all the time since it seemed like a waste of energy.
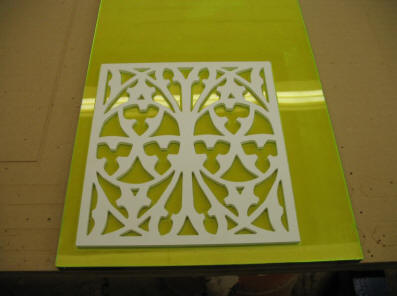
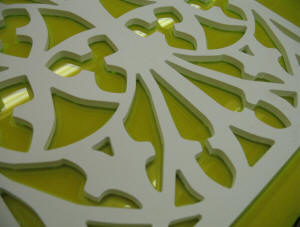
I got a call from a customer who needed me to cut 32 intricate grill shapes in ¼” PVC over night in order to meet their deadline. The material blanks were already pre-cut and all I needed to do was hold them down. The thought of carpet taping all of the parts down was not very appealing to me, so I decided to try making a combination bleeder/vacuum grid from a single piece of Trupan. I’ve been very successful using interchangeable vacuum ‘masks’ for holding miniature parts before with a bolt down plenum. The use of AllStar Spoilboard Cover gasketing really makes a difference when holding small parts.
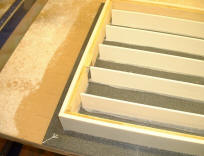
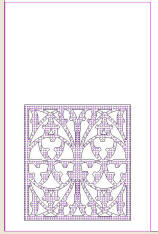
I began by making up a simple grid in PartWizard using a Machine Along Vector Strategy. I cut the grid into a piece of 18mm Trupan Ultralight MDF .25” deep using a ½” bit, then cut it out of the sheet. I then cut a 2.27” hole in my spoilboard to accept my Fein Turbo III’s 2.25” vac hose with a .02” allowance to make sure that it fit. I plugged in the vac and put the Trupan over it with the grid side down. I then used the CR command to flatten it just like I do my spoilboard. This breaks the paper barrier on the outside and exposes the porous matrix of the Trupan. I then added some AllStar 1/32” gasket tape to the bottom perimeter and did a once around with some duct tape to seal off the edges of the Trupan. I wanted all the vacuum that I could get!

In order to be successful with vacuum you want as much surface area of your parts exposed to the vacuum, but not so much that you create a leak and sacrifice holding power. If I were to place the material blanks on the combo board with no ‘mask’ it would hold for a few minutes while cutting until enough of the bleeder board had been exposed to the atmosphere. Then the parts would move and be ruined. To avoid this, I created a vacuum mask out of 1/8” acrylic that I had laying around the shop.
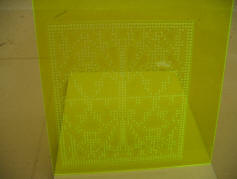
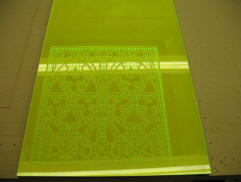
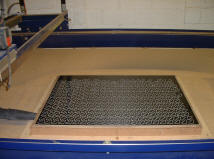
I started with the vectors I was going to use for the profile passes and offset all of them .03” inside. This is a good place to start to keep the vacuum from leaking out of the kerf when cutting. I then did a block copy of 1/8” holes as large as my part. I deleted all of the holes outside of the offset boundary that I created. These holes expose the part we want to keep to the vacuum and direct all of the vacuum’s resources to holding our part. After drilling all of the holes, I placed the acrylic mask on top of the Trupan bleeder and placed my material blank on top. Be sure to use the same file for creating your mask, as you do for creating the profile passes. This way everything matches up when it comes time to cut.
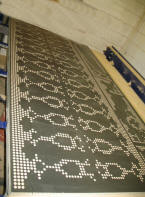

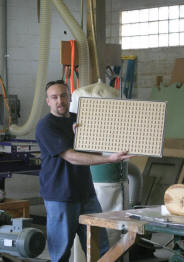
The gamble paid off! It really worked! In fact, this worked so well that I decided to make a full 4X8’ version that I still use today. I tack the big one in with brads and make sure that I have a good seal around the edge. A single Fein holds down a full sheet of plywood, letting me cut parts all the way through. It isn’t a 15HP professional setup, but when the day is over and I have to screw down heavy parts, I can simply pry it up and re-use it the next time I need it.
[…] 259 View UglySign's Uploads Gary, Have you seen on the Shopbot blog the BradyVac & BradyVac II ?? The Shopbot forum seems to have loads of articles. Maybe remove the headache […]